WxCC Widget for Screen Monitoring
Introduction
To ensure widgets function properly with Webex Contact Center, you must configure them in the desktop layout. Webex Contact Center Desktop uses a JSON file for layout configuration.
Widget Configuration Steps
Follow these steps to integrate the Cloverhound Cloud widget with Webex Contact Center Desktop:
-
Navigate to Teams User Management in Webex Control Hub and select a team to add the widget to.
-
Under "Team settings" take note of the value of the "Desktop layout" field.
-
Navigate to Desktop Layouts and select the relevant desktop layout.
warningA desktop layout may be used by more than one team. Changes affect all teams using the layout.
-
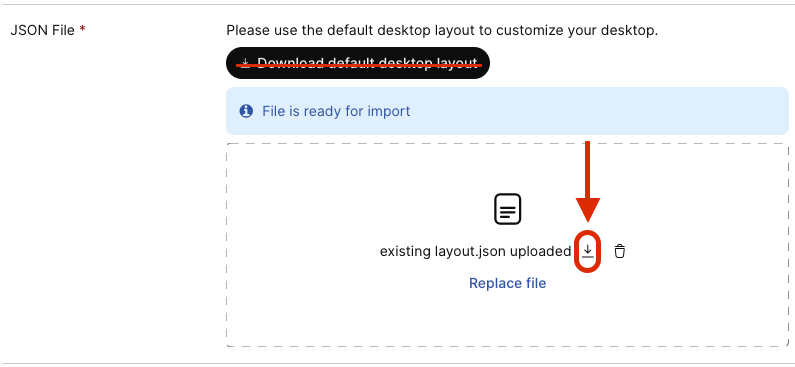
Download the existing layout file as shown
-
Modify the JSON file to include the screen monitor widget (See desktop layout configuration section below)
-
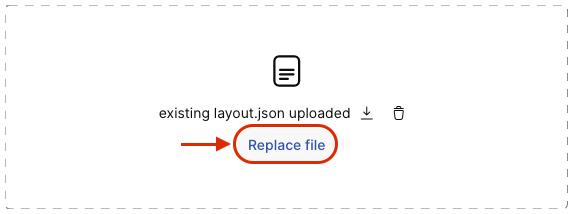
Upload the modified layout file as shown
-
Save changes
Edit Desktop Layout File
Find the headless section and configure it as shown. Update the widgets and layout sections within.
{
  "agent" | "supervisor" | "supervisorAgent": {
    ...
    "area": {
      "headless": {
        "id": "headless",
        "widgets": {
          ...
          "comp1": {
            "comp": "cloverhound-screen-monitor",
            "script": "https://cloud.cloverhound.com/assets/wxcc_screen_monitor_widget.js",
            "attributes": {
              "agentemail": "$STORE.agent.agentEmailId"
            }
          }
          ...
        },
        "layout": {
          "areas": [["comp1"]],
          "size": {
            "cols": [1],
            "rows": [1]
          }
        }
      }
    }
  }
}
Next Steps
After updating the desktop layout, test the configuration by logging into Webex Contact Center Desktop as an agent assigned to the modified team layout.
Contact Cloverhound Cloud support if you need assistance