The Calls Table
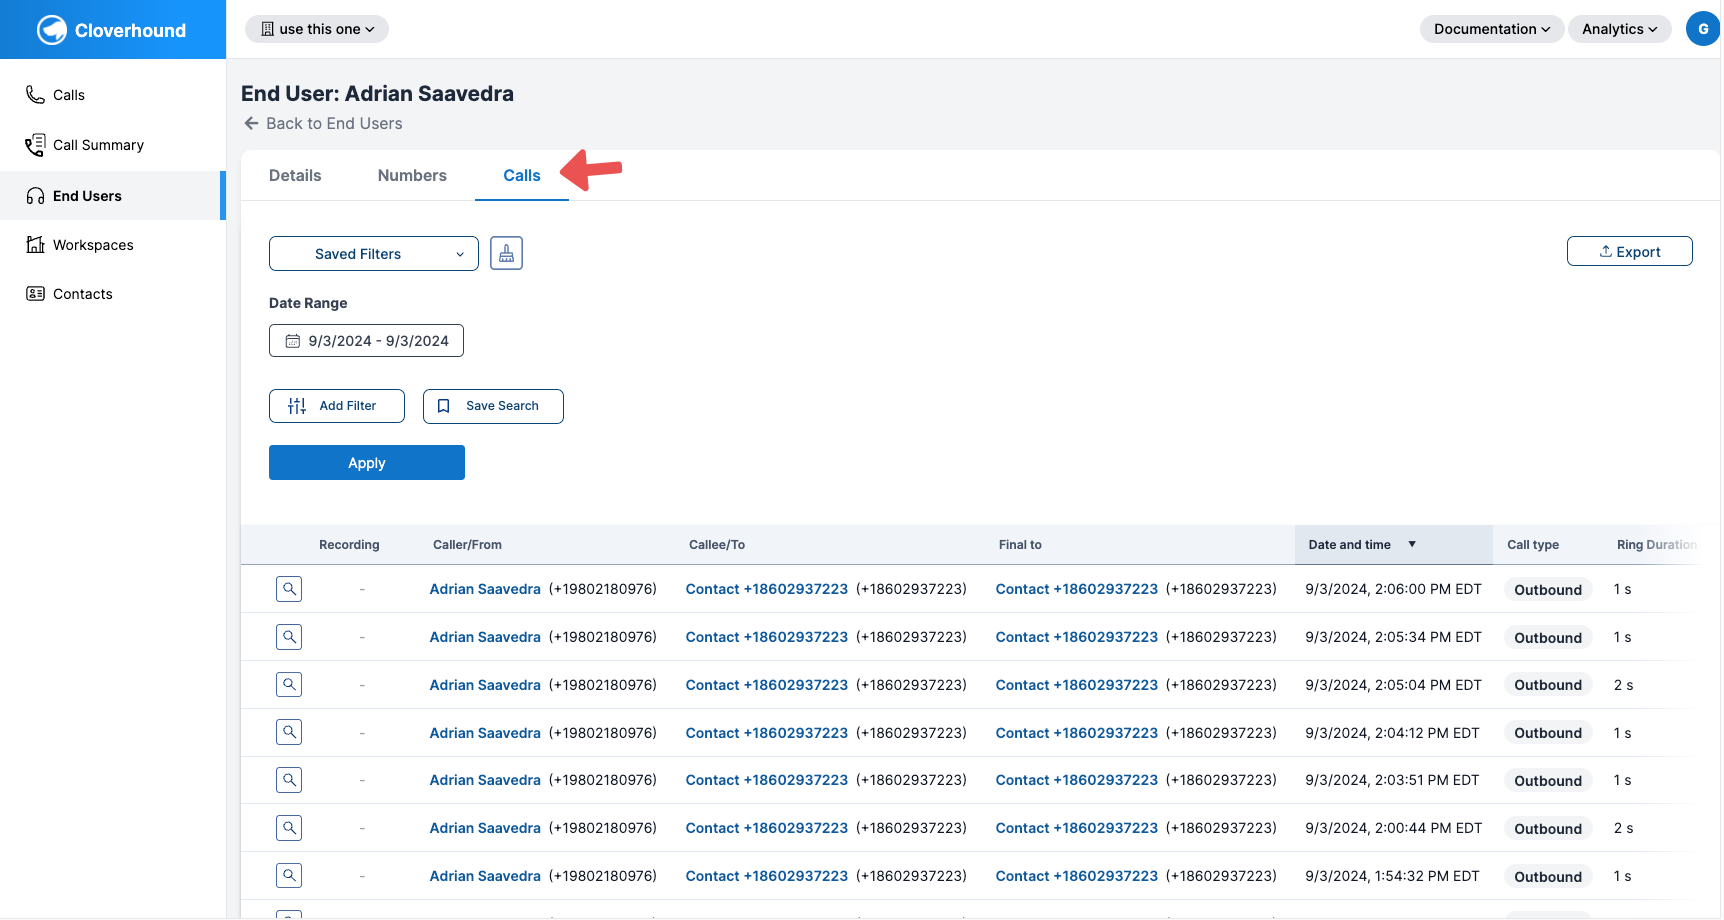
The Calls Table is a comprehensive view of all calls made to and from your organization. It provides a detailed list of all calls. It shows call type, outcome, ring duration, and more.
The Calls Table is located on the Calls page. There, it will display all calls made to and from your organization.
The Calls Table is also available on the following pages:
- End Users page - displays all calls made to or from the selected end user
- Contacts page - displays all calls made to or from the selected contact
- Workspaces page - displays all calls related to the selected workspace
Accessing the Calls Table
-
Navigate to the Appropriate Page:
- Go to one of these pages based on what you want to view:
- Calls page to see all calls
- End Users page and select a specific end user
- Contacts page and select a specific contact
- Workspaces page and select a specific workspace
- Go to one of these pages based on what you want to view:
-
Locate the Calls Table:
- The Calls Table will be displayed prominently on the page
- For End Users, Contacts, and Workspaces pages, you'll need to first select the specific item and then click the Calls Tab.
-
Understanding the Table Columns: The Calls Table displays the following information for each call:
- Recording - A built-in audio player that can play the audio recording for a call, if available
- Caller/From - The phone number of the caller
- Callee/To - The phone number of the callee
- Final To - The final phone number the call was routed to
- Date and Time - When the call occurred
- Call Type - Whether the call was inbound, outbound, or internal
- Ring Duration - How long the call rang before being answered or ended
- Duration - How long the call lasted
- Outcome - The result of the call (answered, missed, voicemail, etc.)

-
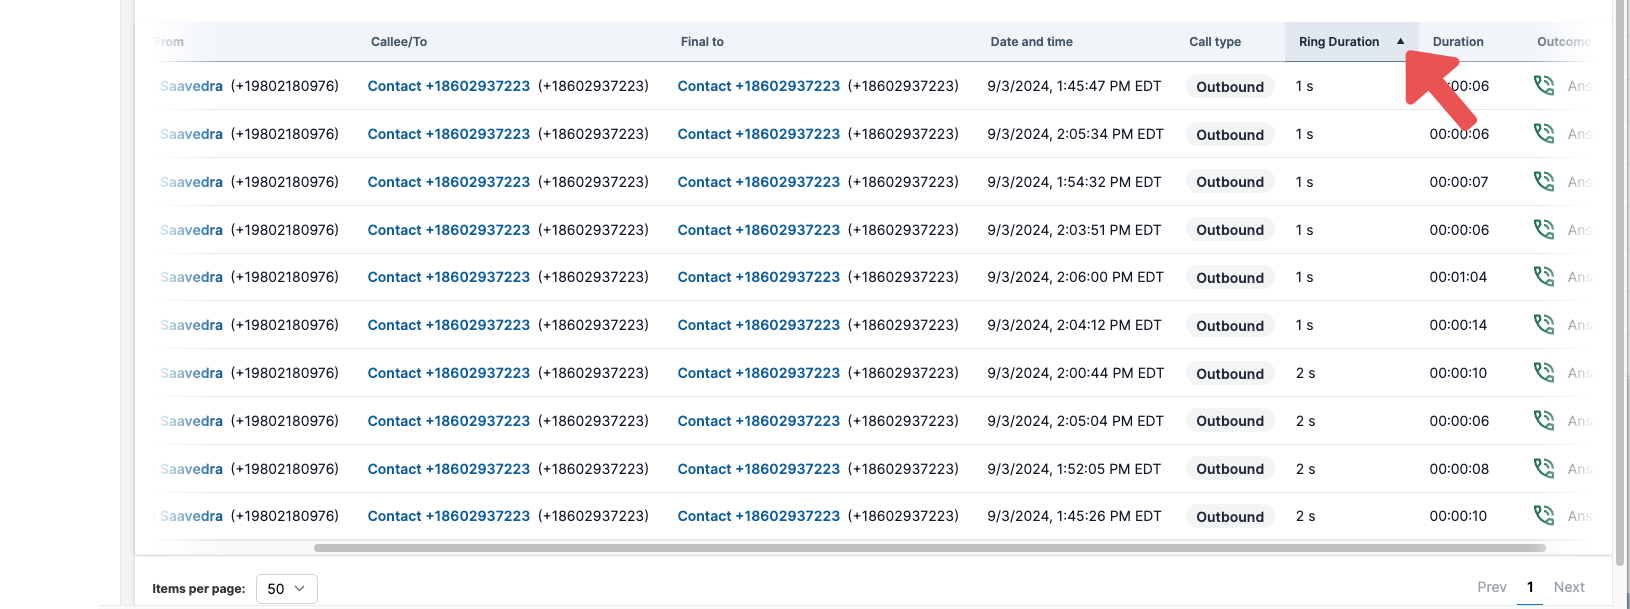
Sort the Table:
- Click on any column header to sort the table by that column
- Click again to reverse the sort order
- A small arrow will indicate the current sort direction
-
Navigate Multiple Pages:
- Use the pagination controls at the bottom of the table to move between pages
- Select how many items to display per page using the dropdown menu

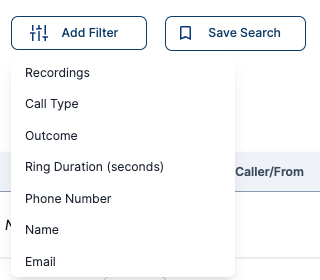
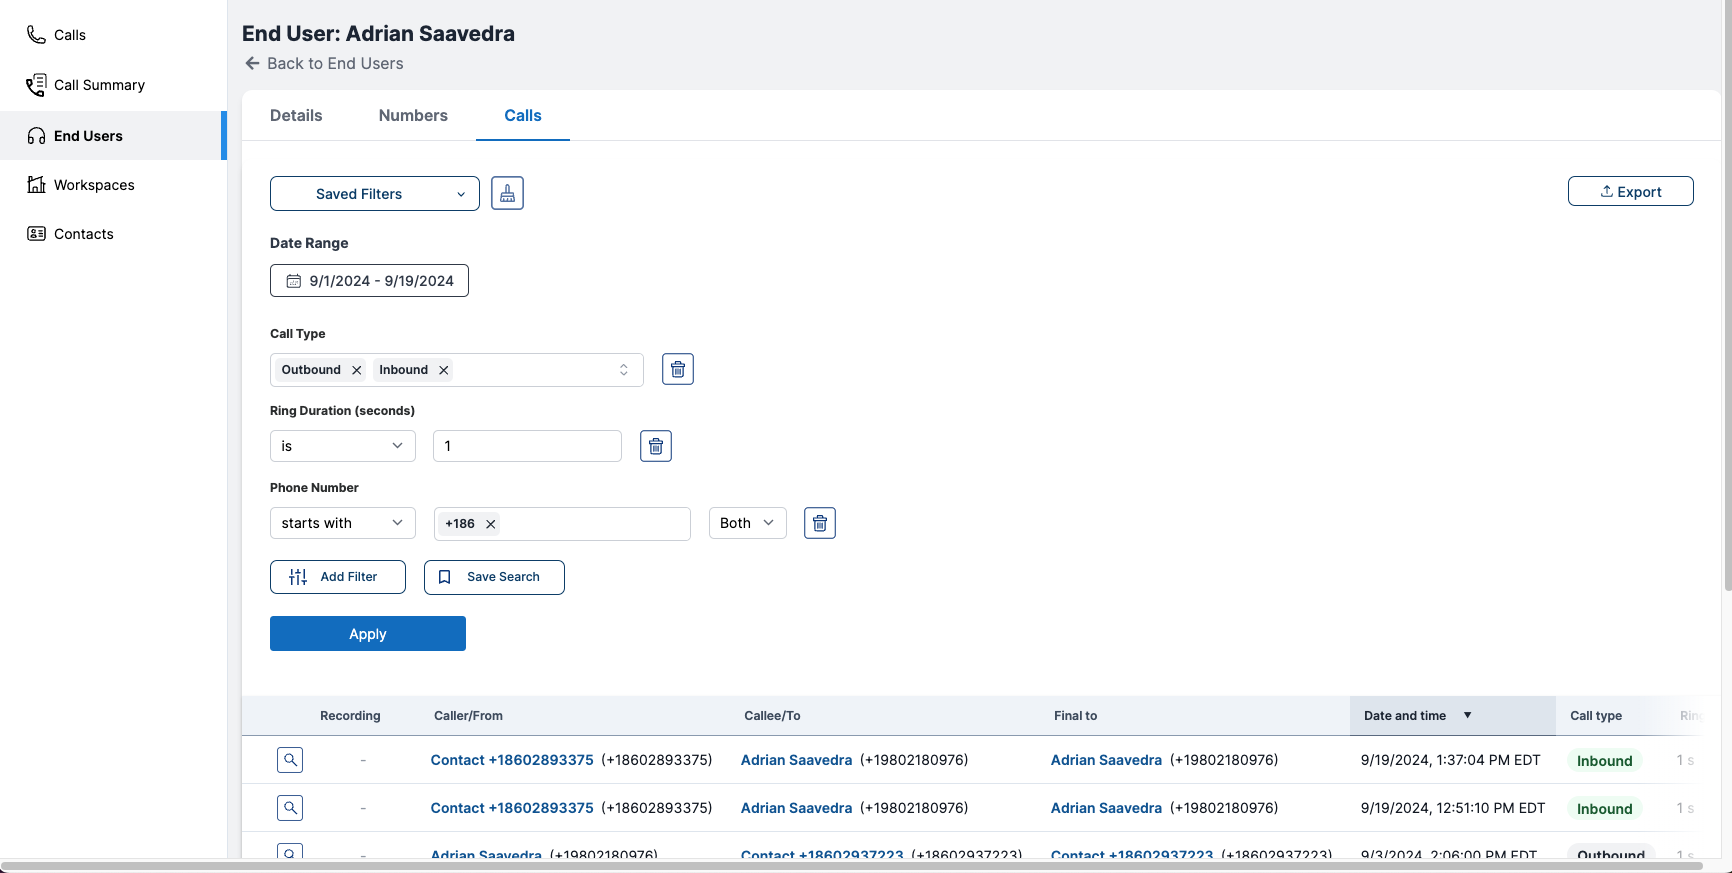
Configuring a Filter
- Select a Filter Option:
- Choose one of the available filter options from the dropdown.
-
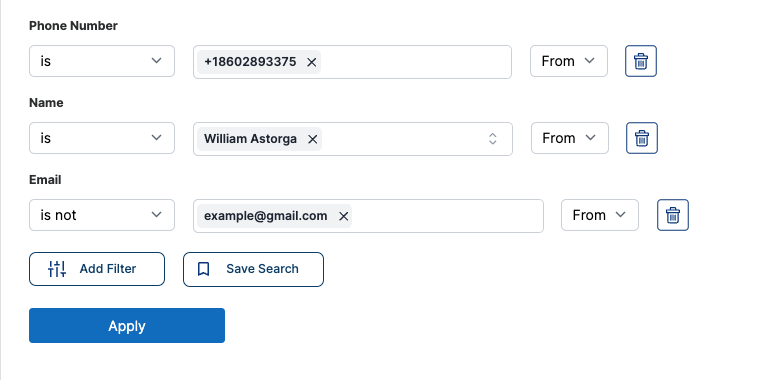
Set the Filter Condition:
-
After selecting a filter option, additional fields will appear based on the selected filter type:
- For Phone Number, Name, and Email, you will see:
- A dropdown to select a condition: is, contains, not contains, starts with, or ends with.

- A multi-select combobox to input the value(s) you want to filter by.

- A dropdown to specify the call direction: from, to, or both.

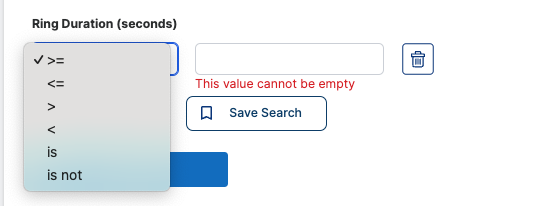
- For Ring Duration (seconds), you will see:
- A dropdown to select a comparison operator:
>,<,=,>=, or<=. - A number input box to specify the duration in seconds.
- A dropdown to select a comparison operator:
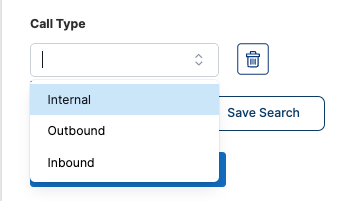
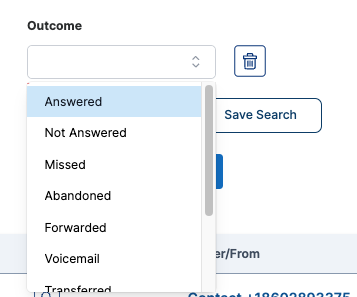
- For Call Type and Outcome, you will see a combobox with predefined values to choose from.
- For Recordings, you will see a toggle to show calls with or without recordings.

- For Phone Number, Name, and Email, you will see:
-
-
Enter the Filter Value:
- Based on the selected filter option, provide the necessary value:
- For Name, Email, and Phone Number, input or select the desired value(s) in the multi-select combobox.
- For Ring Duration (seconds), enter a numeric value in the input box.
- For Call Type and Outcome, select a value from the combobox.
- For Recordings, click the toggle to show or hide calls with recordings.

- Based on the selected filter option, provide the necessary value:
-
Remove a Filter (Optional):
- To remove a filter, click the Trash Icon button next to the filter you wish to delete.
![]()
Applying the Filters
-
Click the Apply Button:
- Once you've configured your desired filters, click the Apply button to search based on the specified criteria.
-
Review the Results:
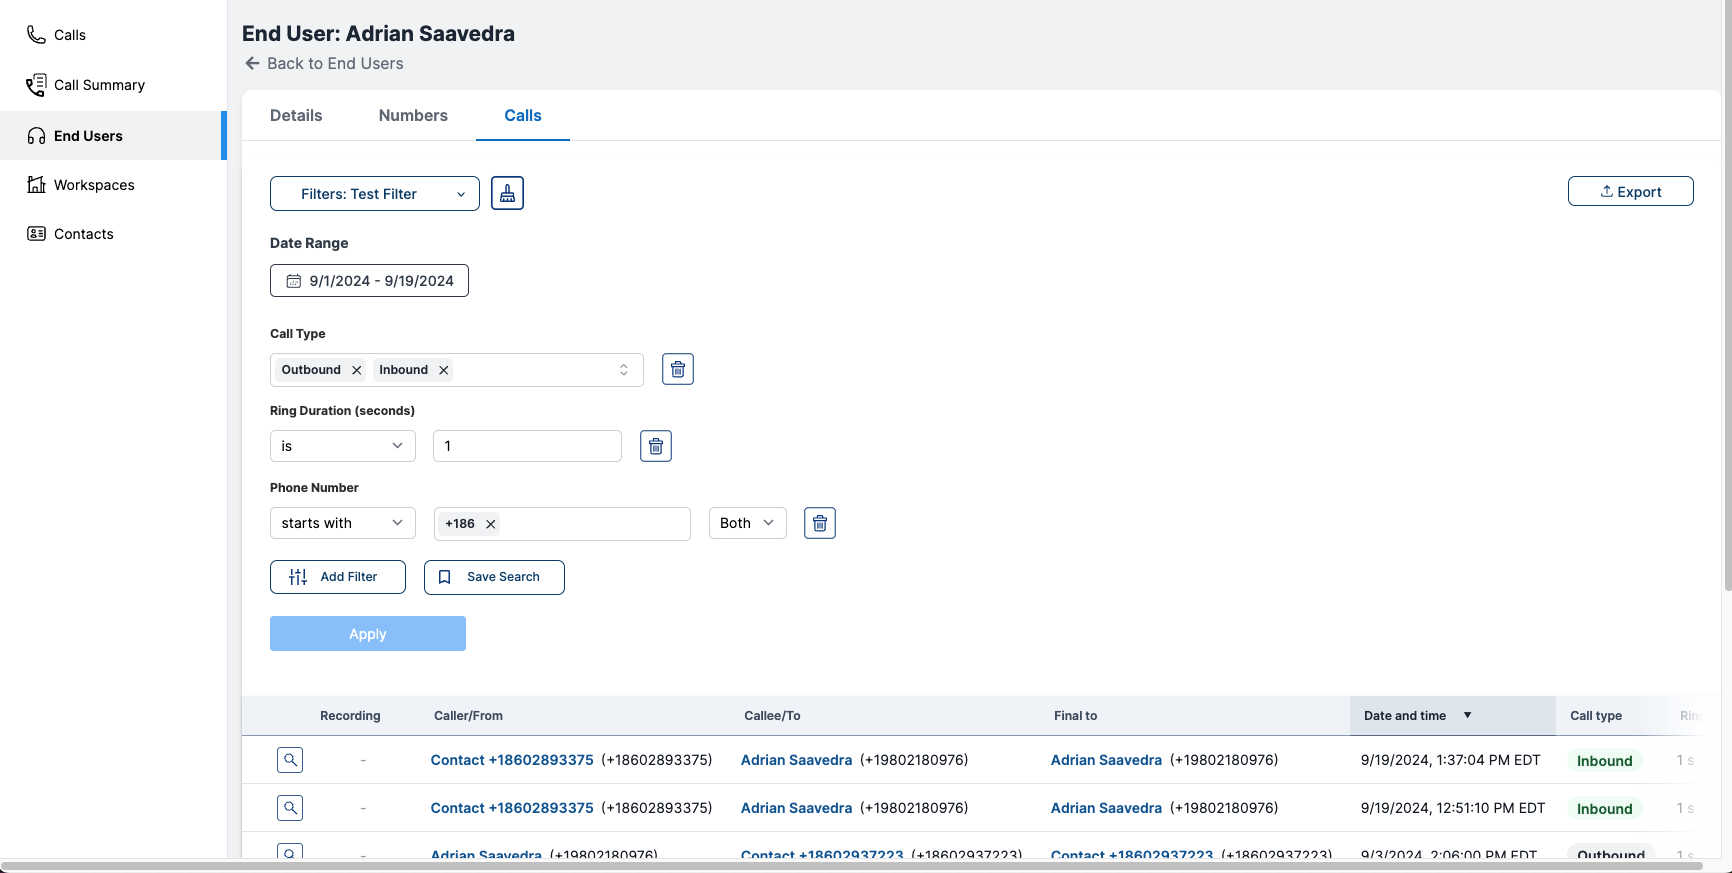
- The Calls Table will update to display only the calls that match the applied filters.
Managing Multiple Filters
- You can add multiple filters simultaneously to refine your search further.
- For example, you can filter by:
- Call Type is "Outbound" AND
- Ring Duration (seoconds) is "1"
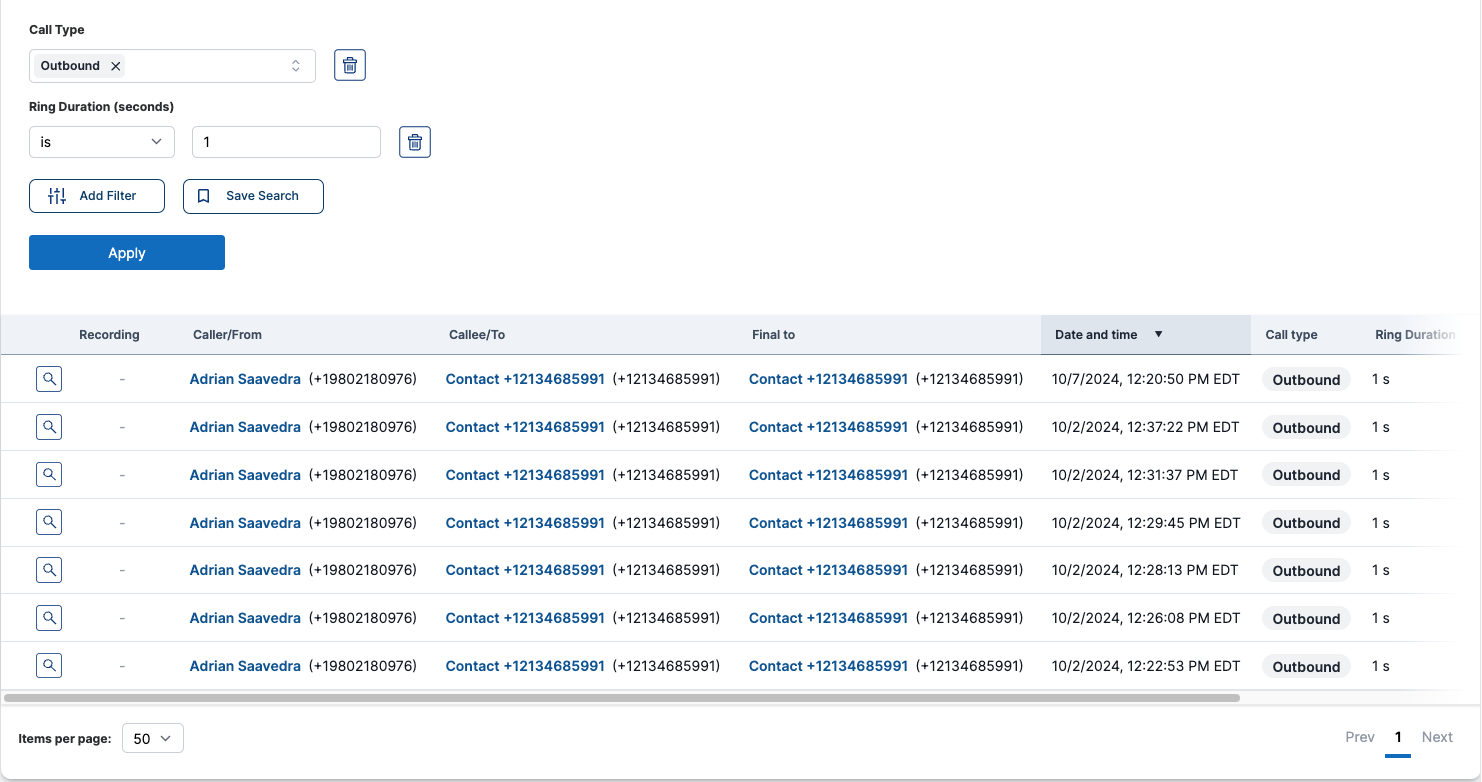
The results will display all the calls that meet all the applied criteria.
Saving Filters
The Save Filters feature allows you to save your custom filter configurations for each Calls Table individually.
Filters are saved on a per-page basis, meaning each page with a Calls Table (e.g., End Users, Workspaces, Contacts) retains its own unique filter settings.
This ensures that your specific filter preferences are preserved and automatically applied when you return to the page, helping streamline your workflow and analysis.
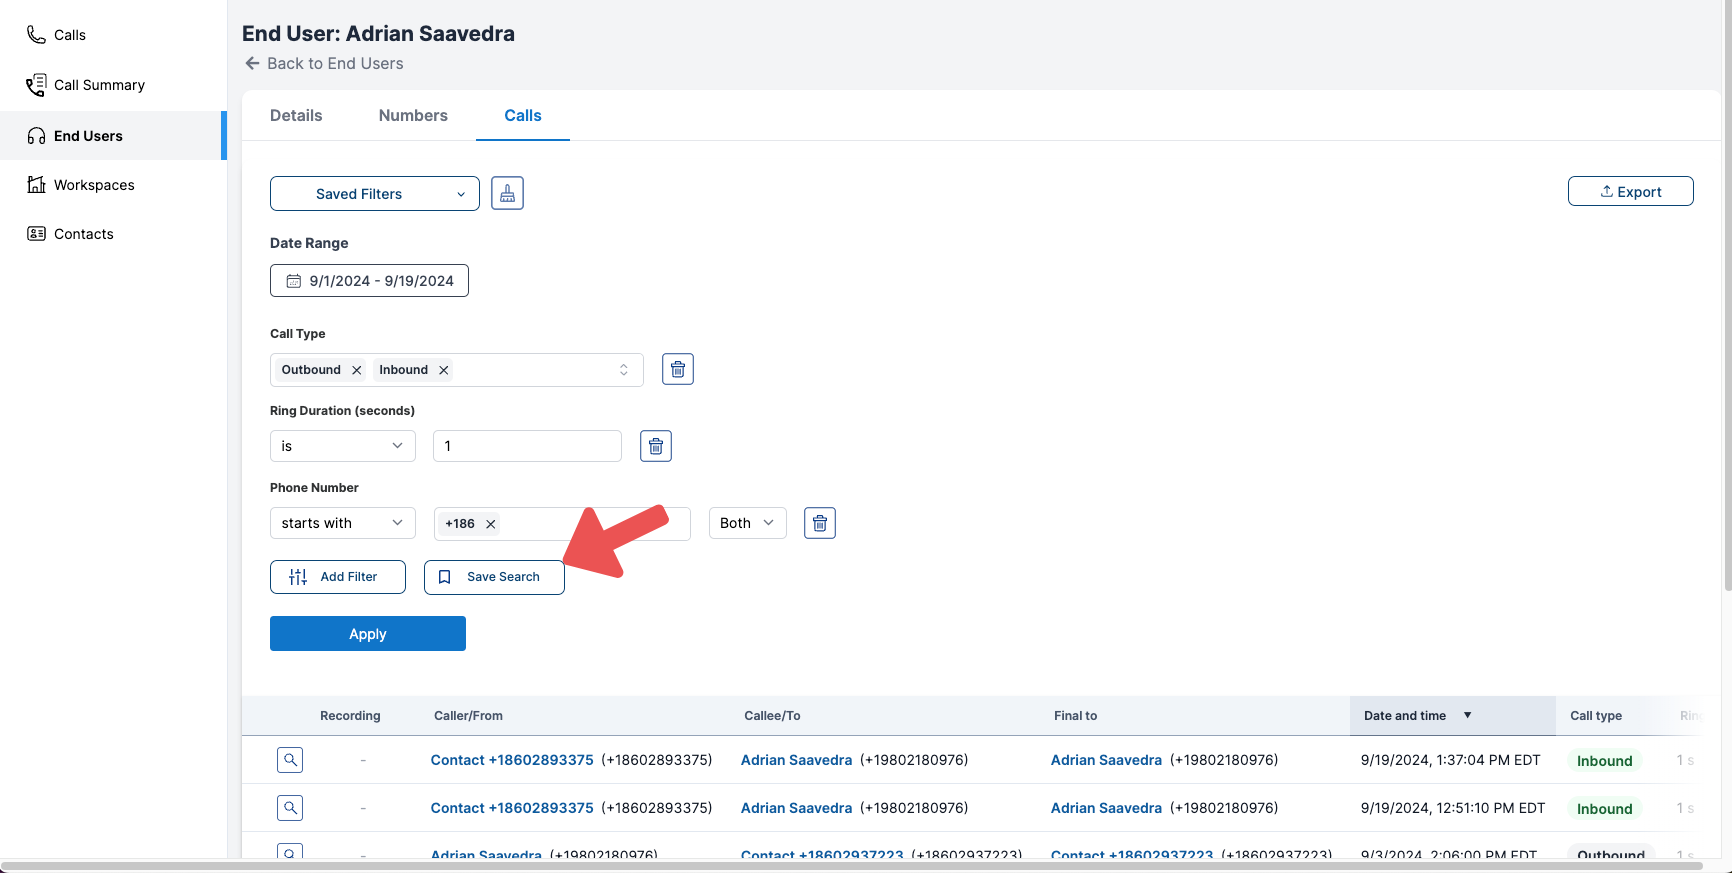
Save a Filter Configuration
- Select Your Filters: Configure the filters you want to apply to the current Calls Table.
- Click the Save Search Button: Locate and click the Save Search button to begin saving your filter configuration.
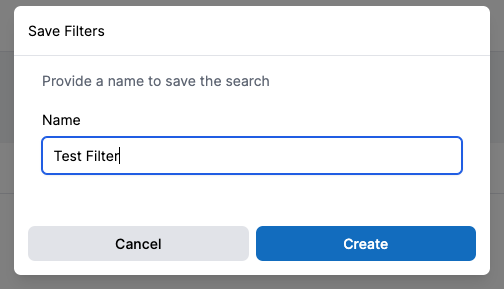
- Enter a Name: Type a name for your filter configuration. If you enter the same name as an existing saved filter, the previous filter will be overwritten.
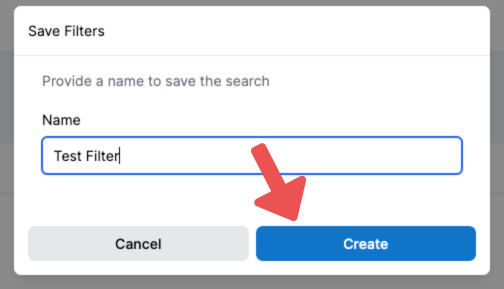
- Click Create: Confirm your filter configuration by clicking the Create button.
Load a Saved Filter
-
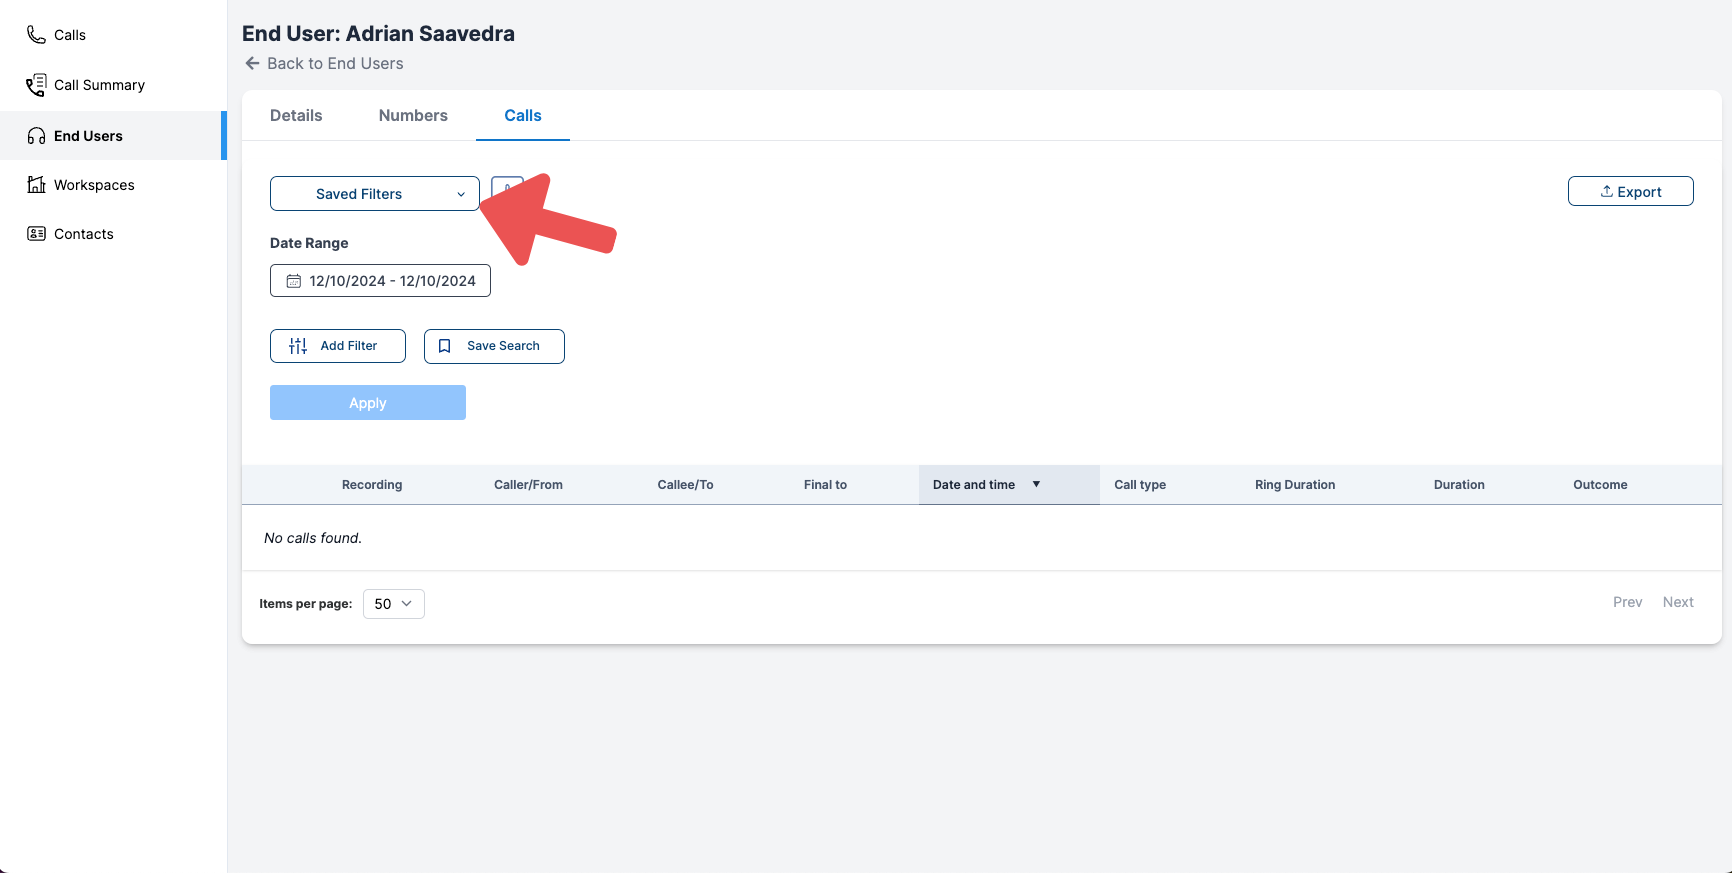
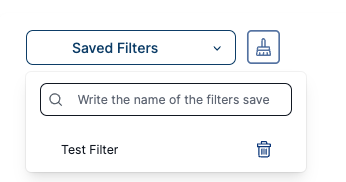
Click the Saved Filters Button: Open the saved filters menu by clicking the Saved Filters button.
-
Search or Scroll to Find the Desired Filter: Use the search bar or scroll through the list to locate the filter you want to load, then click its name.
Delete a Saved Filter
-
Click the Saved Filters Button: Open the saved filters menu by clicking the Saved Filters button.
-
Search or Scroll to Find the Desired Filter: Use the search bar or scroll through the list to locate the filter you want to load.
-
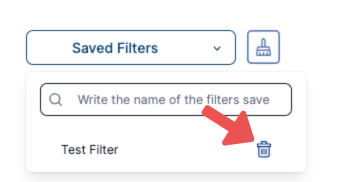
Click the Trash Icon Next to the Filter's Name: Locate the filter in the list and click the Trash Icon next to its name to delete it.
-
Confirm the Deletion: A confirmation prompt will appear. Click OK to permanently remove the saved filter.

By utilizing the Calls Table, you can efficiently manage and analyze your organization's call data, ensuring that you have quick access to the information you need to enhance communication and decision-making.