Managing Lookup Table Entries
Lookup Table Entries are the rows stored in a Lookup Table. Each entry has a unique lookup key value and one value per field defined on the table. This page covers adding, editing, and deleting entries one at a time, and importing many entries at once from a CSV file.
For background on tables, fields, and how flows query them, see Introduction to Lookup Tables.
Accessing the Entries tab
-
Navigate to the Operations module.
-
Open the Lookup Tables page and click a table's name to open its detail page.
-
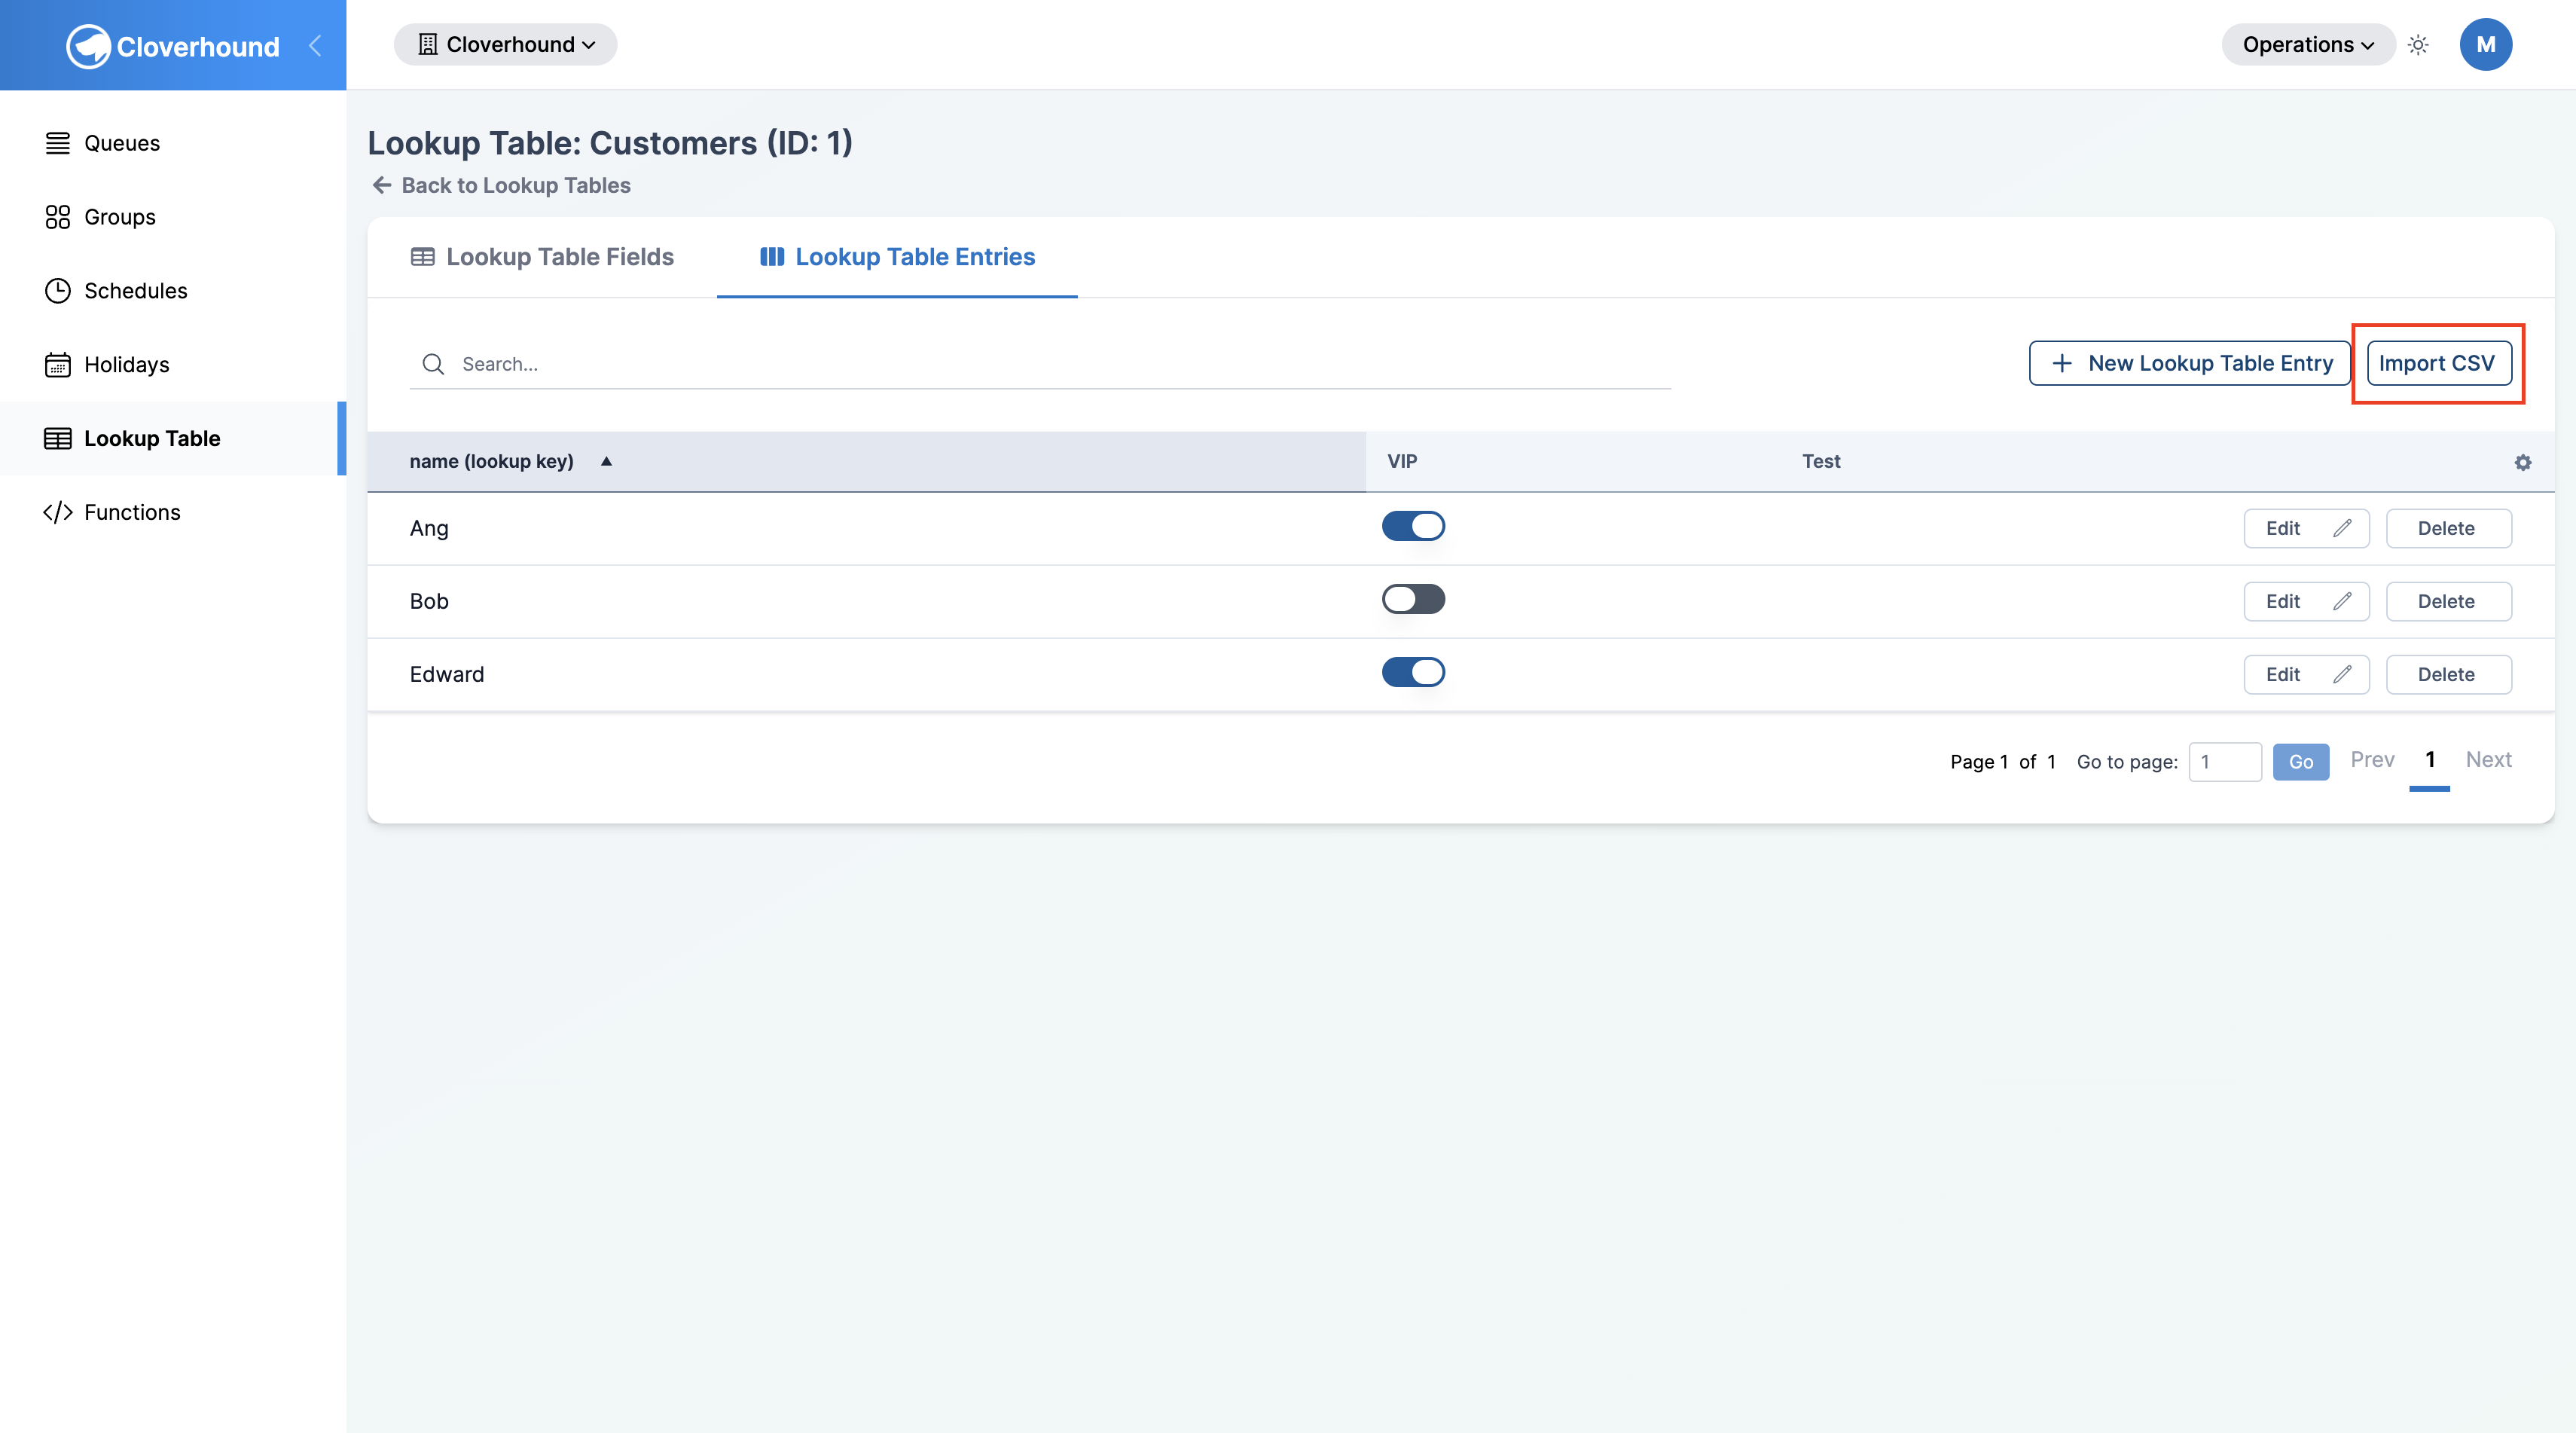
Open the Lookup Table Entries tab.
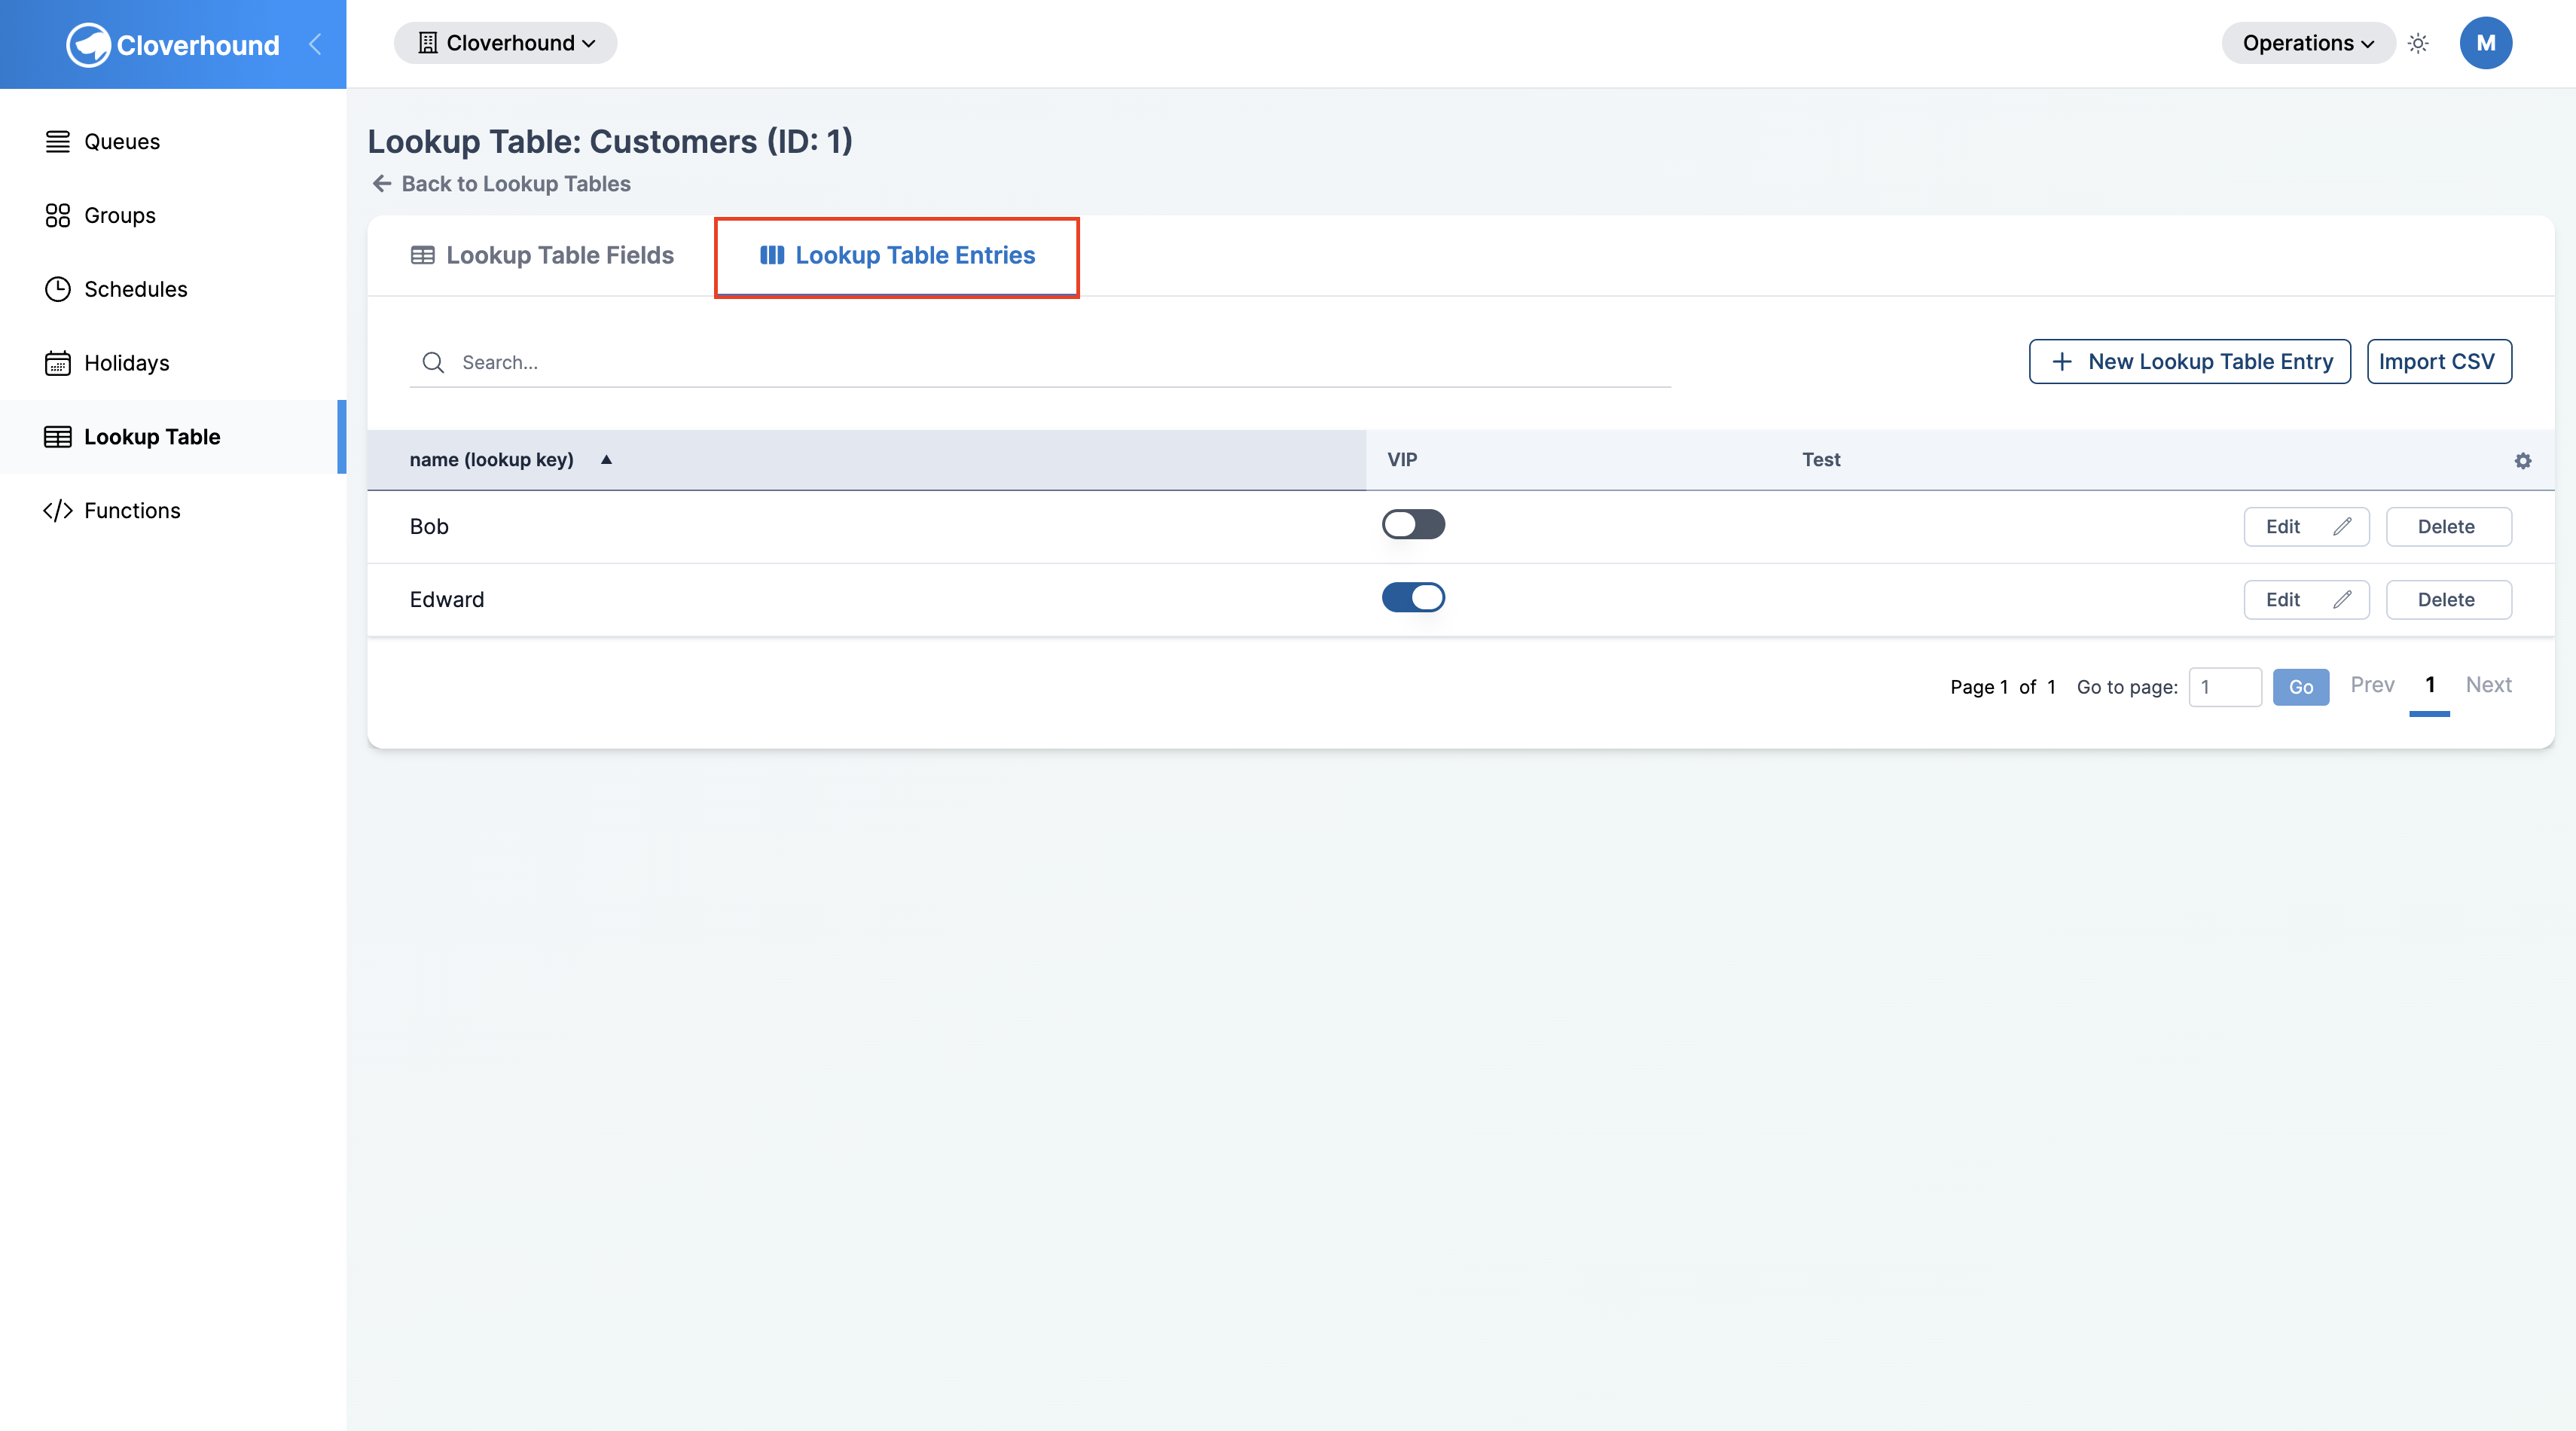
The table displays one column per field that has Show in table enabled, with the lookup key field pinned as the first column. Use the search box above the table to filter by lookup key.
Adding a Single Entry
-
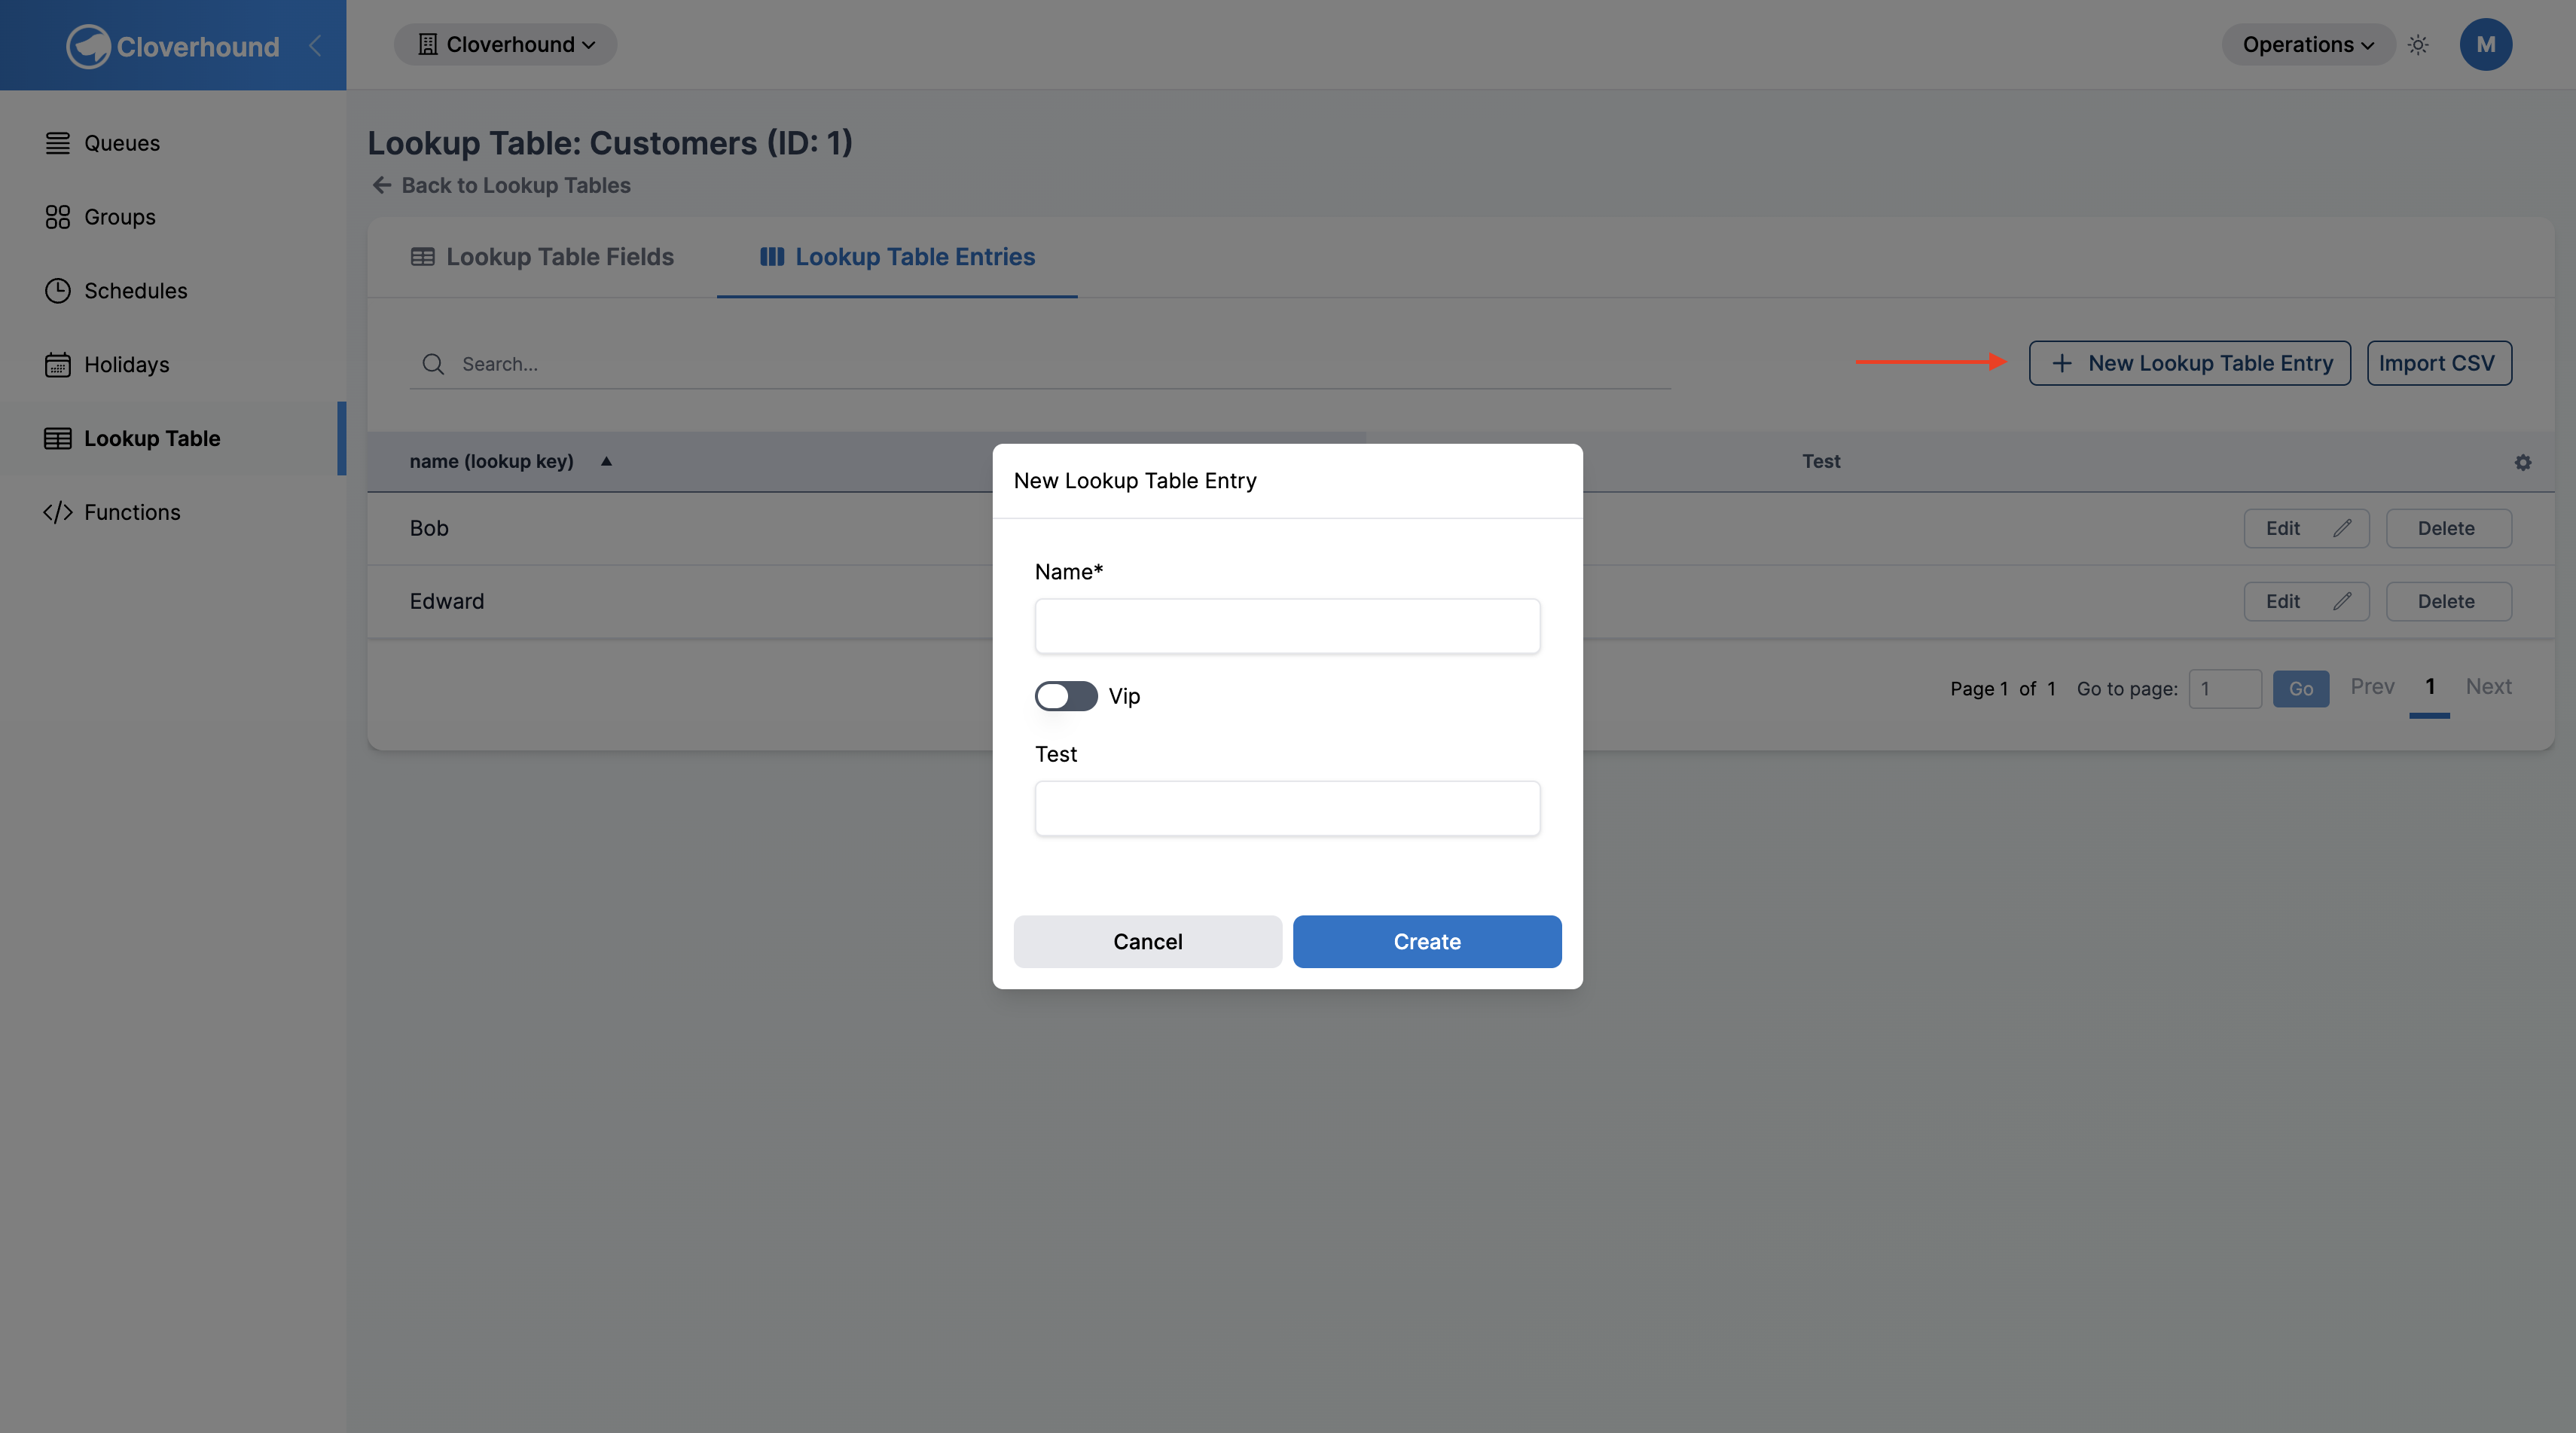
Click the New Lookup Table Entry button.
-
Fill out the form. The form shows one input per field on the table, with the lookup key field first:
- Lookup key field — required. Must be unique within the table (case-insensitive).
- Text fields — free text.
- Number fields — numeric value.
- Boolean fields — a toggle.
-
Click Create. Cloverhound Cloud creates the entry and returns you to the Entries tab.
If the lookup key is already in use, the save fails with an error stating the key must be unique within the same lookup table (case-insensitive).
Editing an Entry
-
Locate the entry on the Entries tab. Use the search box if needed.
-
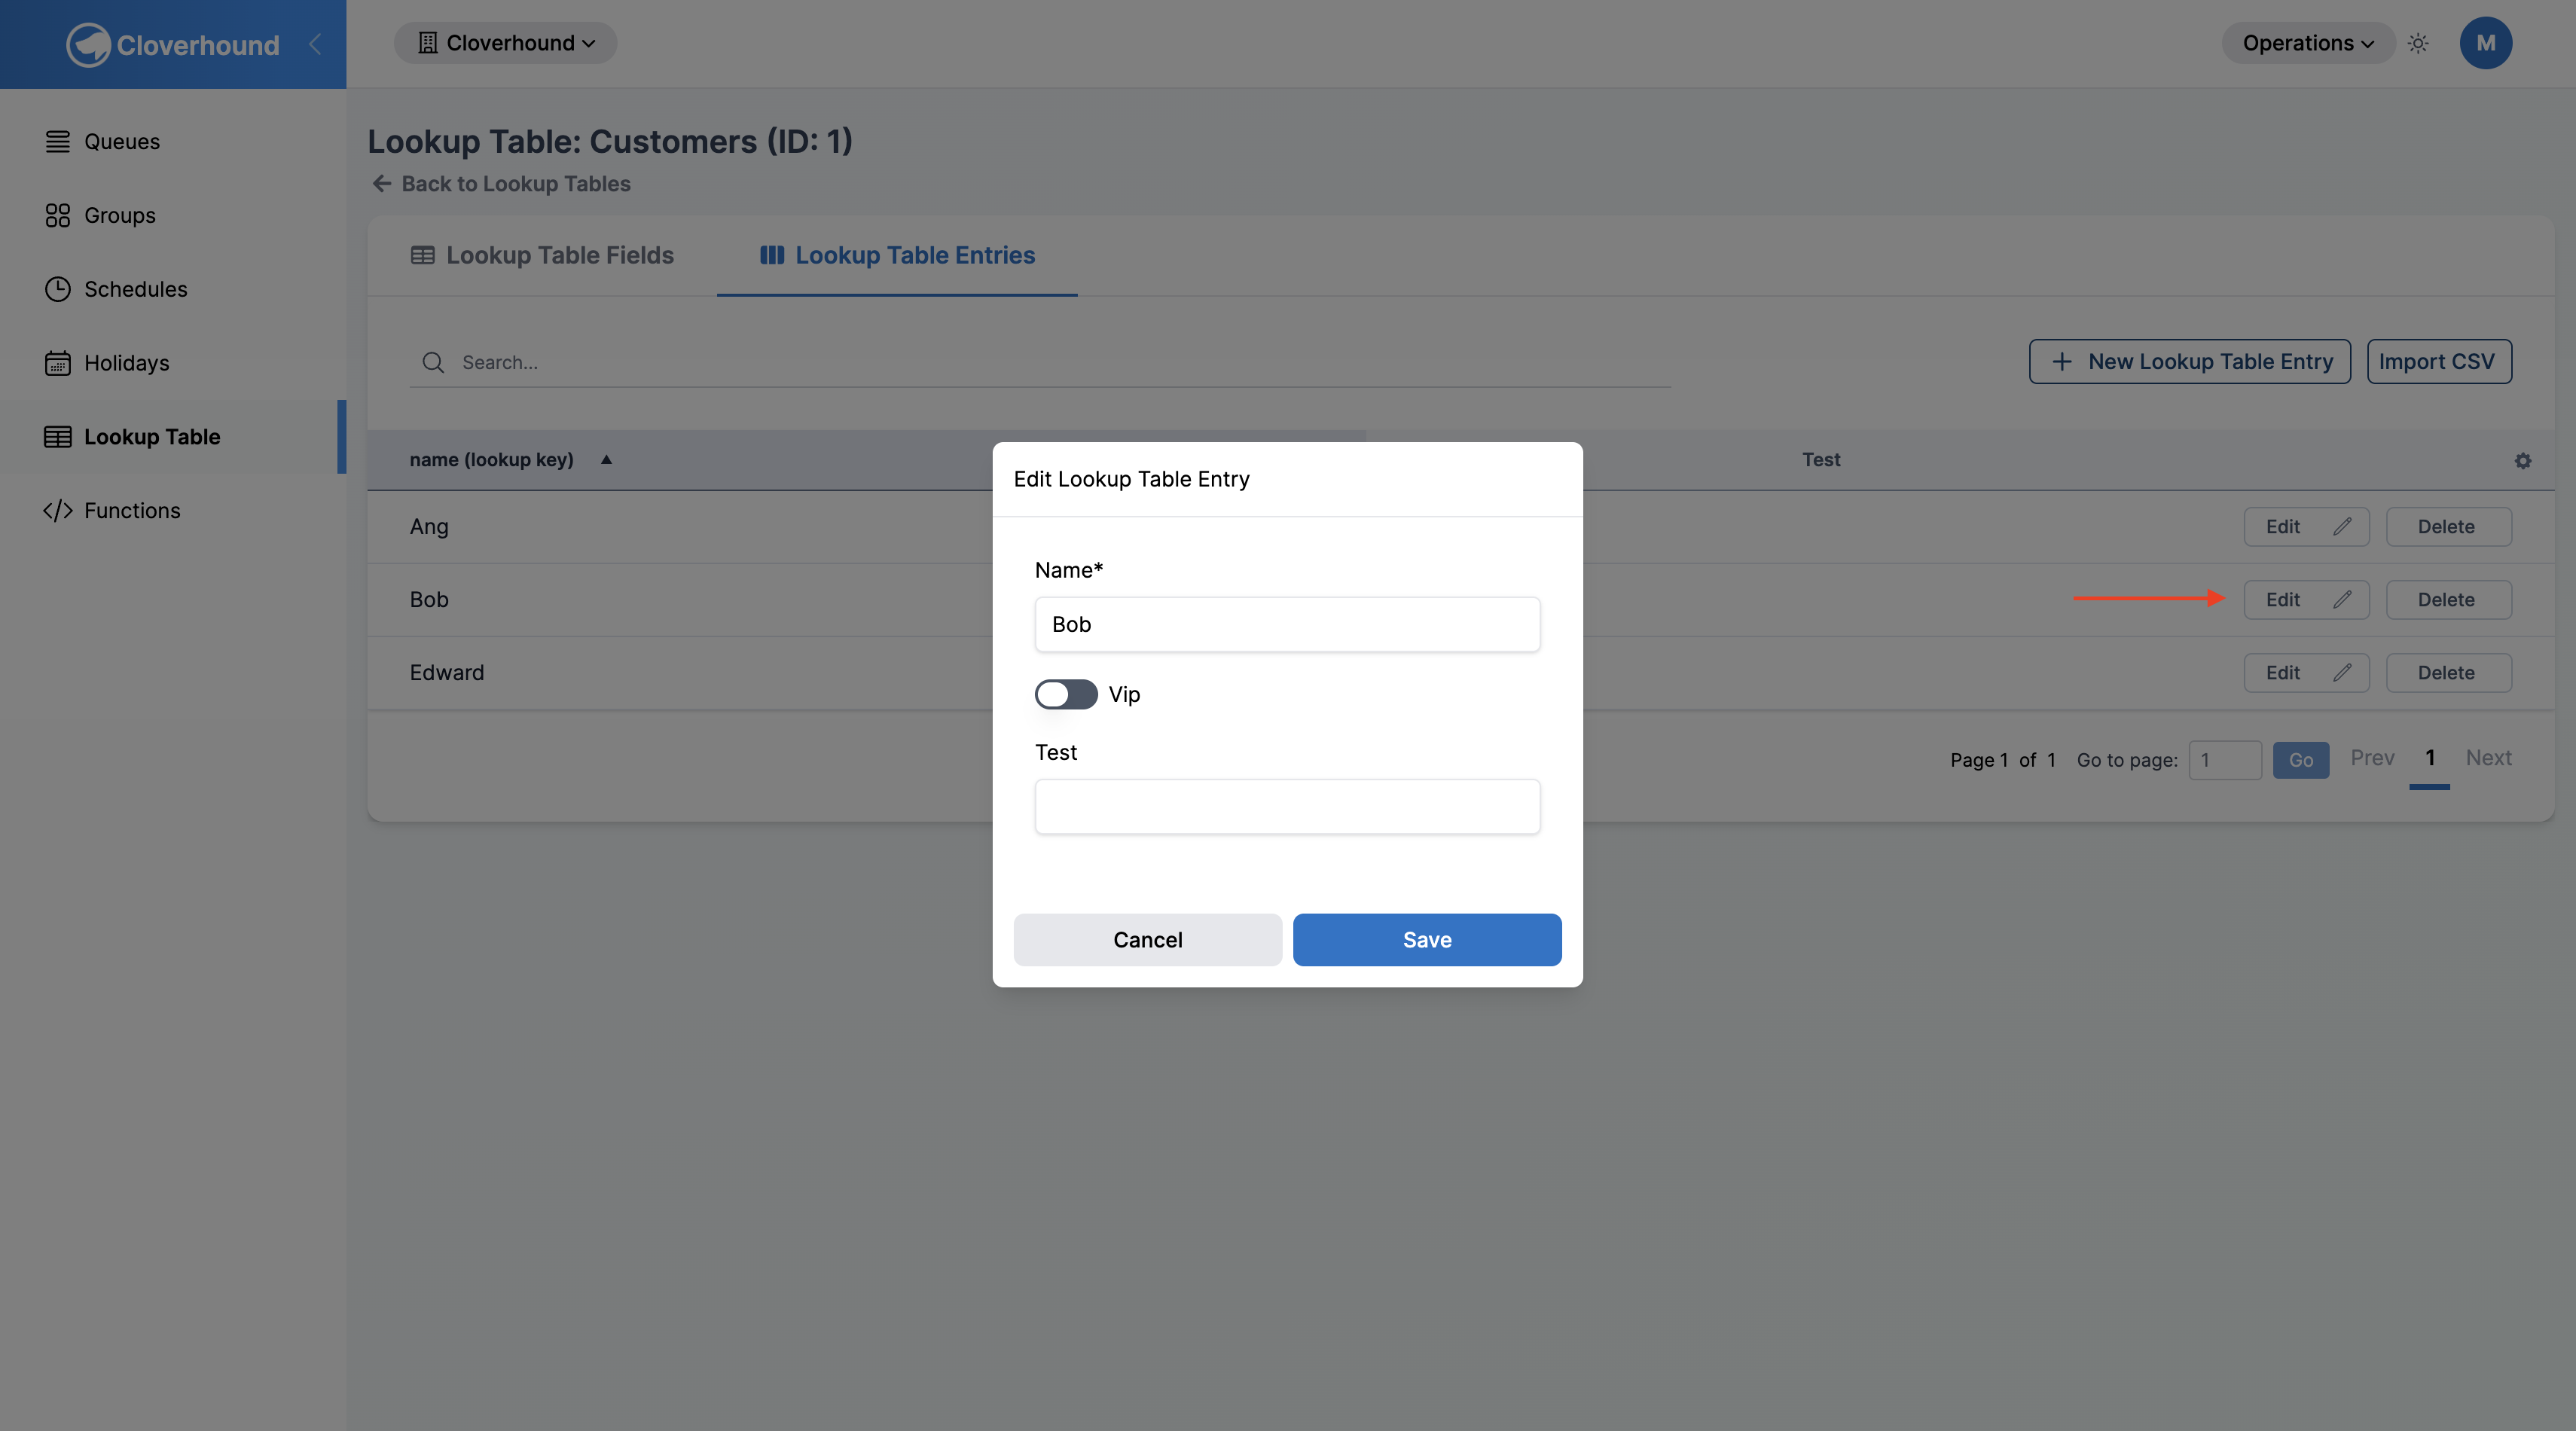
Click the Edit button on that row.
-
Update any field, including the lookup key. Changing the lookup key is allowed as long as the new value is still unique within the table.
-
Click Save.
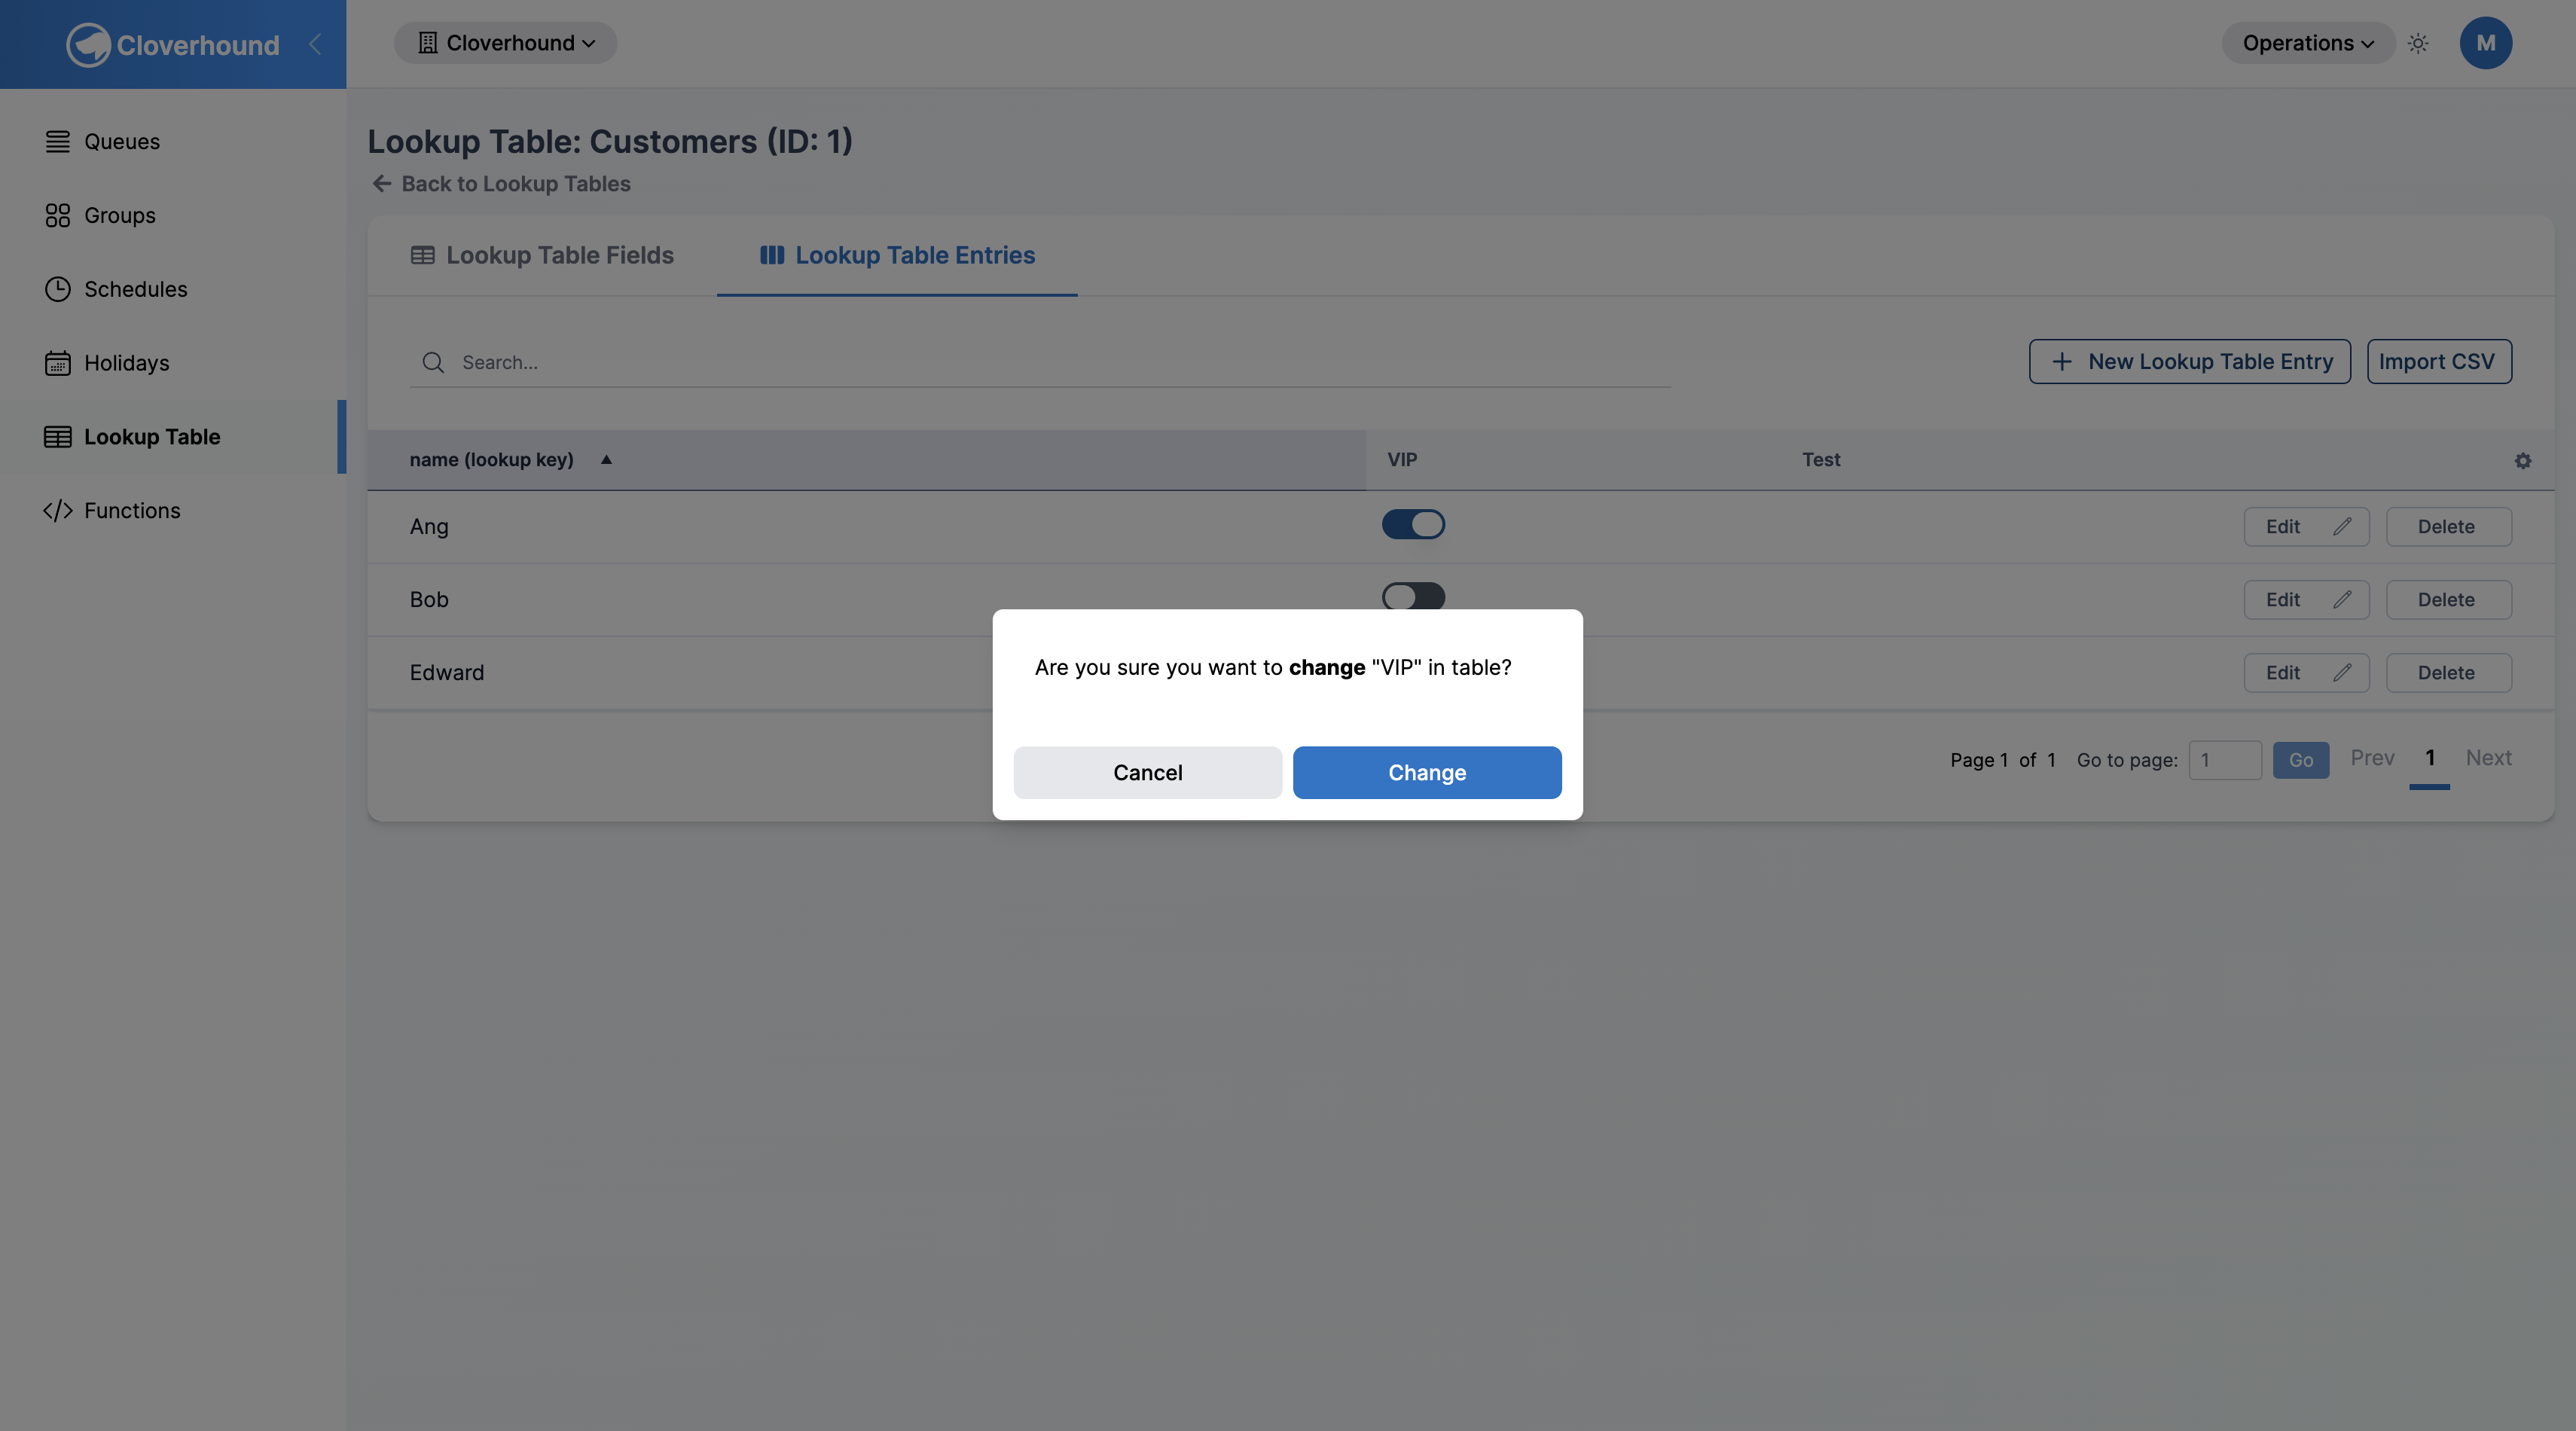
For Boolean columns visible in the table, you can also flip the value directly from the row's toggle; Cloverhound Cloud asks you to confirm the change before saving.
Deleting an Entry
- Click the Delete button on the entry's row.
- Confirm the deletion.
Deleting an entry removes it immediately and cannot be undone. Flows that look up this key will no longer find a match.
Importing Entries from CSV
Use CSV import to add many entries at once.
-
Click the Import CSV button on the Entries tab.
-
Drag and drop a
.csvfile into the drop zone, or click to pick one. Only files with atext/csvMIME type are accepted.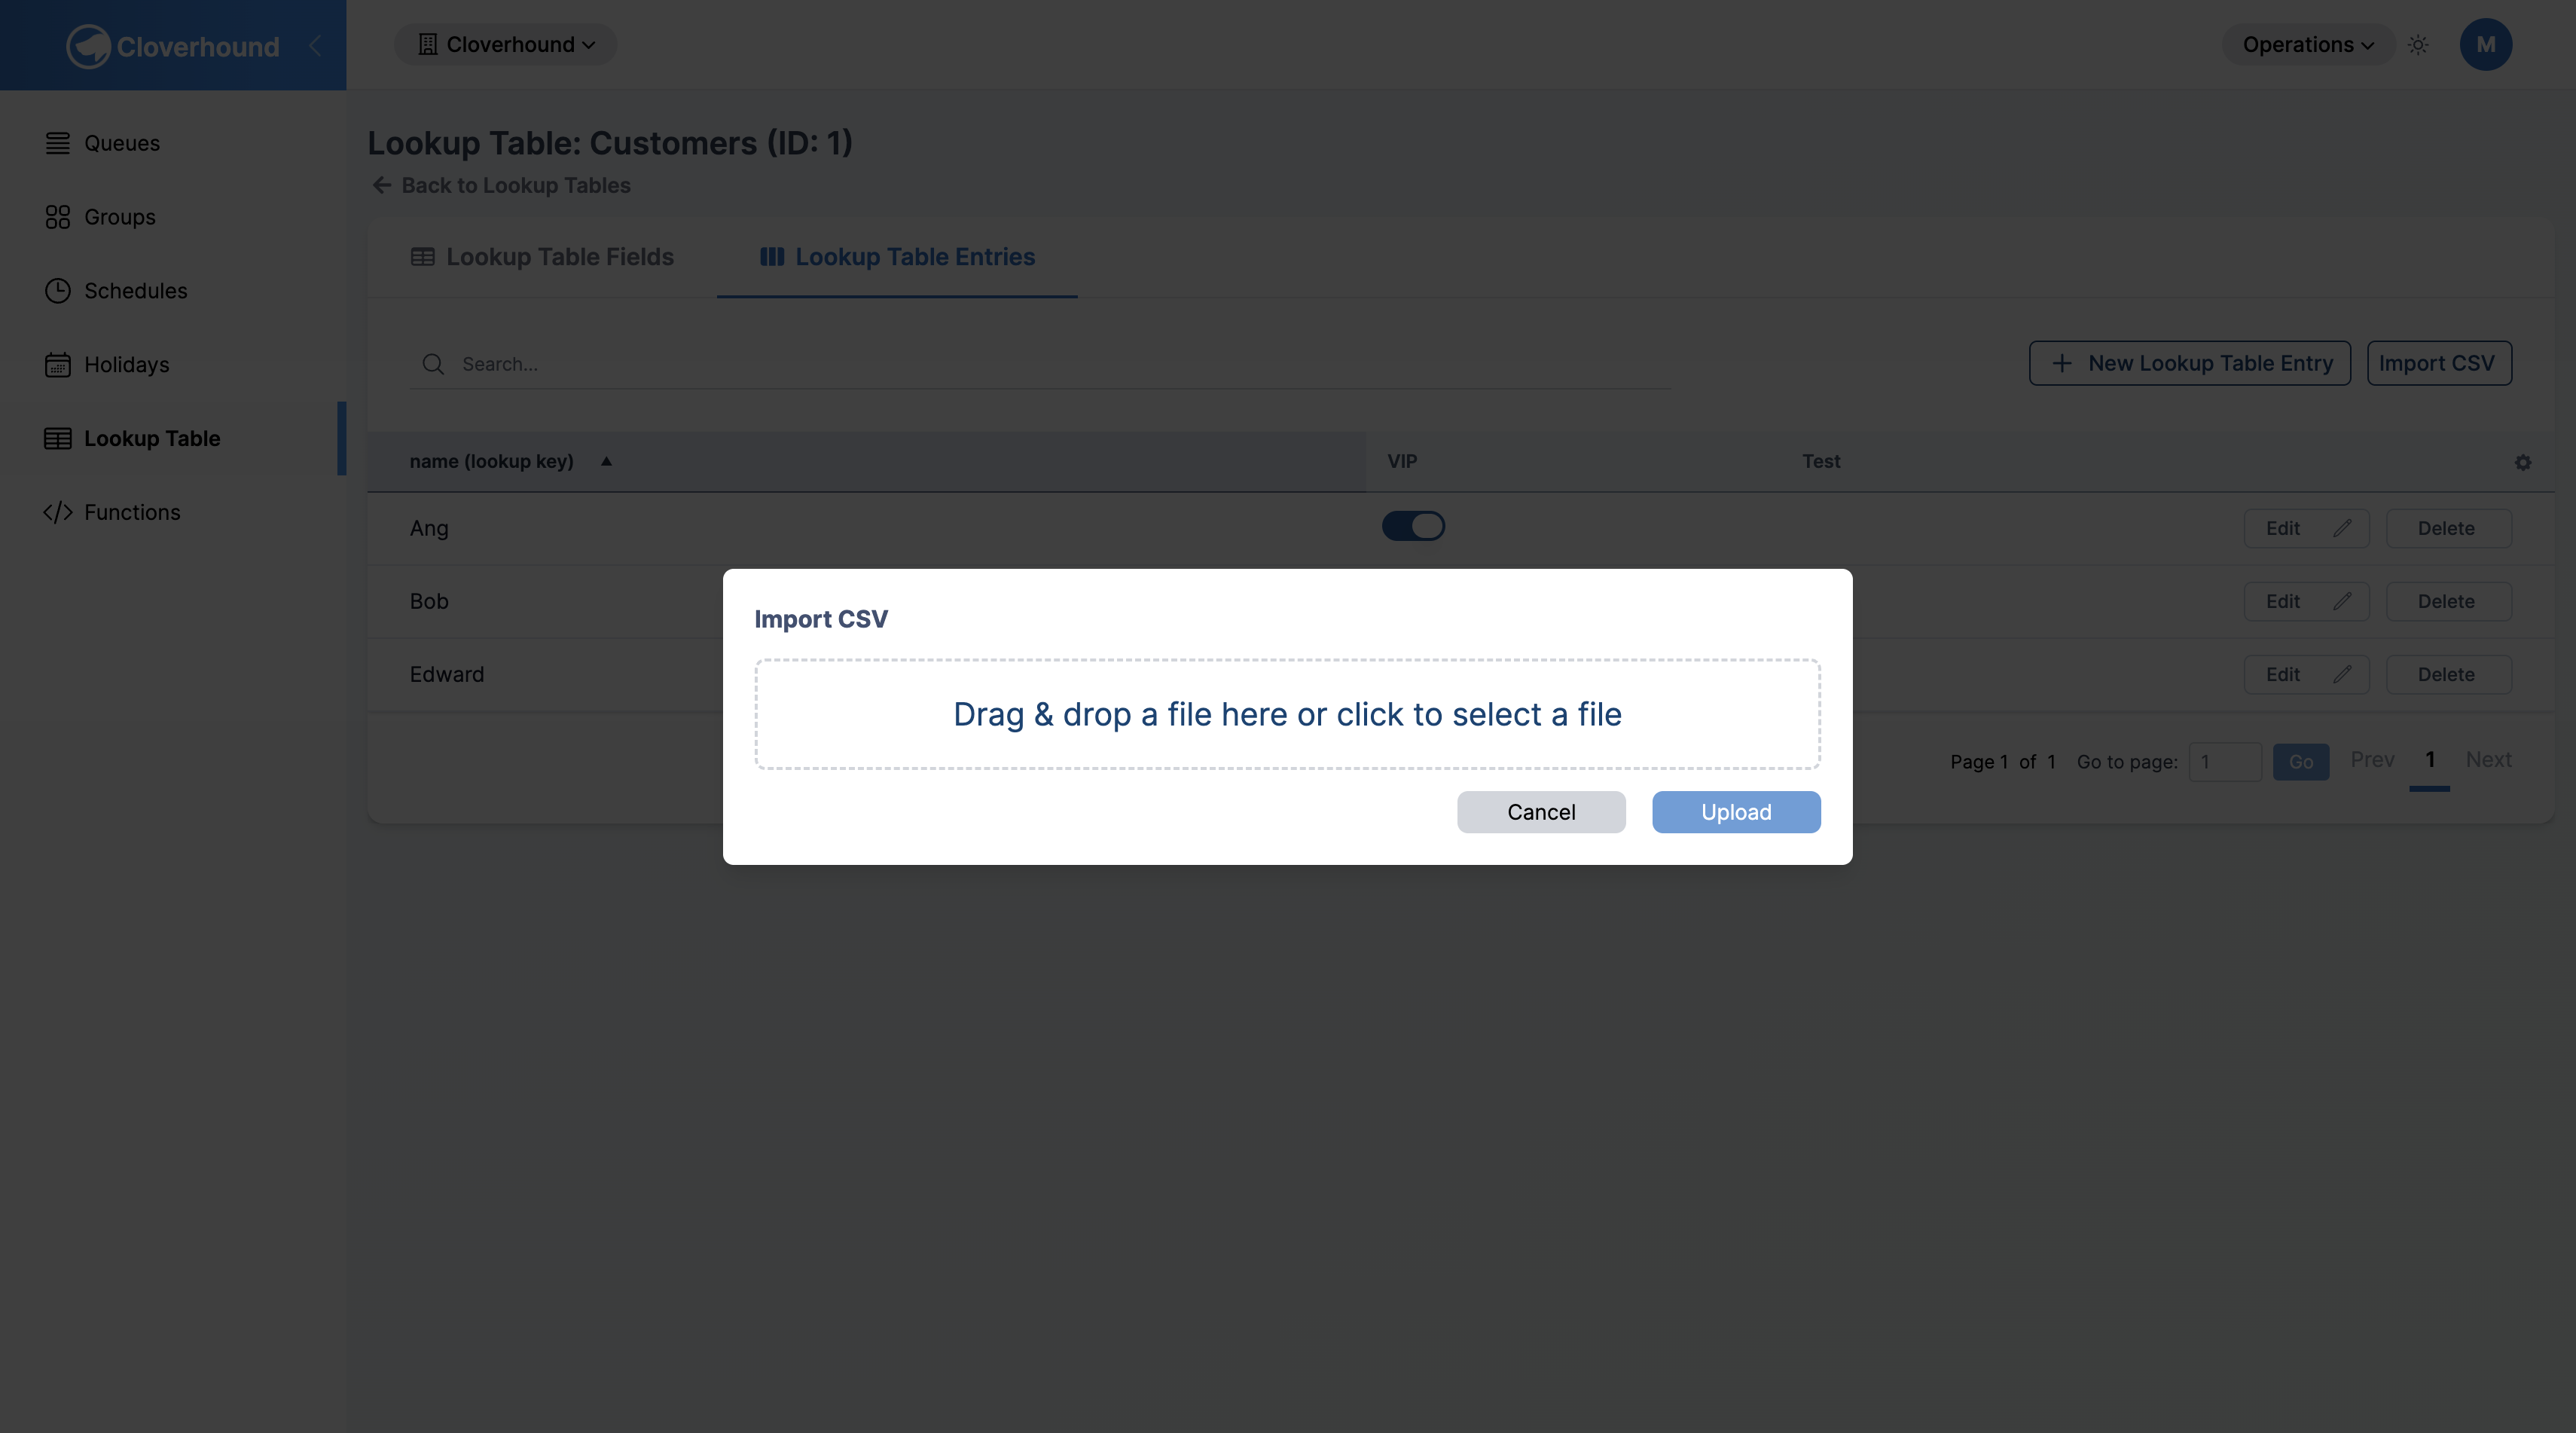
-
Click Upload. Cloverhound Cloud validates the file and shows a preview with one row per record and one column per field defined on the table.
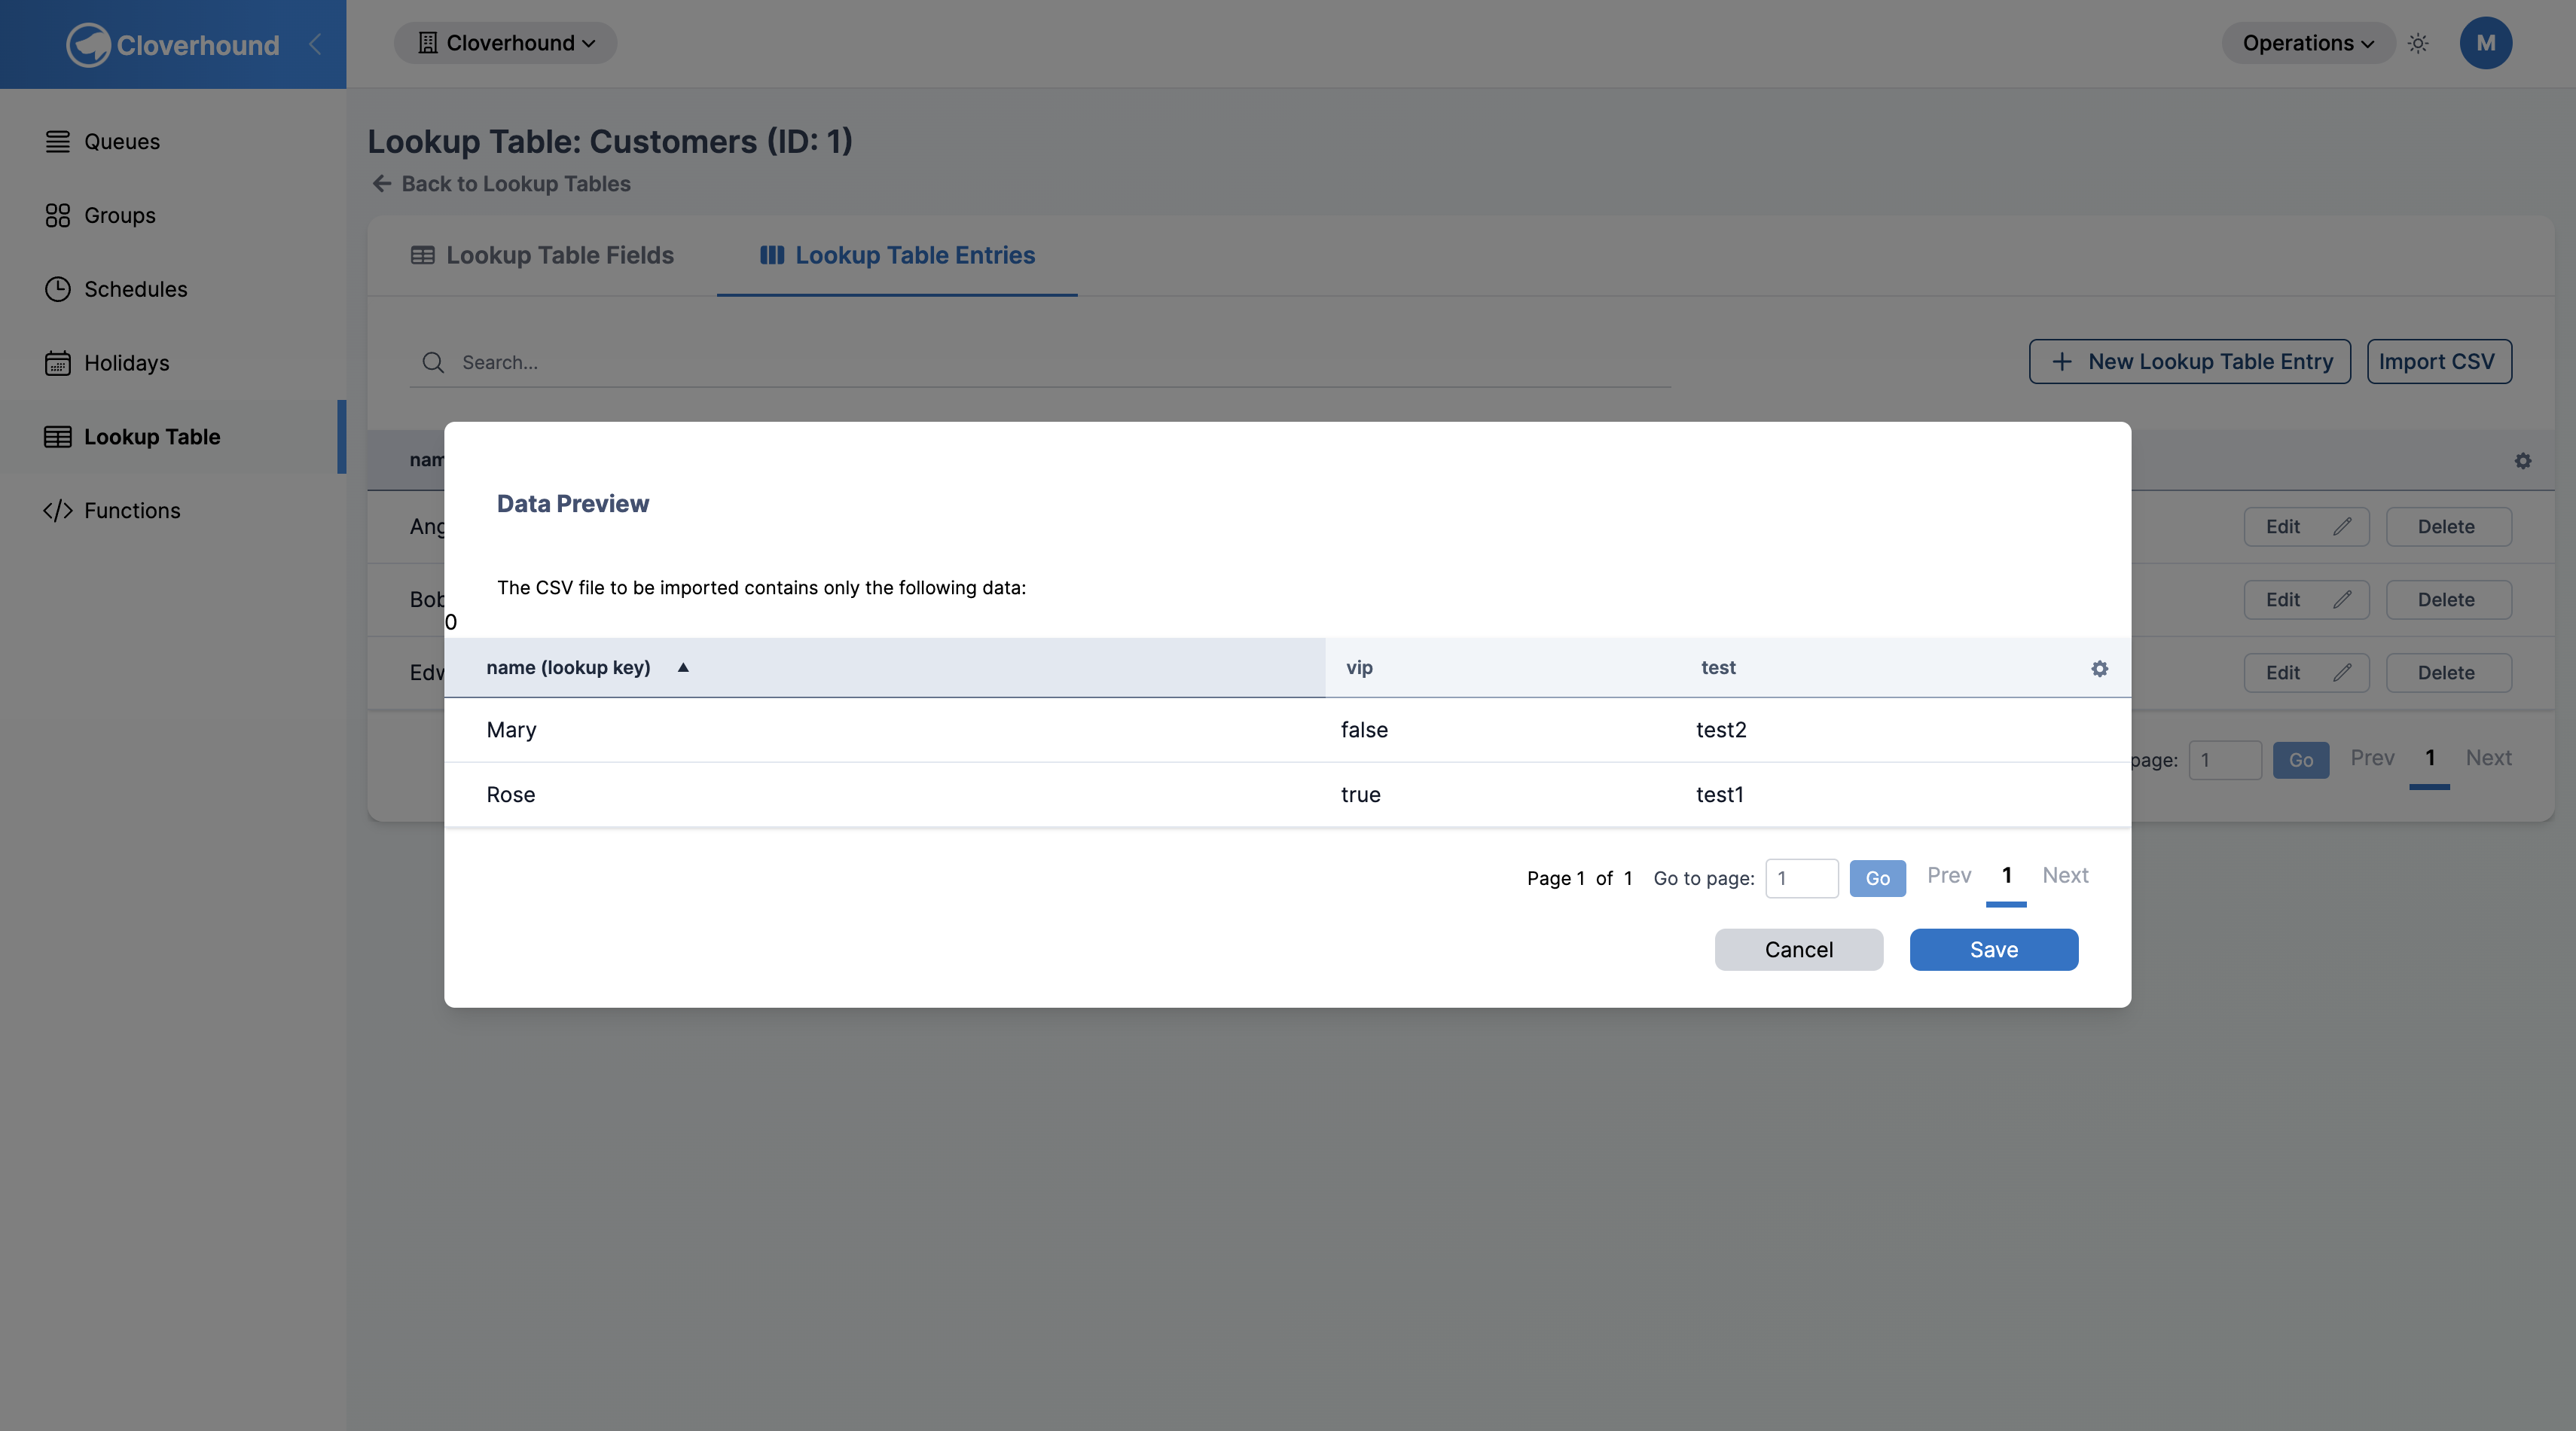
-
Review the preview, then click Save to import the entries, or Cancel to discard the file.
CSV Format
- The first row must contain column headers. Header names are normalized on upload: they are trimmed, lowercased, internal whitespace is converted to underscores, and any character outside
a-z,0-9, and_is removed. For example,Account IDandaccount-idboth becomeaccount_id. - The CSV must include a column that matches the table's lookup key field after normalization. If it does not, the upload is rejected with a message like
CSV file is missing the required '<lookup_key>' header. - Columns whose normalized name does not match a field on the table are ignored.
- Empty rows are skipped.
- Field values are validated by type:
- Text — any string is accepted.
- Number — only integer values (optionally signed) are accepted during import validation.
- Boolean — only
trueorfalse(case-insensitive) are accepted.
Example
For a table with lookup key account_id and fields tier (Text), priority (Number), and active (Boolean), a minimal CSV looks like:
account_id,tier,priority,active
A-1001,gold,1,true
A-1002,silver,2,false
A-1003,bronze,3,true
Header casing and punctuation do not matter — Account ID and account-id normalize to the same name as account_id.
Duplicate Handling
- If a row's lookup key already exists in the table, the preview highlights that key in yellow with the banner Duplicate entries will not be saved, lookup keys highlighted.
- On save, duplicate rows are skipped — existing entries are left unchanged. New rows are appended to the table. There is no overwrite or replace option for Lookup Table entries; to change an existing entry, edit it from the Entries tab.
Validation Warnings
If any row fails type validation, the upload is returned to the drop zone with a red warning panel listing each problem, for example Type mismatch for status: expected Boolean, got String. Fix the file and upload it again.
Validation runs on every row. A single bad row causes all warnings to be surfaced together so you can correct them in one pass before re-uploading.
With entries in place, flows can look up rows by the table's lookup key and read any of its fields. To change the schema of the table itself, see Introduction to Lookup Tables.