Managing Browser Monitor Sessions
A Browser Monitor Session captures telemetry from an agent's browser while they work, including CPU usage, WebRTC call quality, network latency, console logs, and environment details such as browser, operating system, ISP, and location. Use this page to review agent session health, investigate a specific session that an agent reported, and spot organization-wide trends in latency and browser mix.
Sessions are created automatically by the Cloverhound Cloud widget running in the agent's browser. You do not create sessions by hand from this page.
Accessing Browser Monitor Sessions
-
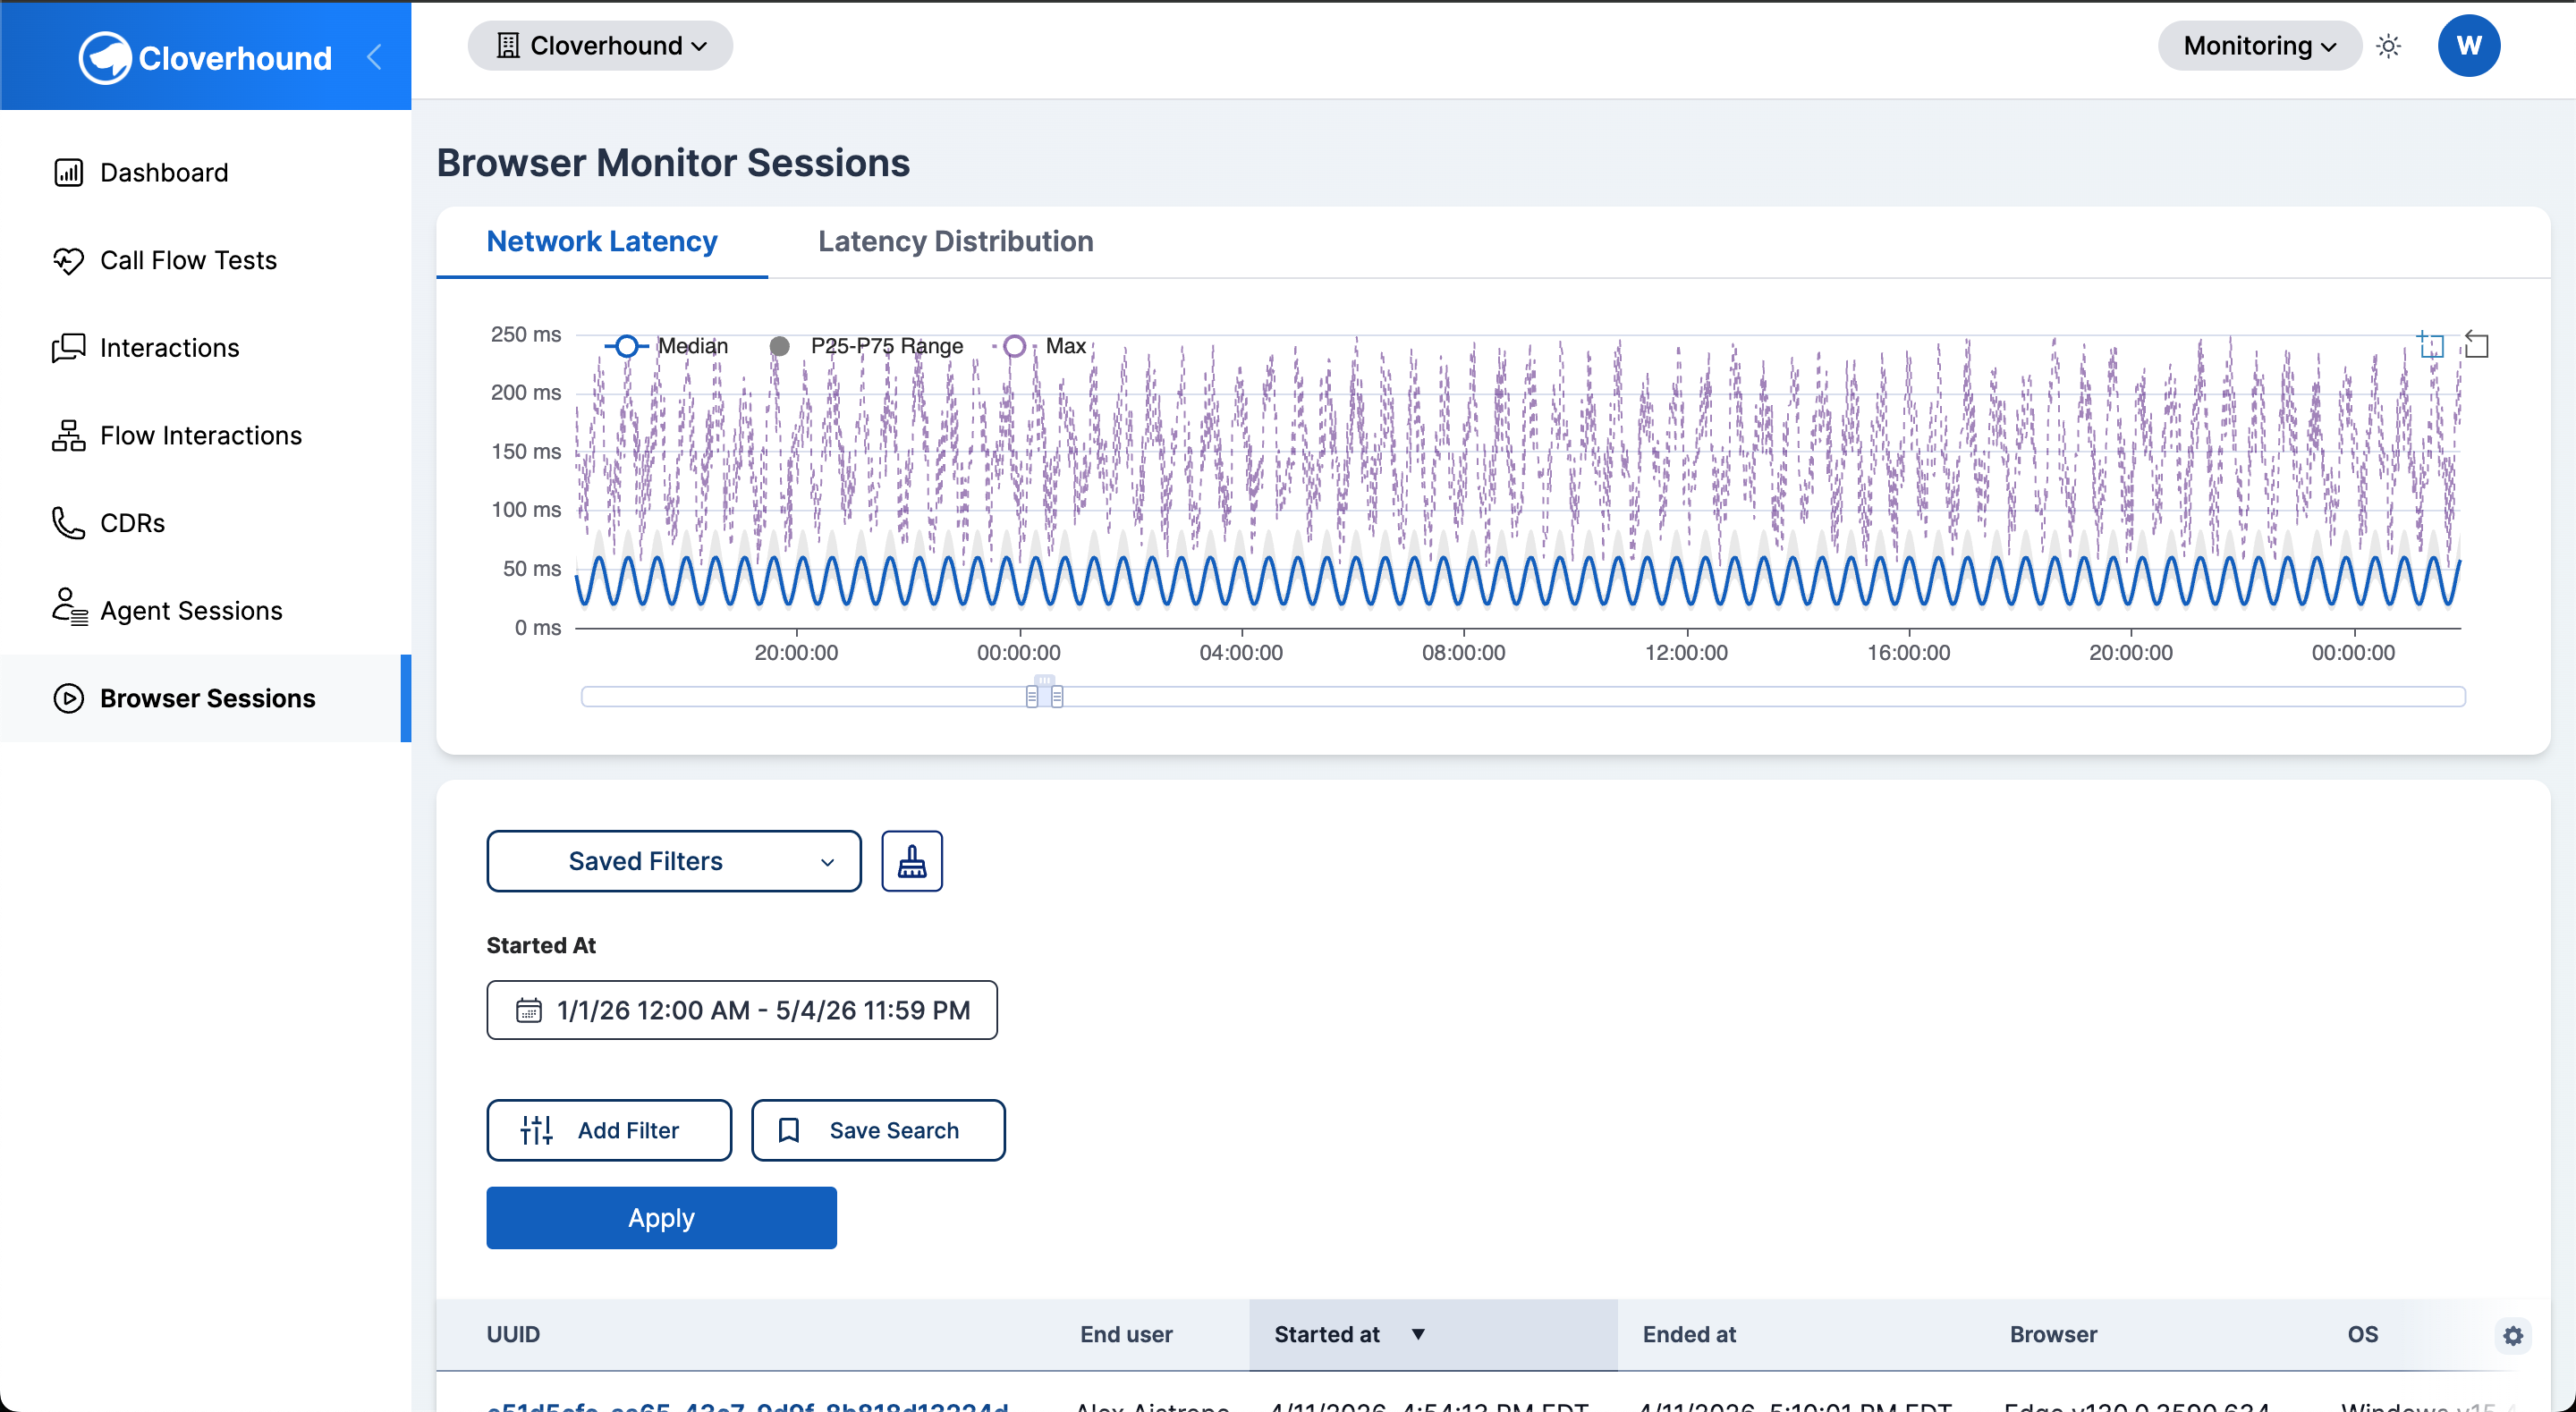
Navigate to the Monitoring module.
-
Open the Browser Monitor page.
-
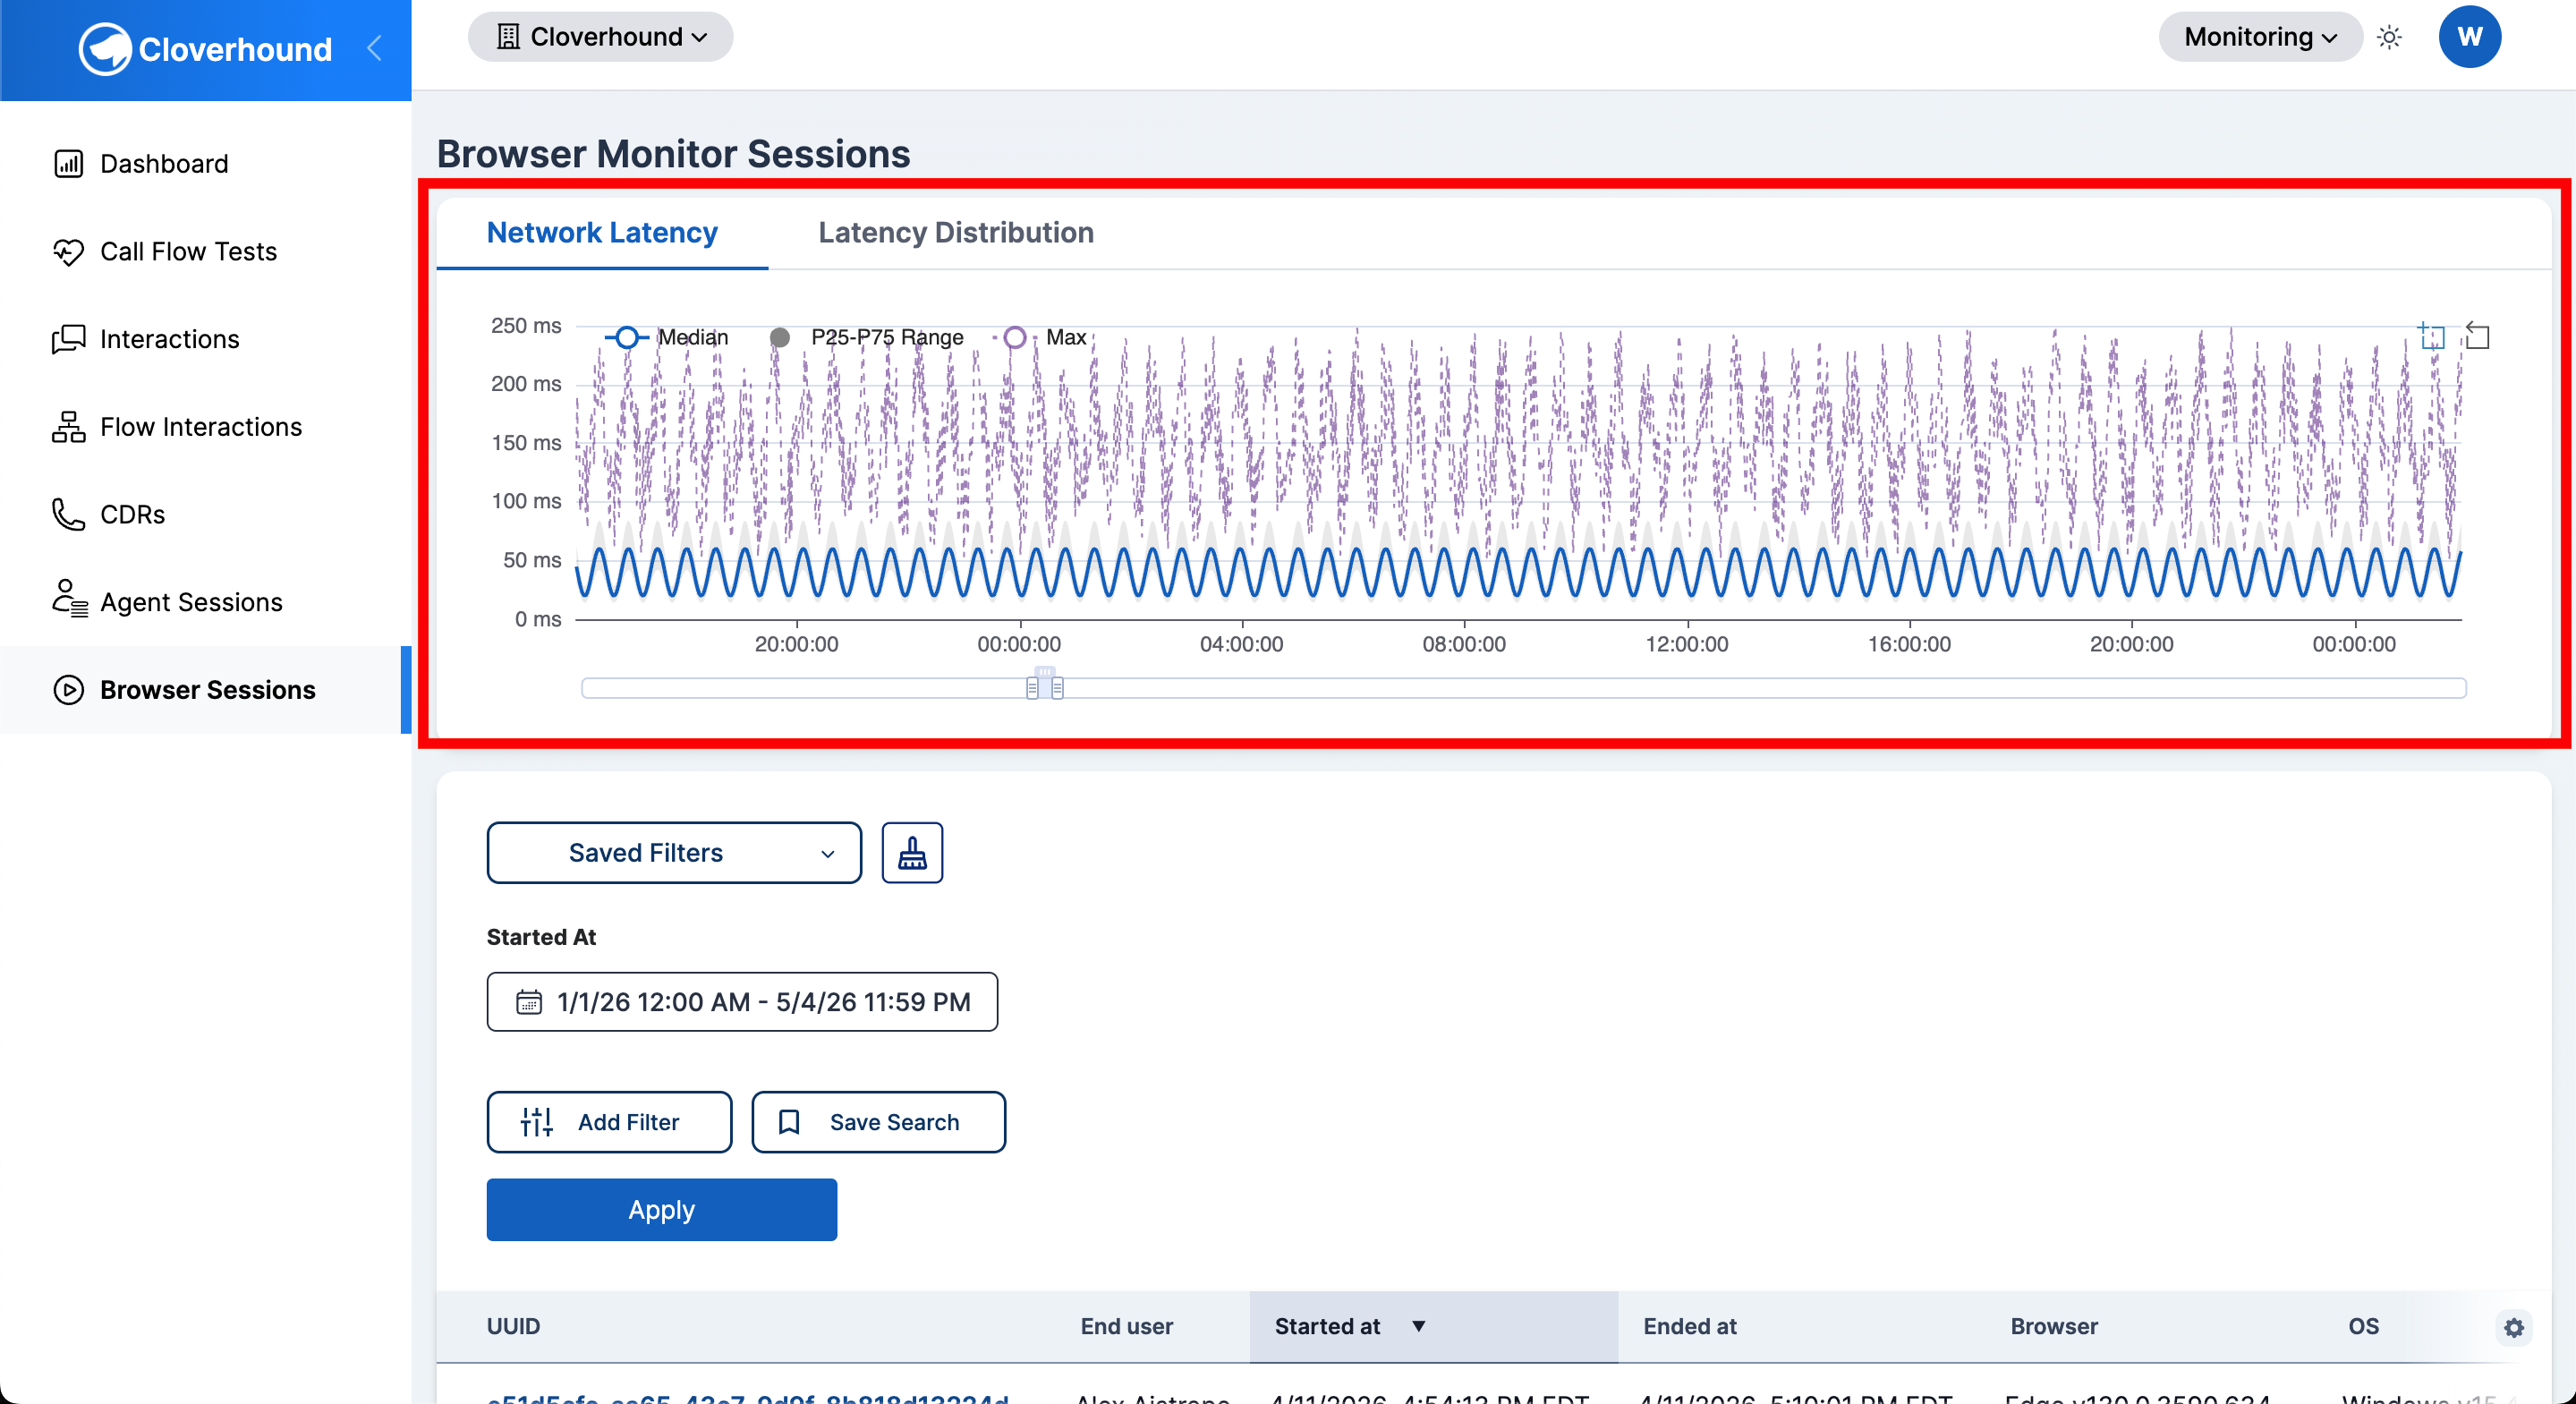
Review the two organization-wide charts at the top of the page:
- Network Latency — a time-series chart of network latency across all sessions in the current date range.
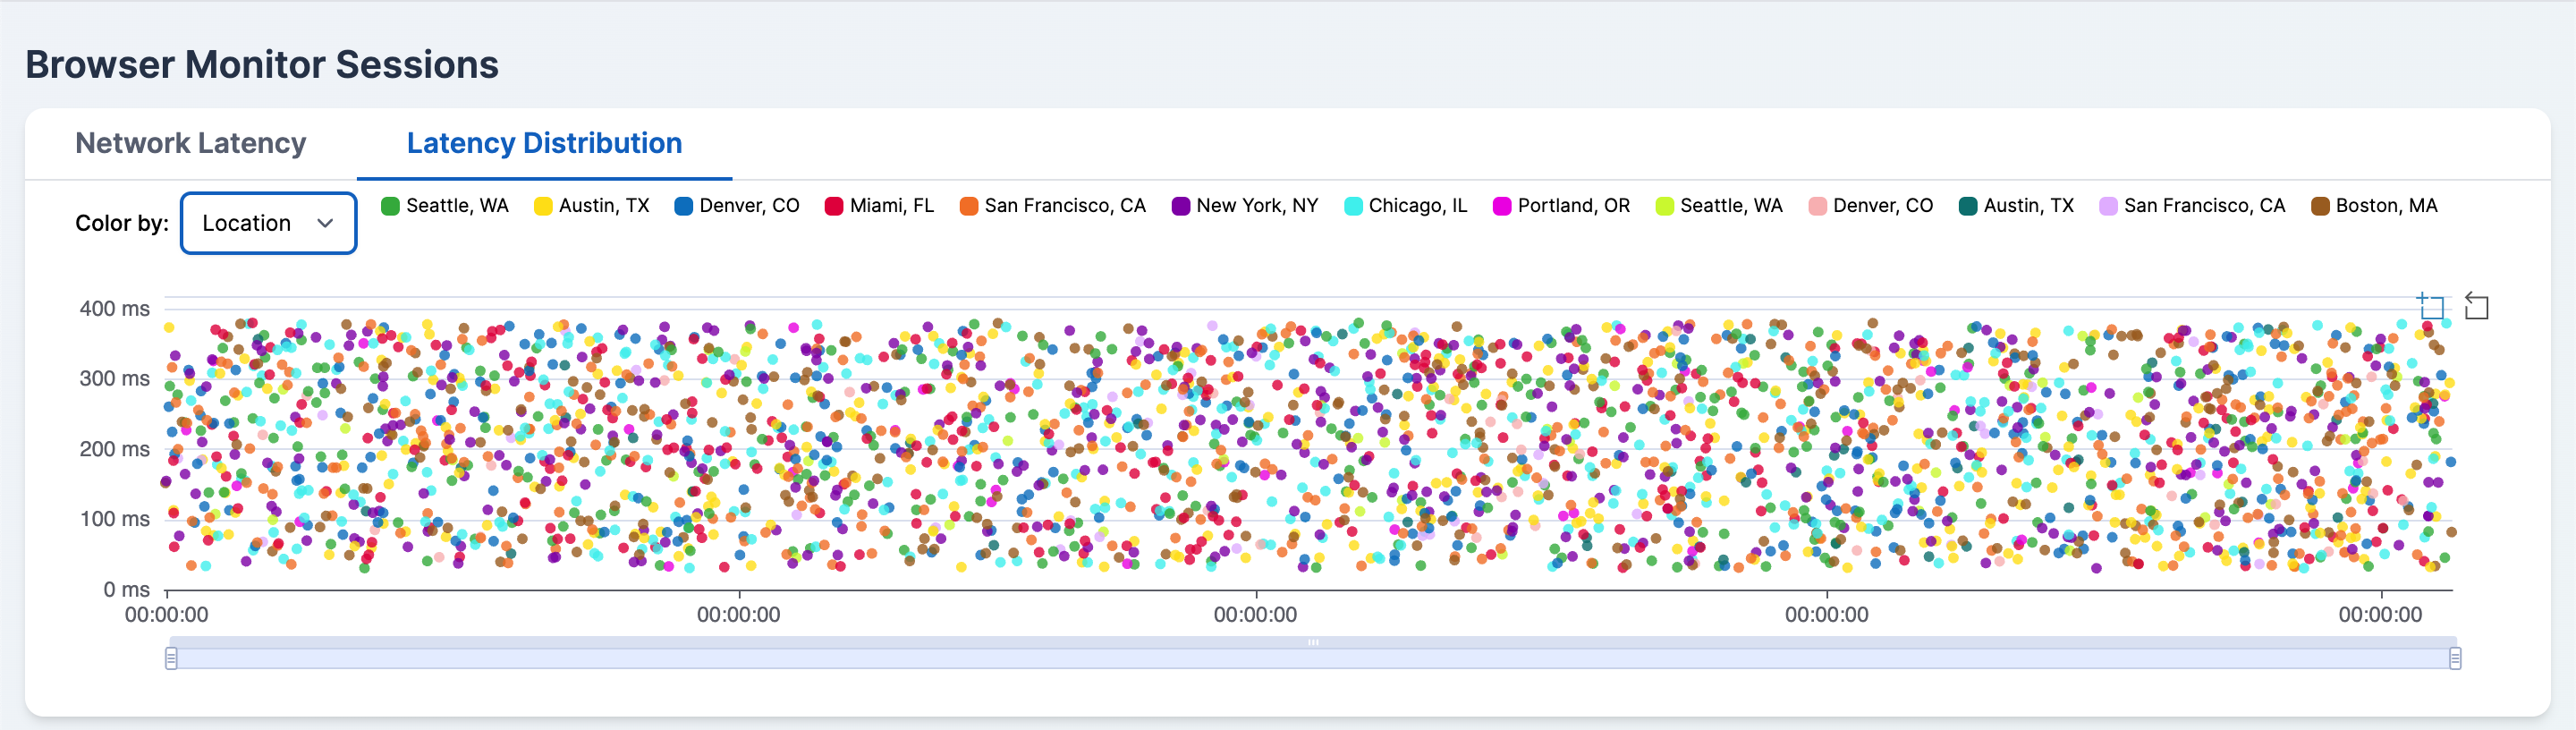
- Latency Distribution — a scatter plot showing the maximum latency per session. Use the Color by dropdown to color points by Location, ISP, Browser, or Agent. Click a legend item to hide or show that category.
Finding a Session
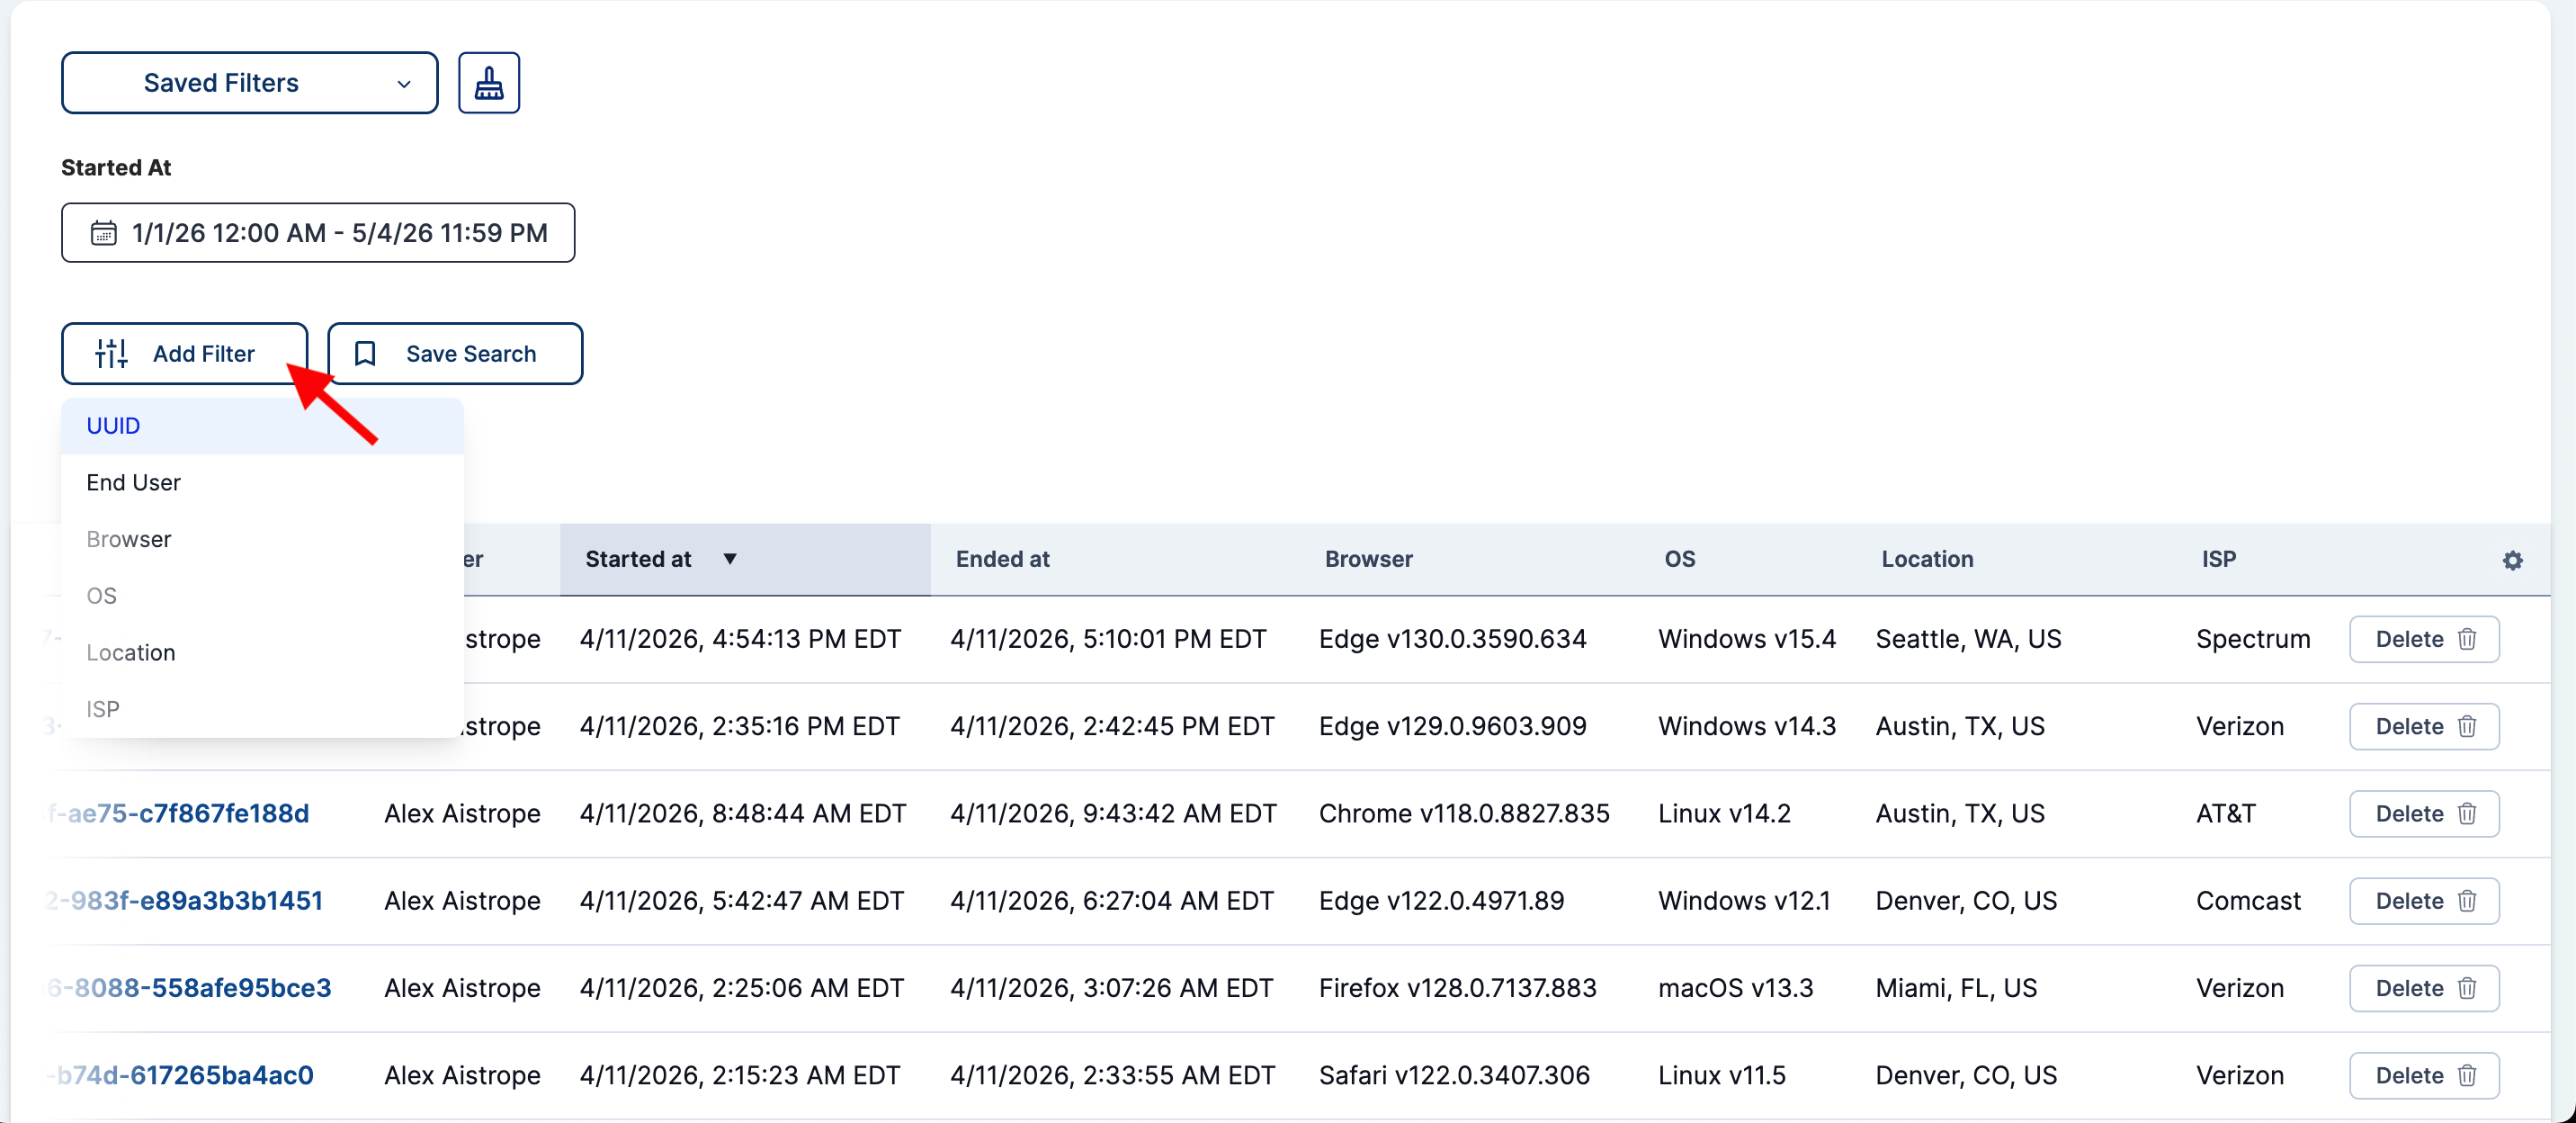
The sessions table lists every session that matches the current filters. Each row shows:
- UUID — the session identifier; click to open the session detail page.
- End user — the agent who ran the session.
- Started at and Ended at — session start and end times in your organization's time zone.
- Browser — browser name and version.
- OS — operating system name and version.
- Location — city, state, and country derived from the agent's IP address.
- ISP — the internet service provider, normalized for grouping.
-
Adjust the Started At date range to cover the period you want to investigate.
-
Apply one or more filters from the left panel:
- UUID — look up a specific session by its identifier.
- End User — filter by the agent's name, email, or both.
- Browser — filter by browser name or by a specific browser version.
- OS — filter by one or more operating systems.
- Location — filter by city, state, country, or any of those fields.
- ISP — filter by one or more internet service providers.
-
Sort the table by clicking any sortable column header. Click again to reverse the order.
-
Click a session's UUID to open its detail page.
Reviewing a Session
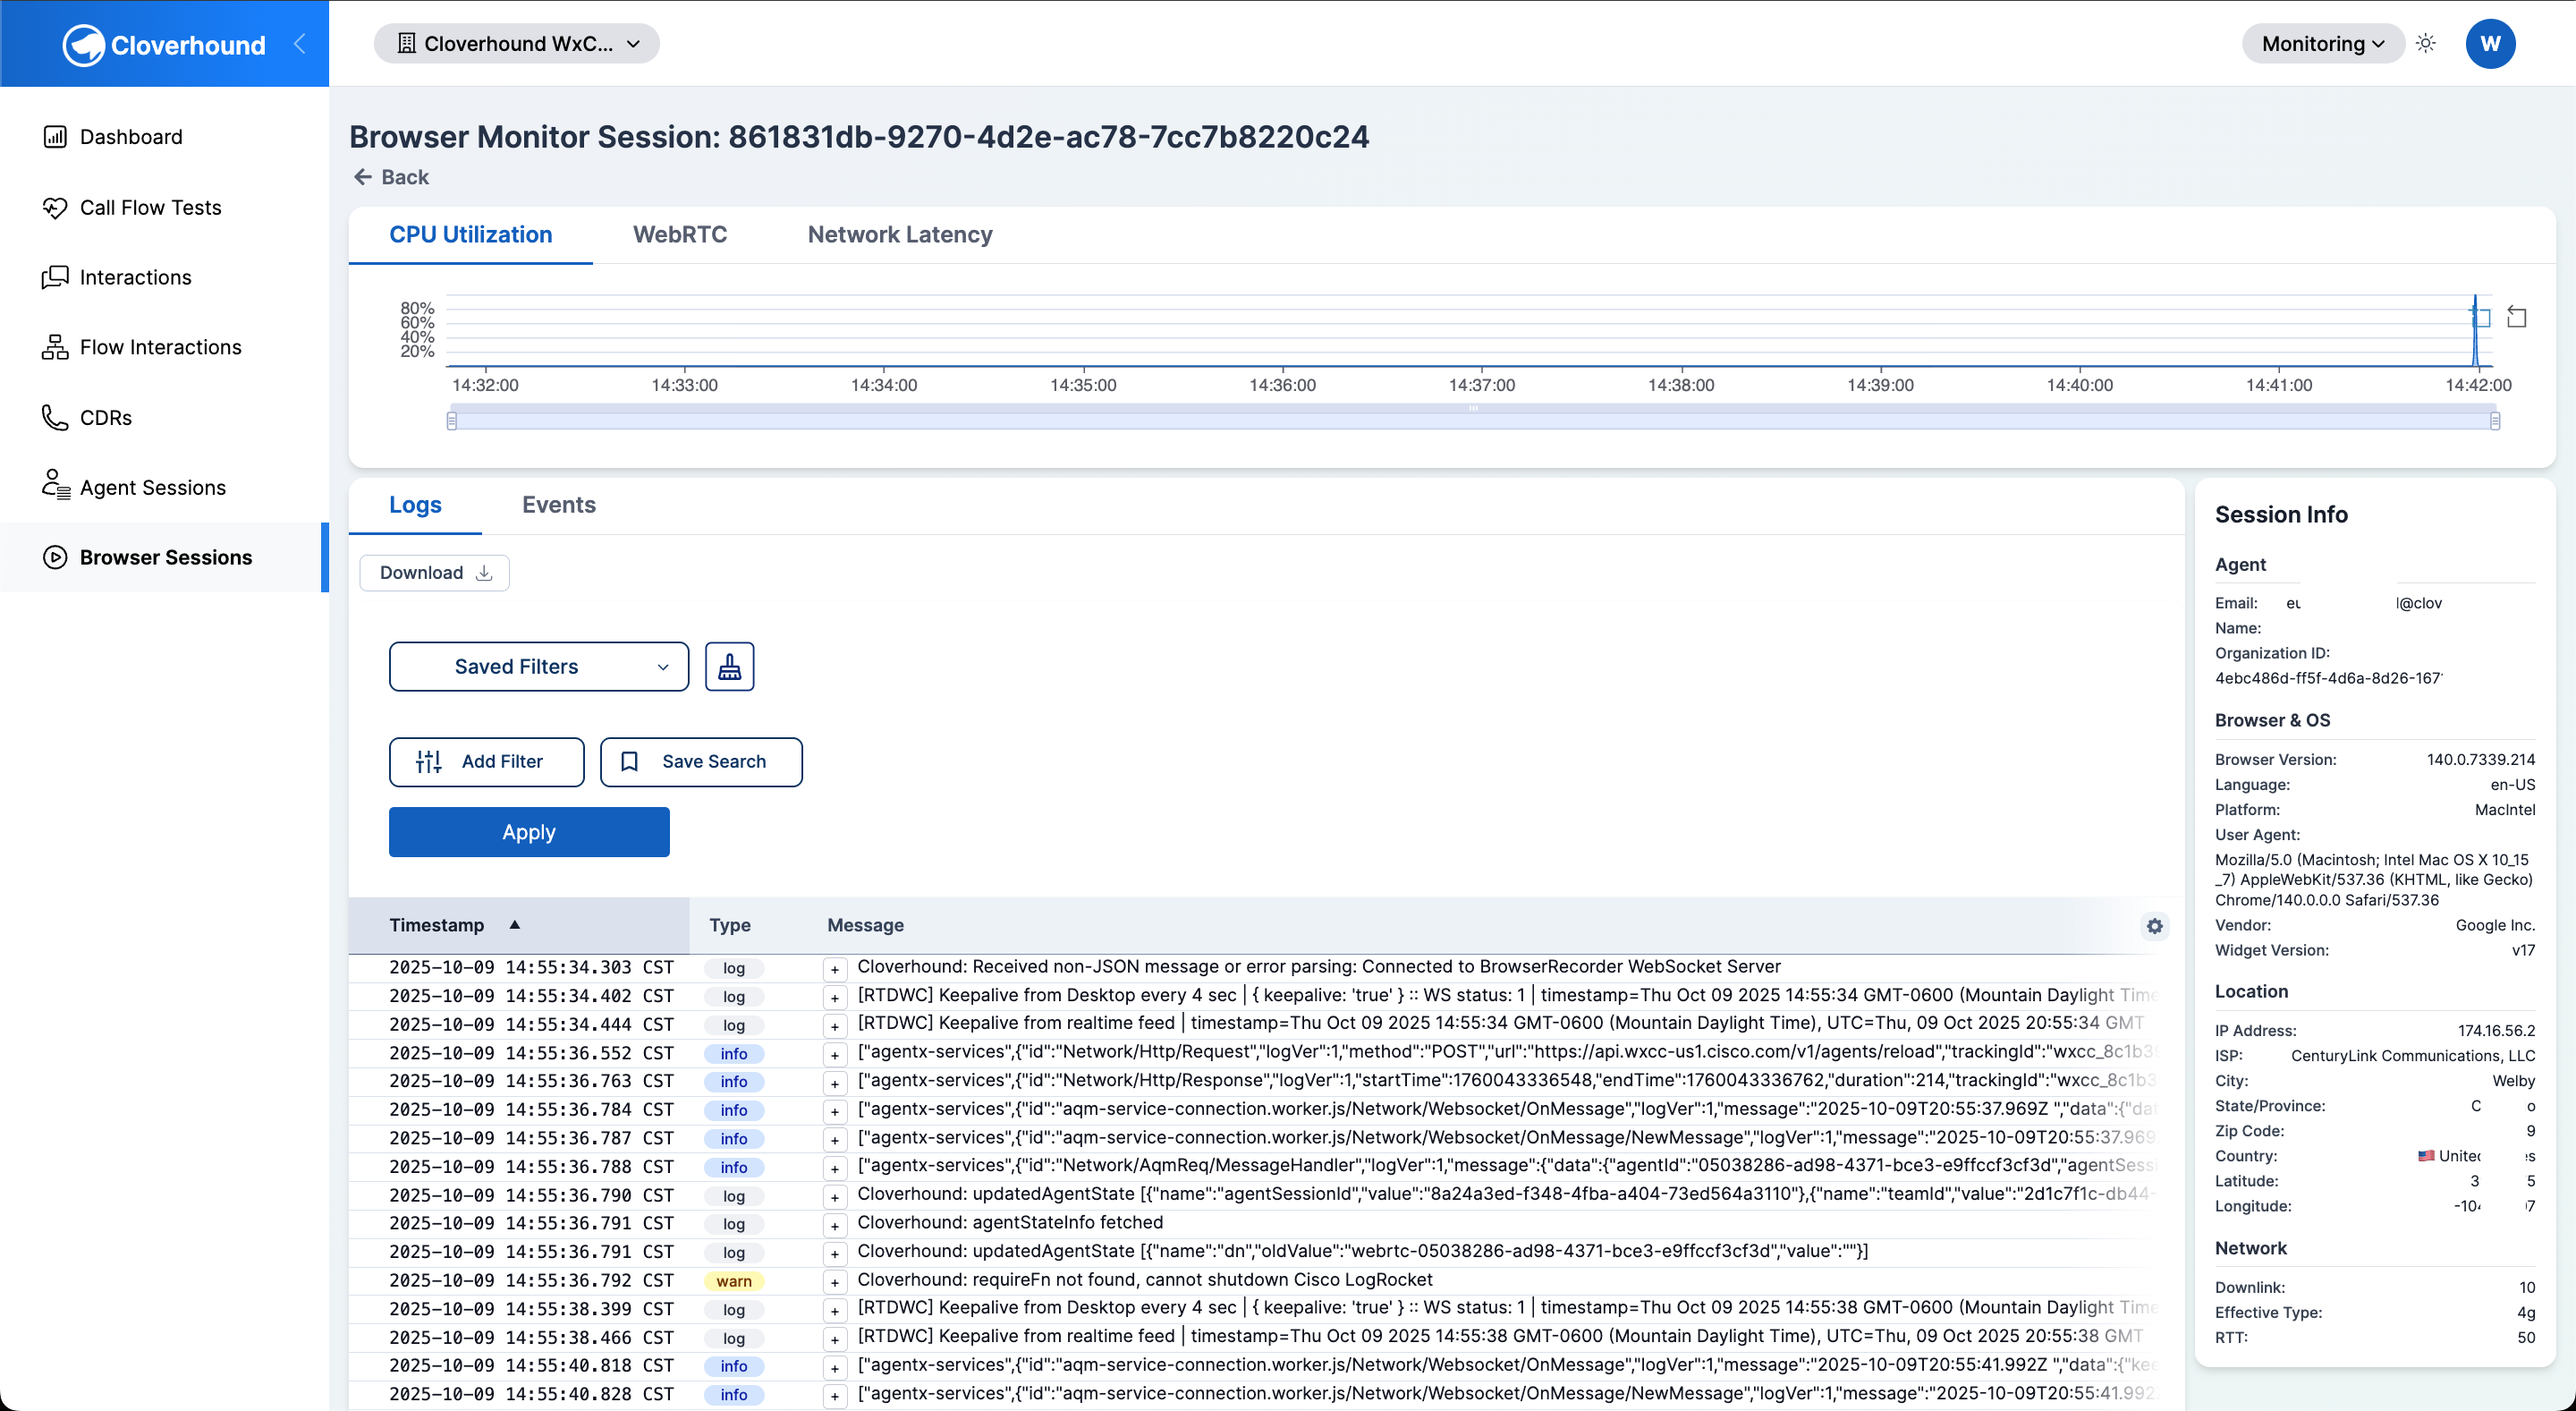
The session detail page shows telemetry for a single agent session. The top card has three tabs of time-series charts, and the bottom area shows logs, events, and session metadata.
Charts
-
CPU Utilization — CPU usage sampled during the session. Use this to spot moments when the agent's machine was under load.
-
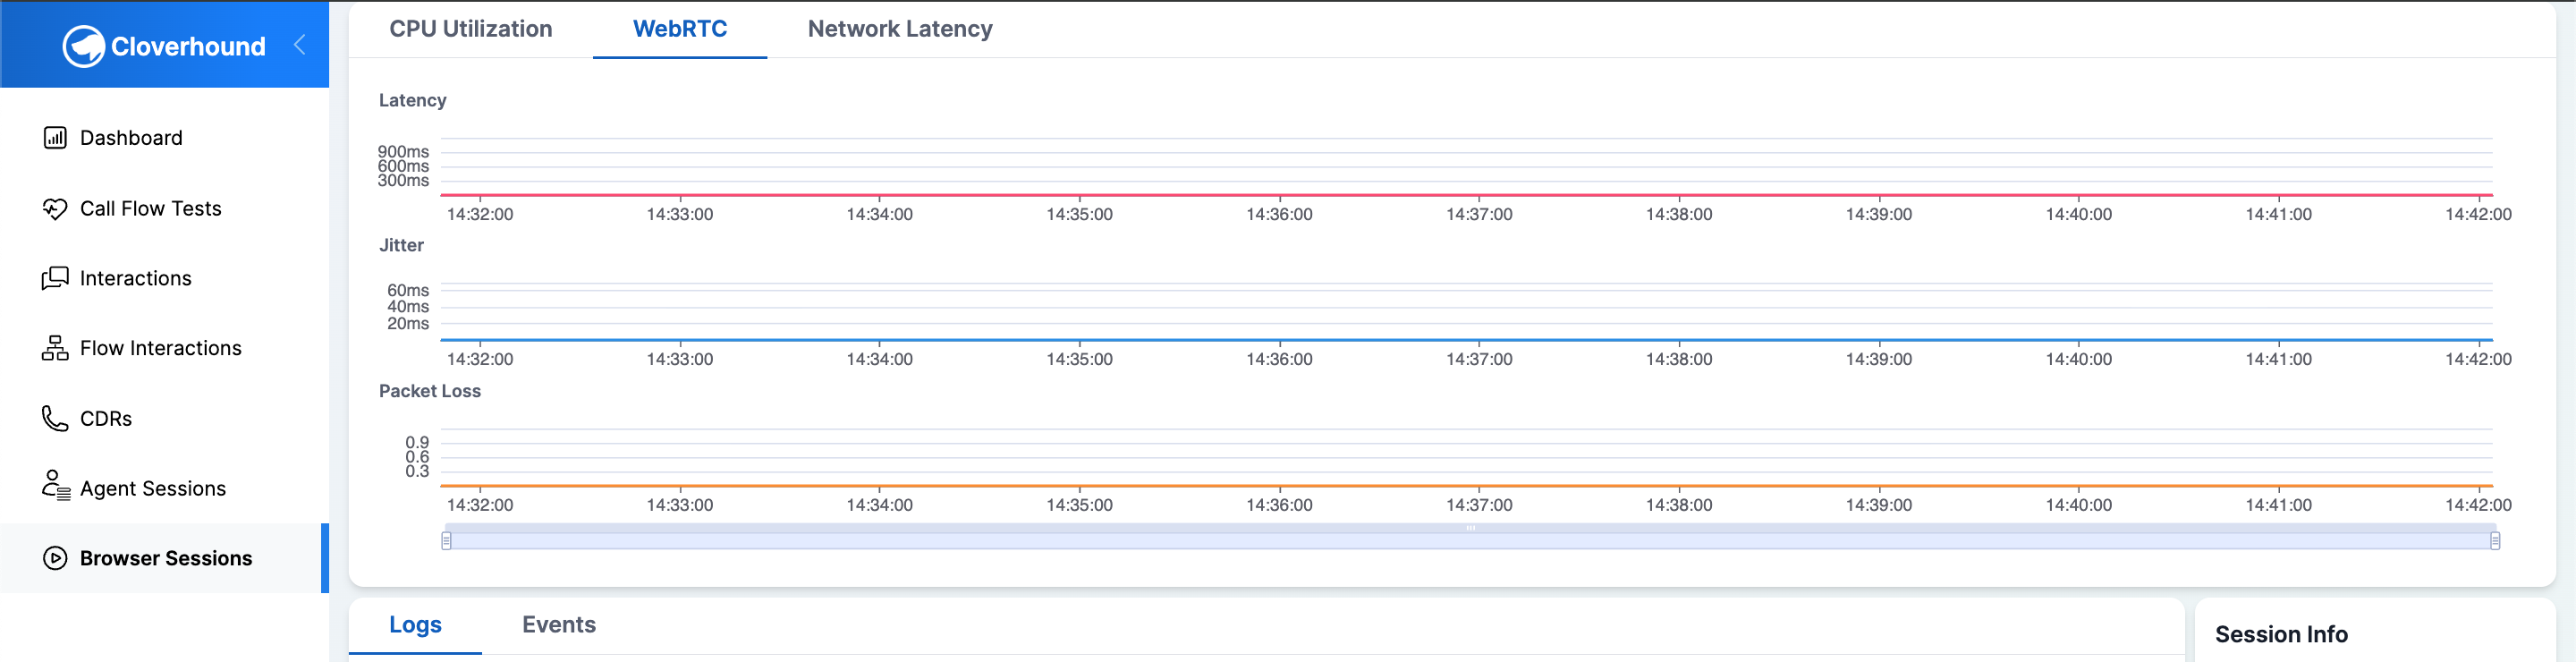
WebRTC — per-call latency, jitter, and packet loss. If the session included multiple calls, use the connection dropdown to switch between Entire Session and a specific call ID.
-
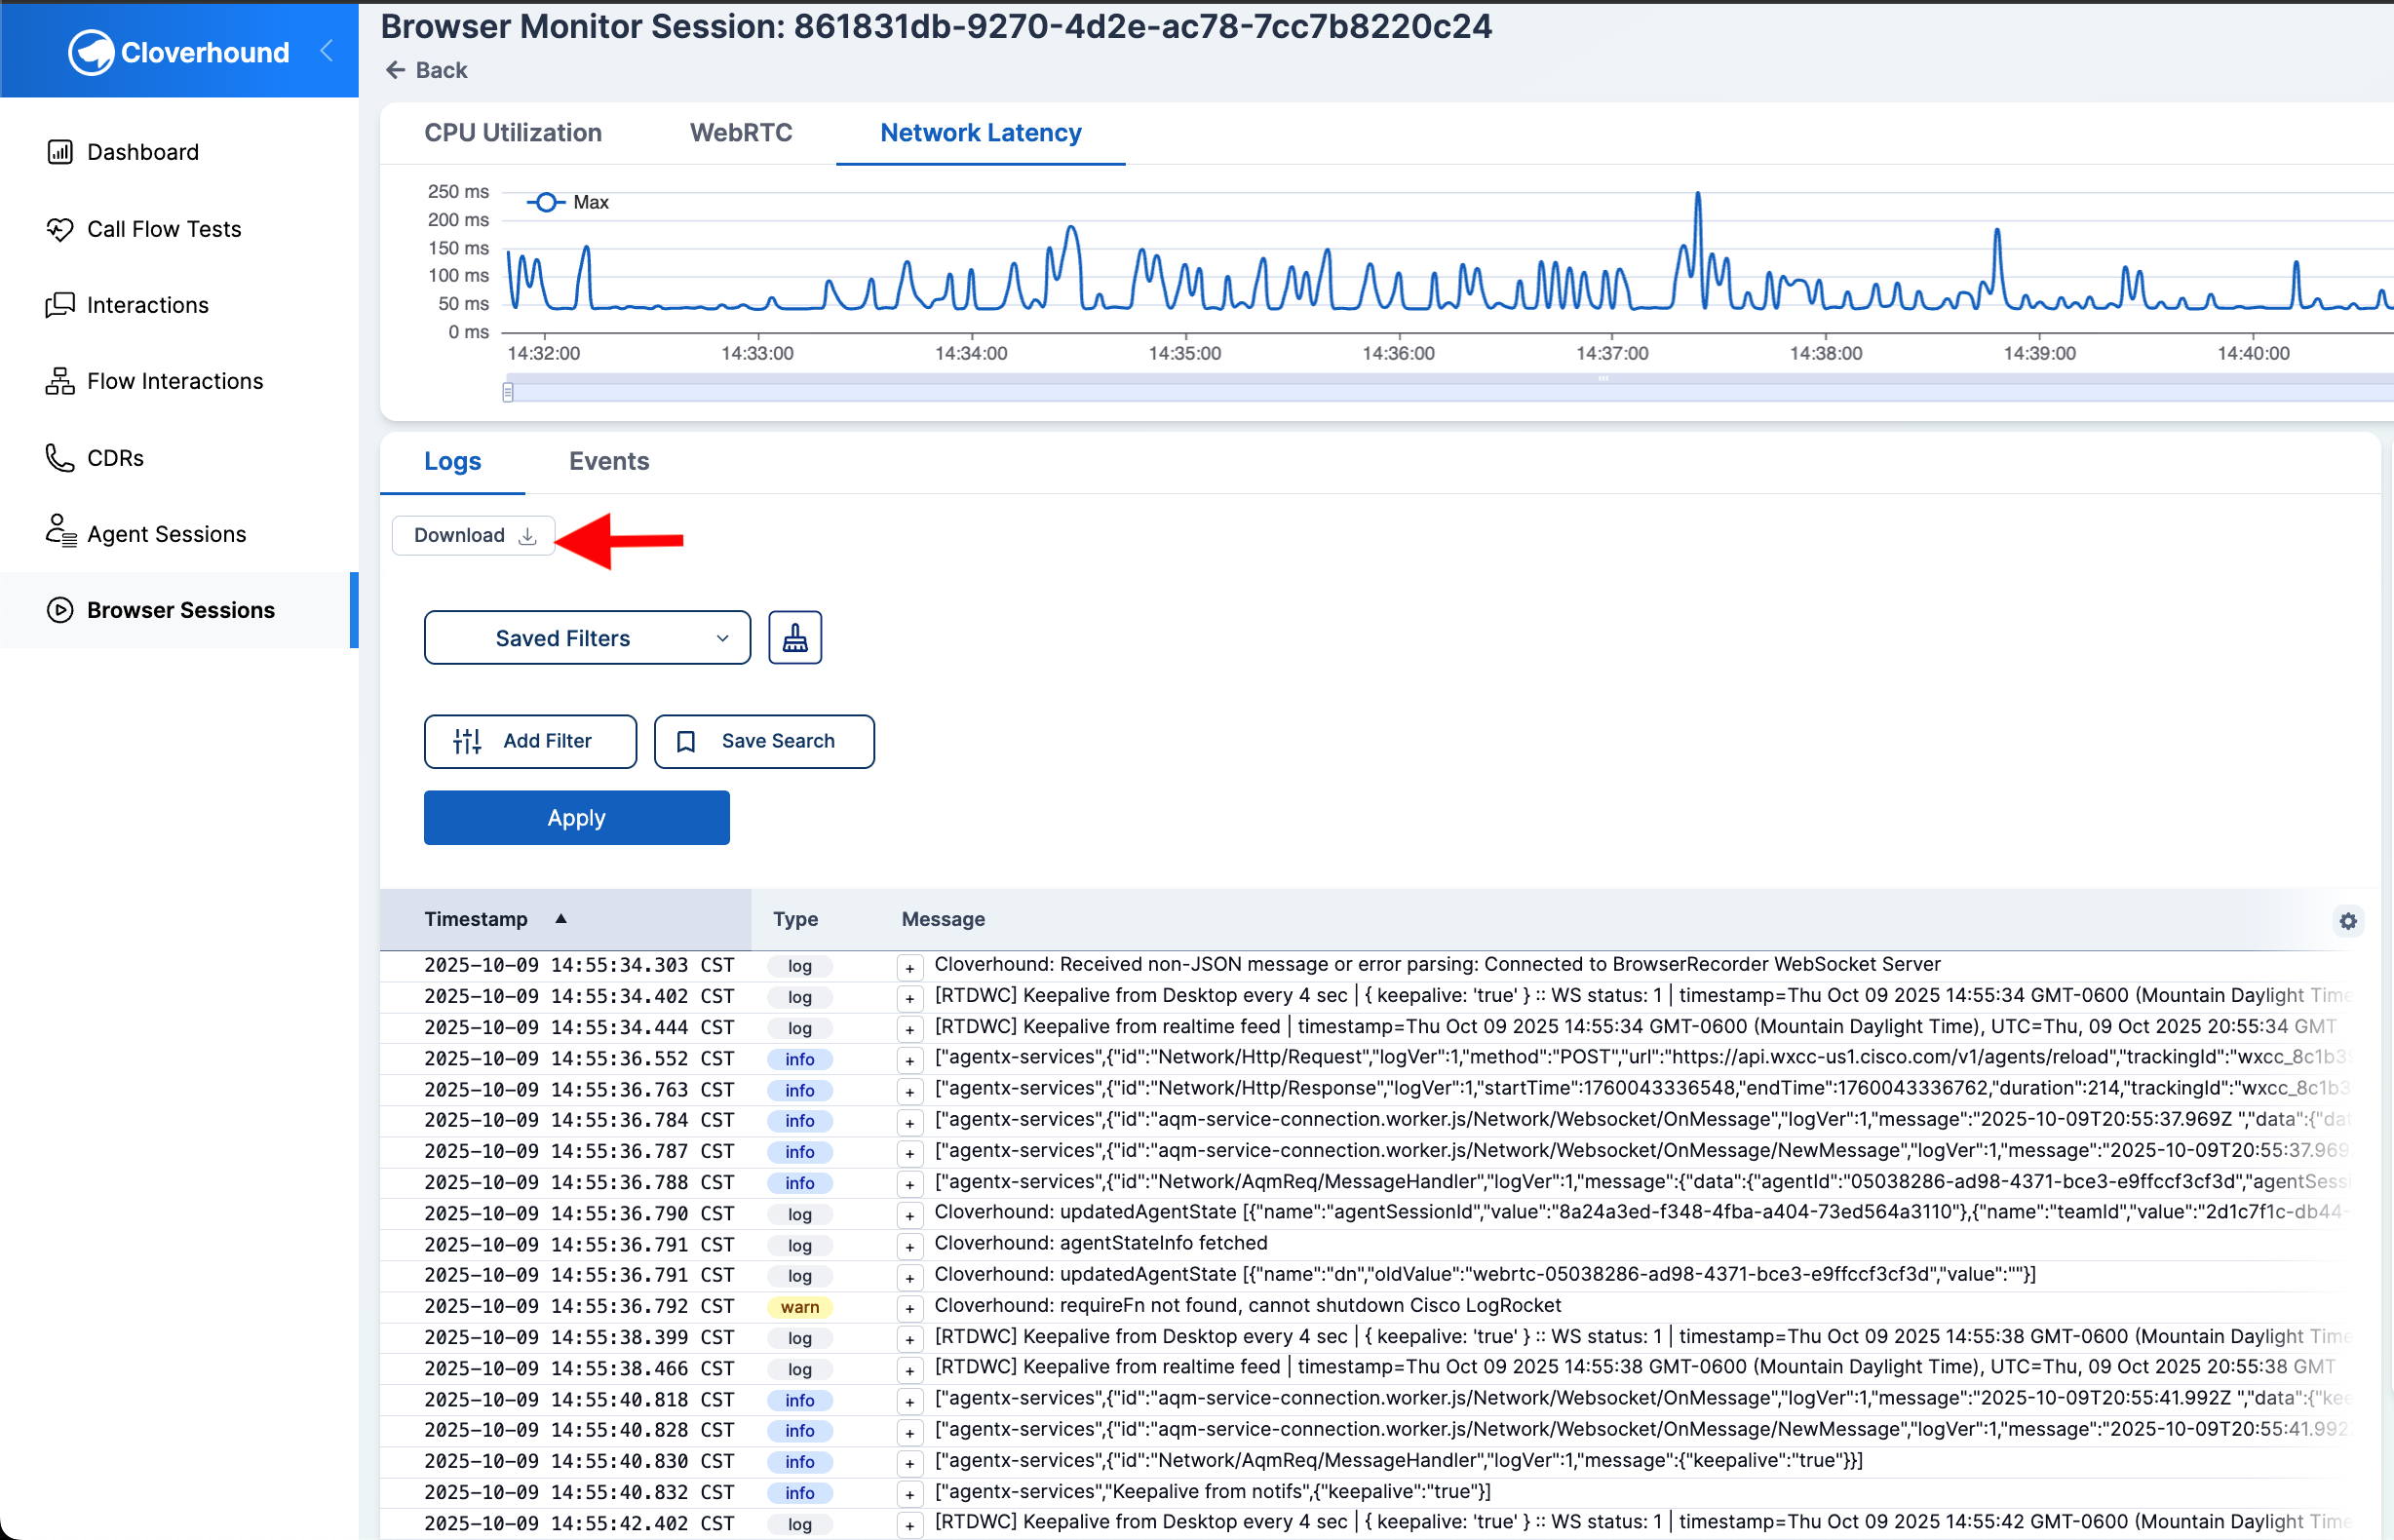
Network Latency — maximum network latency measured during the session.
If a chart shows an error banner, the underlying telemetry query failed. The error text is displayed in the banner.
Logs
The Logs tab lists console log entries captured from the agent's browser.
-
Filter the logs using the left panel:
- Type — select one or more severities (Error, Warn, Info, Debug, Trace, Log).
- Timestamp — narrow the time range. Defaults to the current day in your organization's time zone.
- Message — search for text that the log message contains or does not contain.
-
Expand a log row by clicking the + next to its message to see the full payload as JSON.
-
Click Download to export the currently loaded logs as a plain text file.
The logs view caps how many rows it loads at once. When the cap is reached, a yellow banner appears above the table. Narrow the timestamp range or add a message filter to see the rows you need.
Events
The Events tab lists structured events recorded during the session, with timestamp, event type, metadata, connection ID, and tab ID. Click the metadata value to expand the JSON payload.
Session Info
The right-hand Session Info card summarizes the agent, browser and OS, location, and network conditions reported at the start of the session.
Deleting a Session
-
Locate the session in the sessions table.
-
Click the Delete button at the end of the row.
-
Confirm the deletion.
Deleting a session removes the Cloverhound Cloud record. Underlying telemetry stored in BigQuery is not removed by this action. Deletion cannot be undone from the UI.
Troubleshooting
- A session has no end time. The Ended at column is blank until the agent's browser reports session end. If an agent closes the tab abruptly, the session may never be marked ended.
- Charts load but show no points. The session exists in Cloverhound Cloud, but no telemetry was recorded for that chart's metric type. This is normal for very short sessions or for sessions that did not include a WebRTC call.
- A chart shows "Error loading ... data". The telemetry query against BigQuery failed. Retry by reloading the page. If the error persists, capture the session UUID and contact your Cloverhound Cloud administrator.
- An agent you expect to see is missing. Confirm the Started At date range covers when the agent worked, then check that no End User filter is hiding them. Agents only appear after their browser has created at least one session.
You can now find a session, interpret its CPU, WebRTC, and latency charts, search its logs and events, and remove sessions your organization no longer needs to track.