Using Filter Search
The filter search functionality in Cloverhound Cloud allows you to quickly and efficiently locate contacts by applying specific criteria. This guide explains how to use the filter search feature to refine your contact list.
Accessing the Filter Search
-
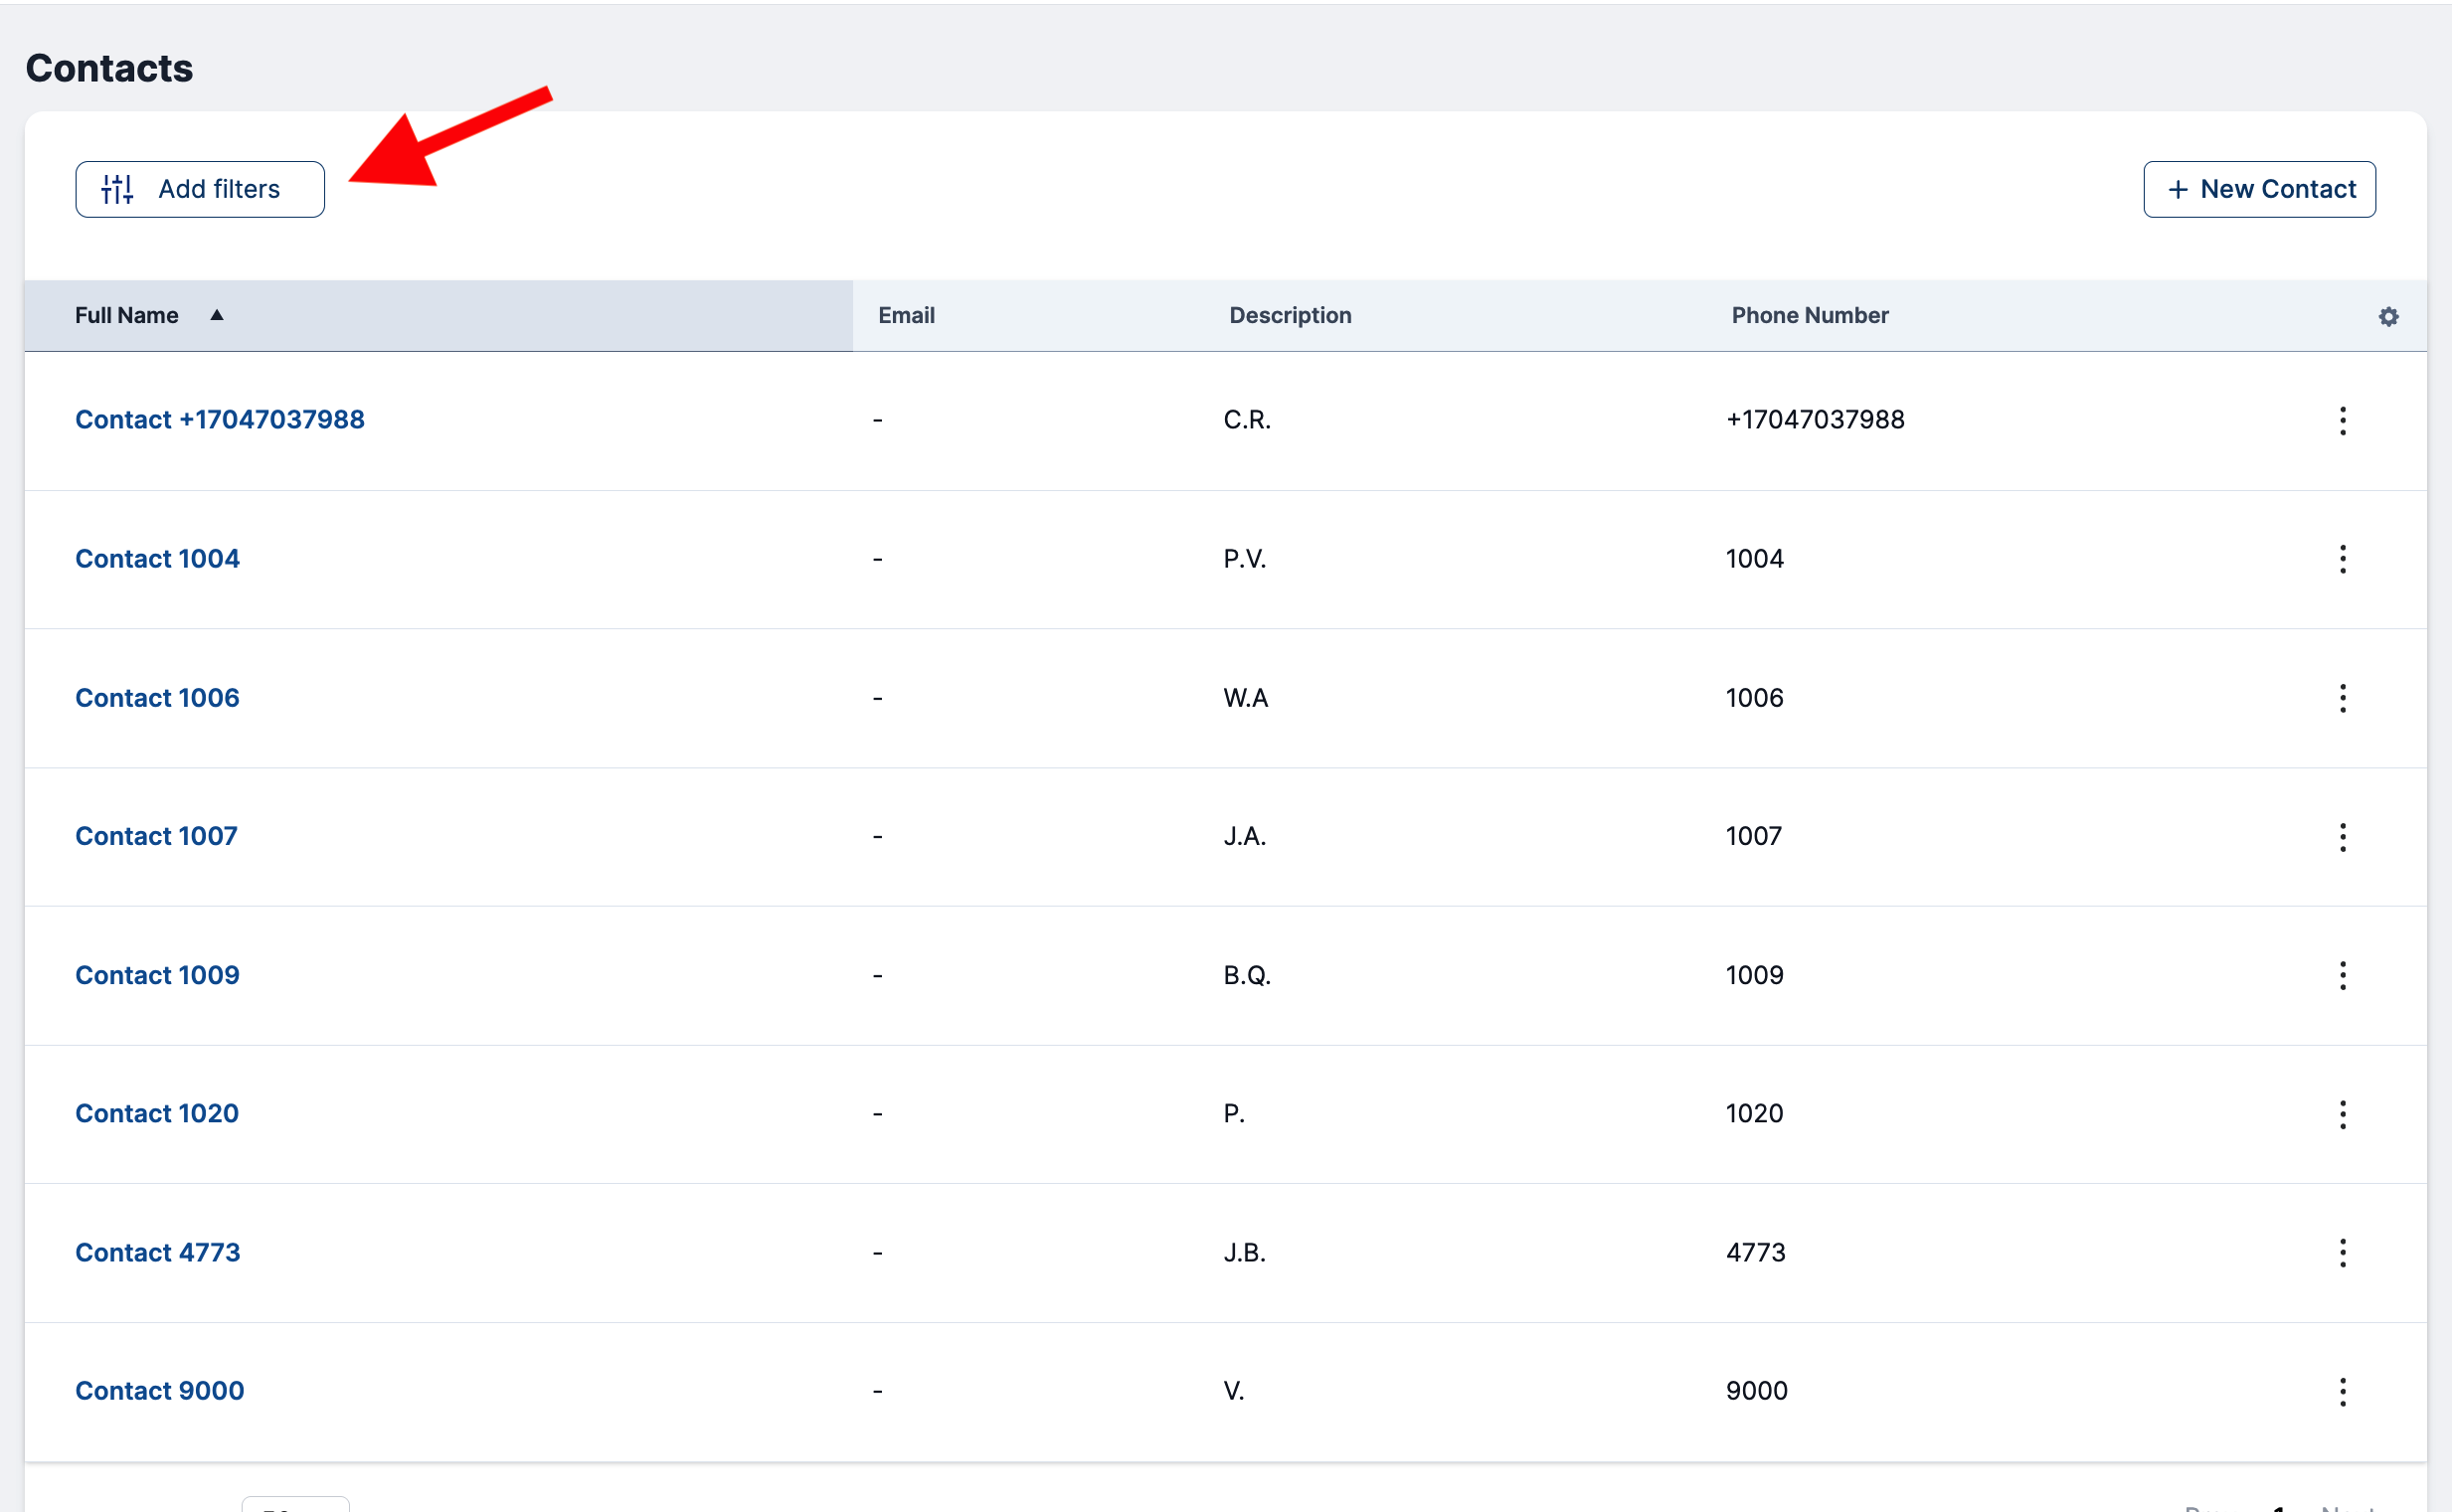
Locate the Add Filters Button:
- On the Contacts page, find the Add Filters button, typically located above the contact table.
-
Click the Add Filters Button:
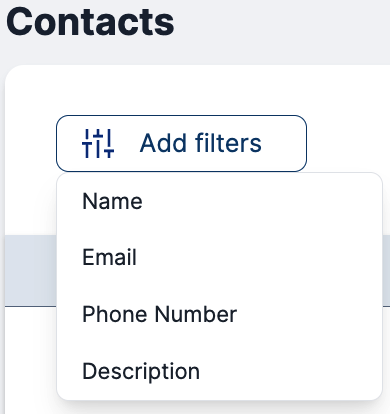
-
Clicking this button will open a dropdown menu where you can choose from the following filter options:
- Name
- Phone Number
- Description
-
Configuring a Filter
-
Select a Filter Option:
- Choose one of the filter options (Name, Email, or Phone Number) from the dropdown.
-
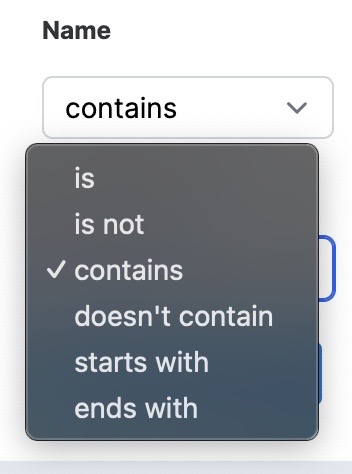
Set the Filter Condition:
- Once you've selected a filter option, a new field will appear, allowing you to specify the condition.
The condition field includes the following options:- is
- is not
- contains
- not contains
- starts with
- ends with
- Once you've selected a filter option, a new field will appear, allowing you to specify the condition.
-
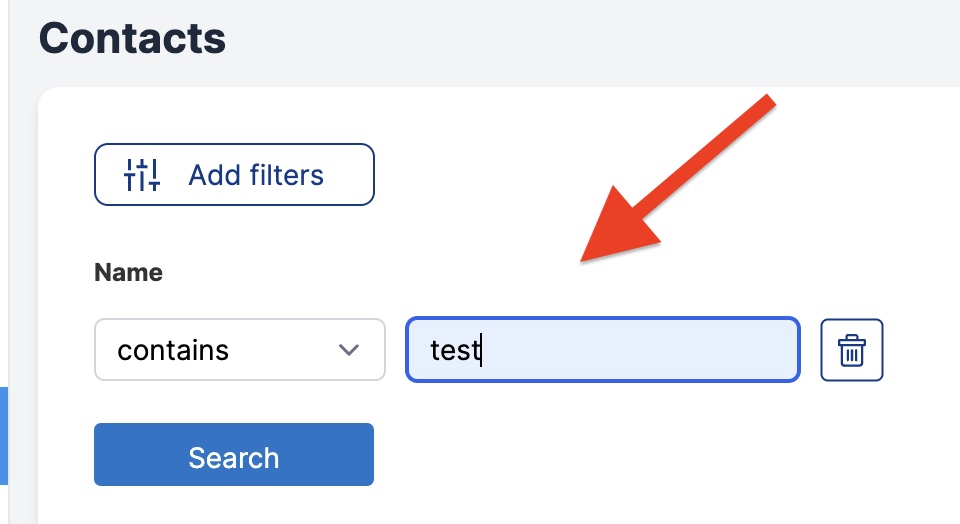
Enter the Filter Value:
- After selecting a condition, type the value you want to filter by in the input field provided.
-
Remove a Filter (Optional):
- To remove a filter, click the Trash Icon button next to the filter you wish to delete.

Applying the Filters
-
Click the Apply Button:
- Once you've configured your desired filters, click the Apply button to search based on the specified criteria.
-
Review the Results:
- The contact table will update to display only the contacts that match the applied filters.
Managing Multiple Filters
- You can add multiple filters simultaneously to refine your search further.
- For example, you can filter by:
- Name contains "John" AND
- Phone Number ends with "123"
The results will display contacts that meet all the applied criteria.
By leveraging the filter search functionality, you can quickly narrow down your contact list and find the information you need with precision and ease.