Viewing and Managing a Trunk Group
You can view and manage the details of an existing Trunk Group directly from the Trunk Groups list.
Access the Trunk Group Detail View
To view a Trunk Group:
- Navigate to the Trunk Groups section in the Campaigns Module.
- In the list of groups, click the name of the Trunk Group you want to view.
- This will open the Trunk Group detail page.
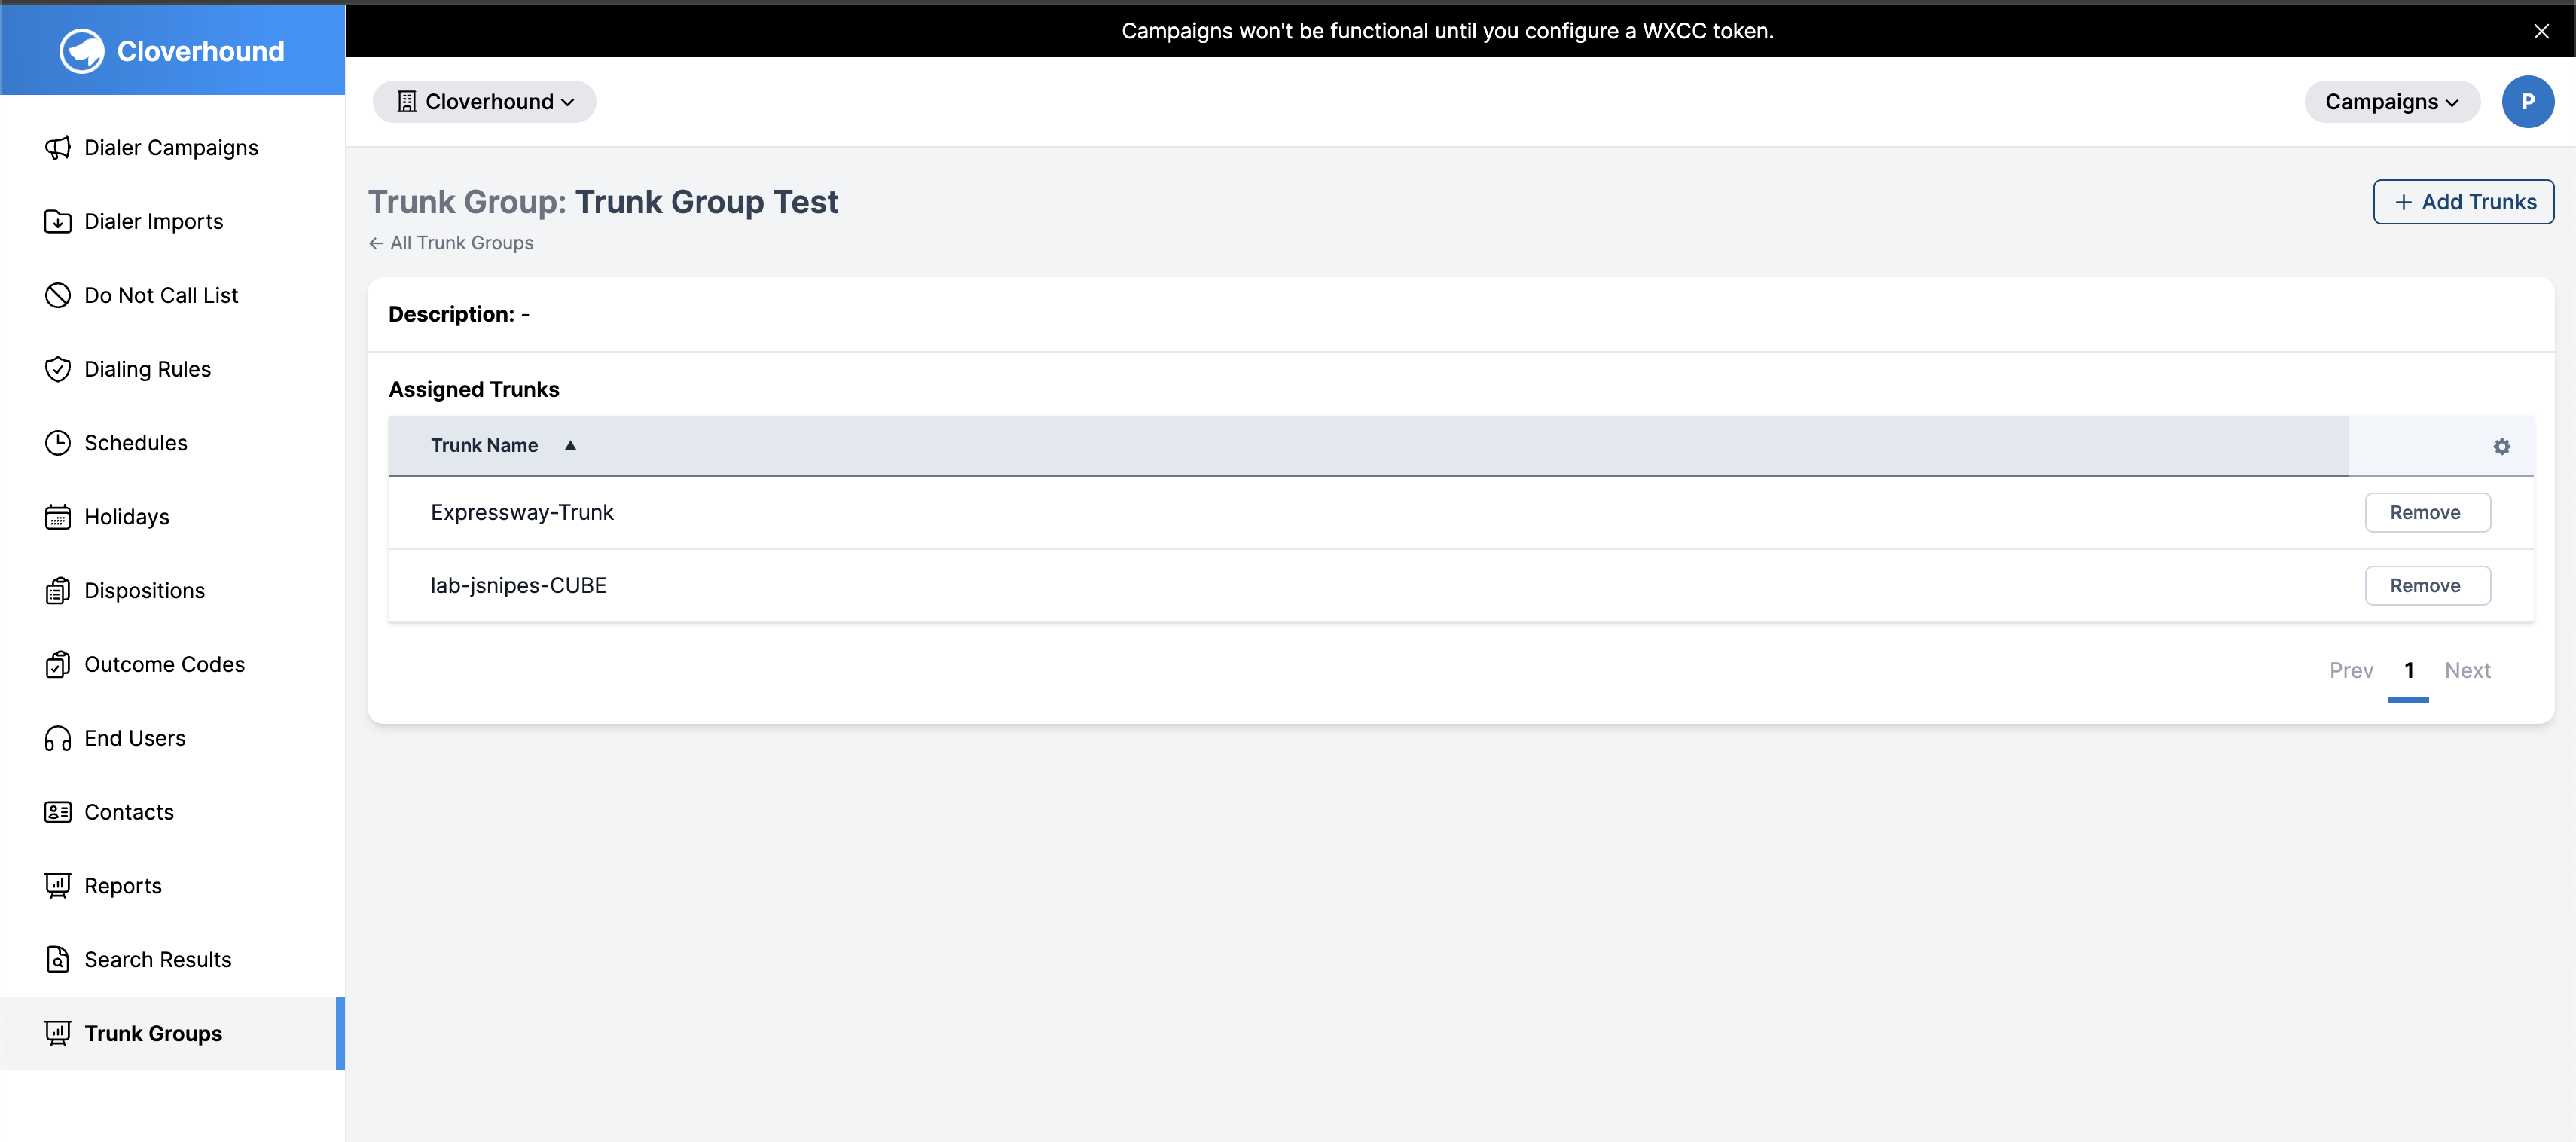
Trunk Group Detail Page Overview
Once inside the detail view, you will see:
- Trunk Group Name: Displayed at the top of the page
- Description: A detailed description of the group, if provided
- Assigned Trunks: A table listing all the trunks currently assigned to this group
Managing Trunks in the Group
Add Trunks
To add more trunks to the group:
- Click the + Add Trunks button in the top-right corner.
- A modal will appear allowing you to select additional trunks.
- Select the trunks and confirm to add them to the group.
Remove Trunks
To remove a trunk:
- Locate the trunk in the Assigned Trunks table.
- Click the Remove button next to the trunk you wish to delete.
- The trunk will be removed from the group immediately.
⚠️ Removing a trunk from a group does not delete the trunk itself — it only unlinks it from this group.
Tips for Success:
- Use descriptive group names and detailed descriptions for easier identification
- Regularly review assigned trunks to ensure accurate grouping
- Only assign trunks that are actively in use and relevant to the group’s purpose