Schedules
A schedule in the Campaigns module controls when an outbound campaign is allowed to dial. Each schedule holds two kinds of entries: regular schedules for recurring weekly hours (for example, Monday to Friday, 9:00 AM to 5:00 PM) and special schedules for one-off dates that override the weekly pattern (for example, reduced hours on Christmas Eve). Once a schedule exists, you attach it to one or more campaigns from the campaign form.
This page covers creating, editing, deleting, and assigning regular and special schedule entries. For full-day recurring blocks, see Holiday Lists.
Creating a Schedule
Before you can add regular or special entries, you need a schedule object to hold them.
-
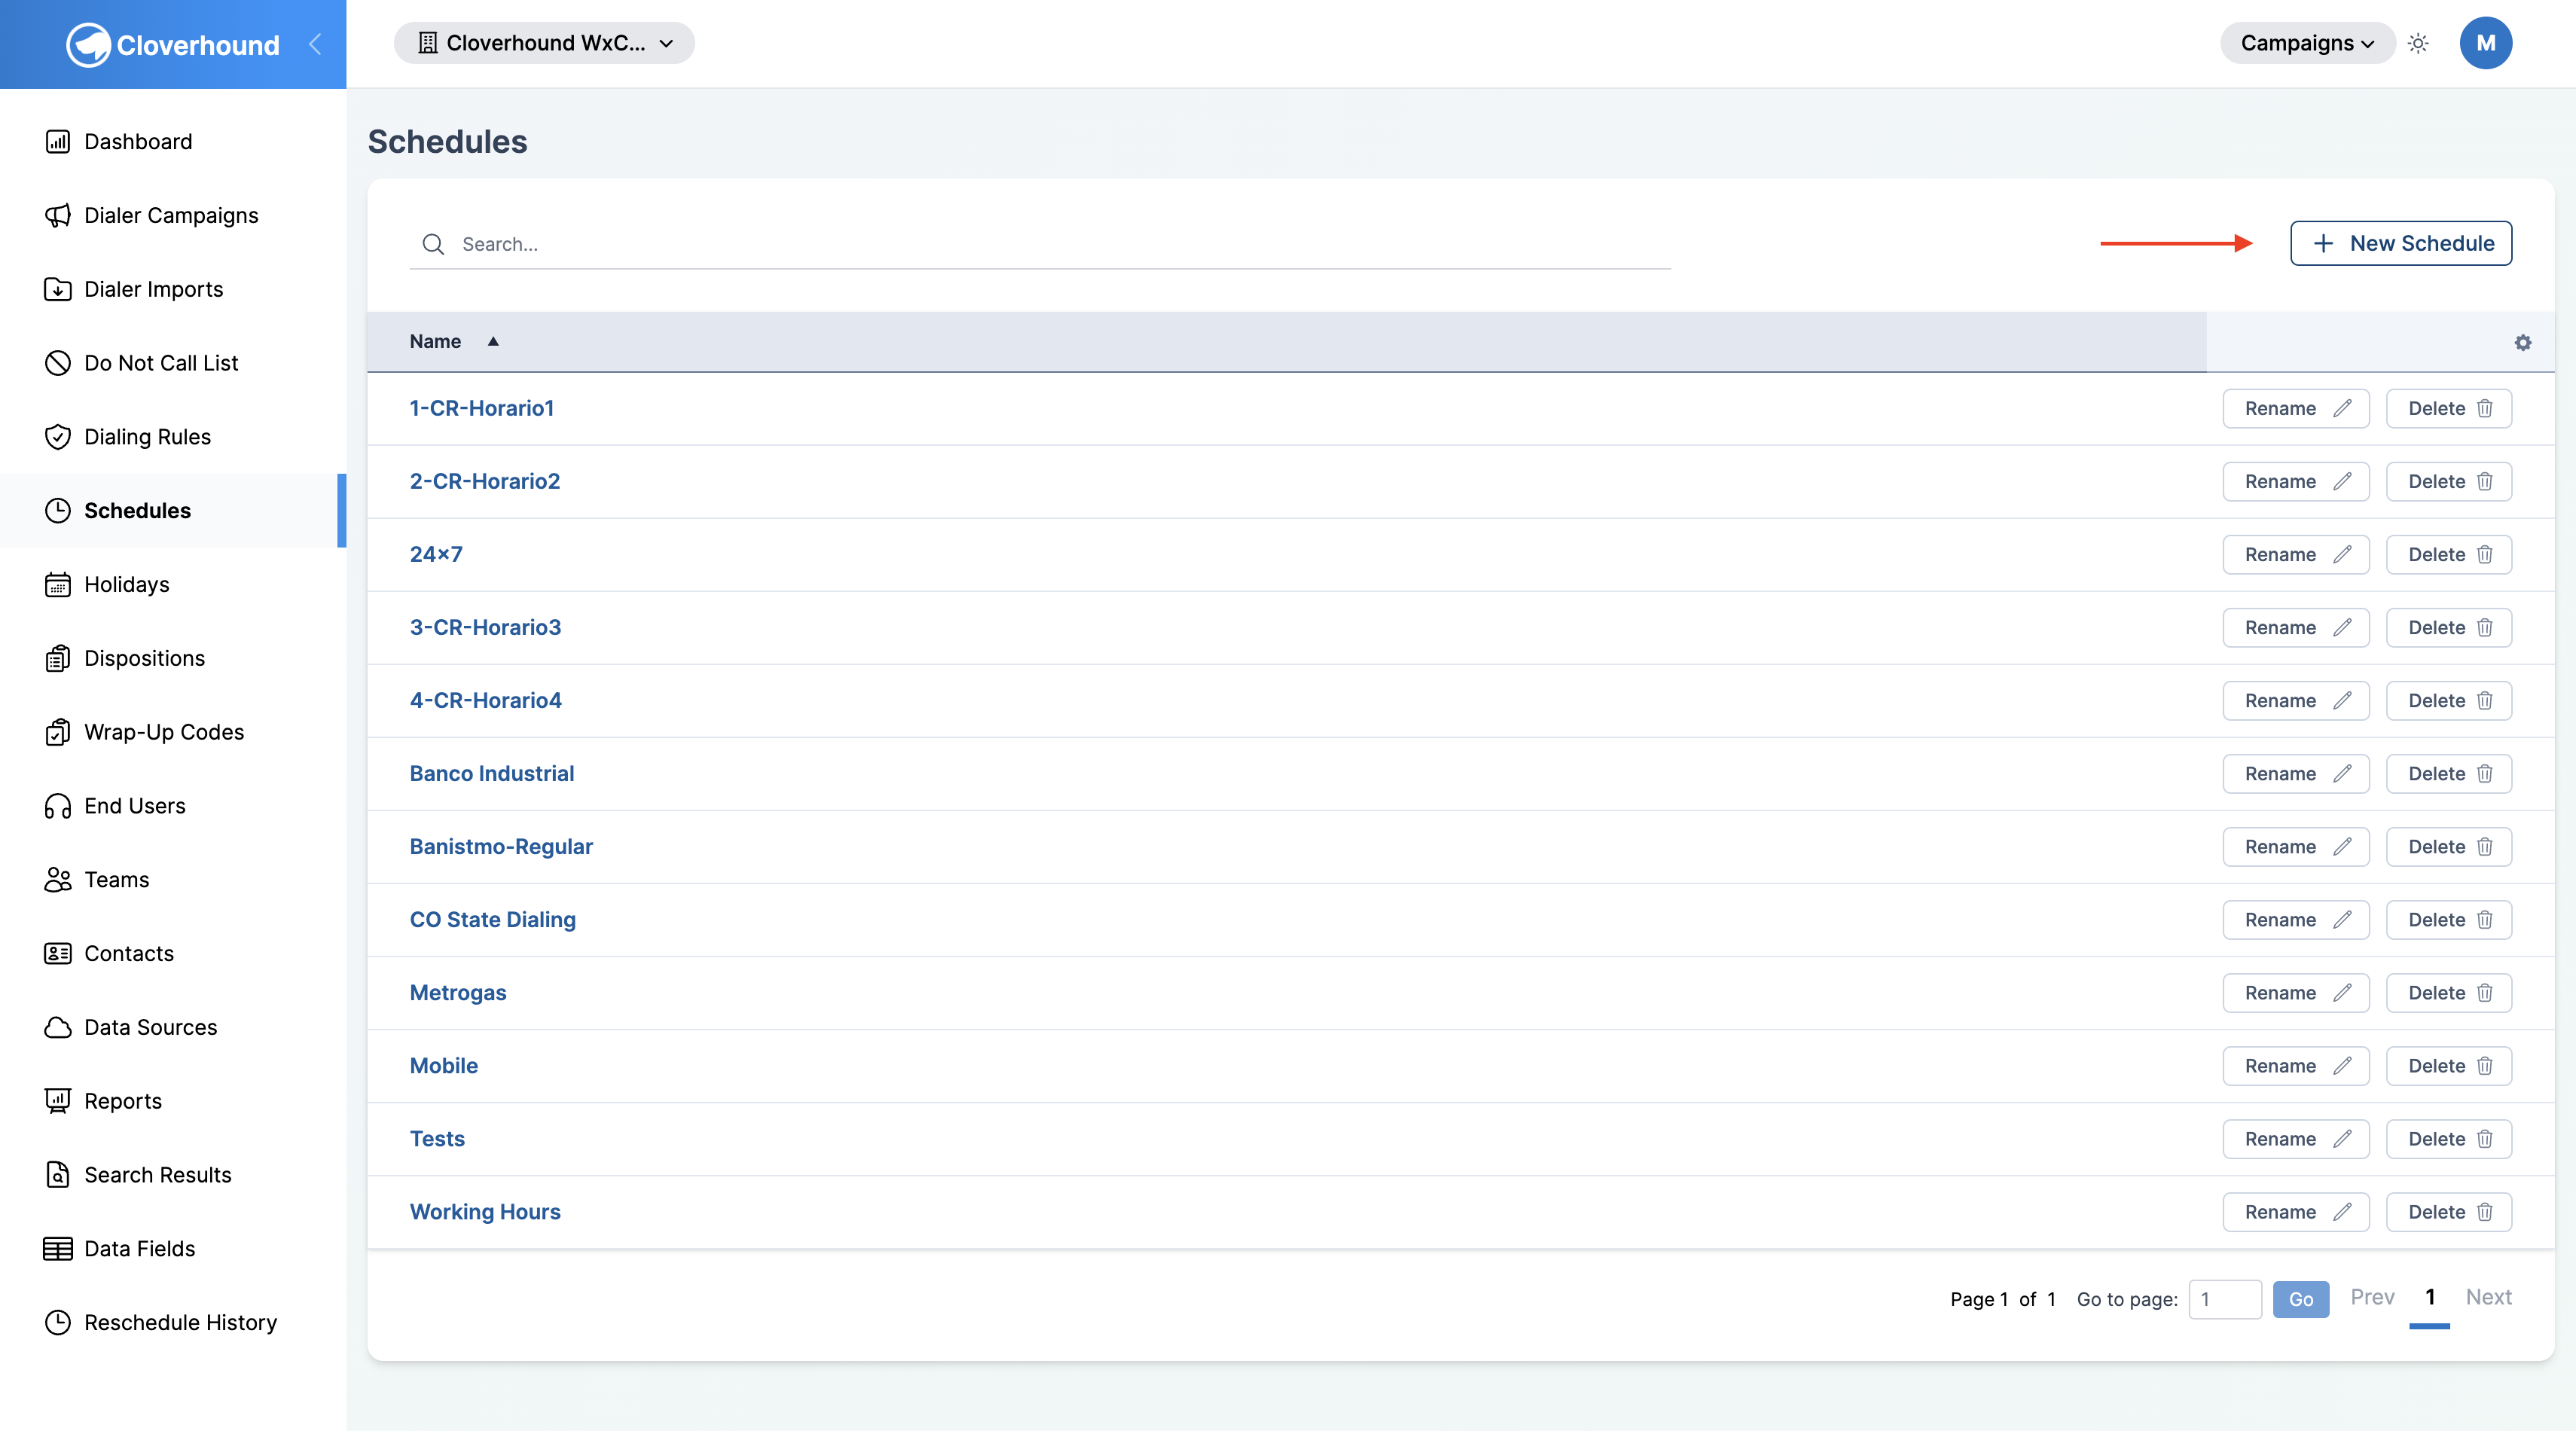
Navigate to the Campaigns module and open the Schedules page.
-
Click the + New Schedule button.
-
Enter a descriptive name for the schedule — one that makes it easy to identify its purpose when assigning it to campaigns (for example,
Weekdays 9–5orHoliday Hours 2026).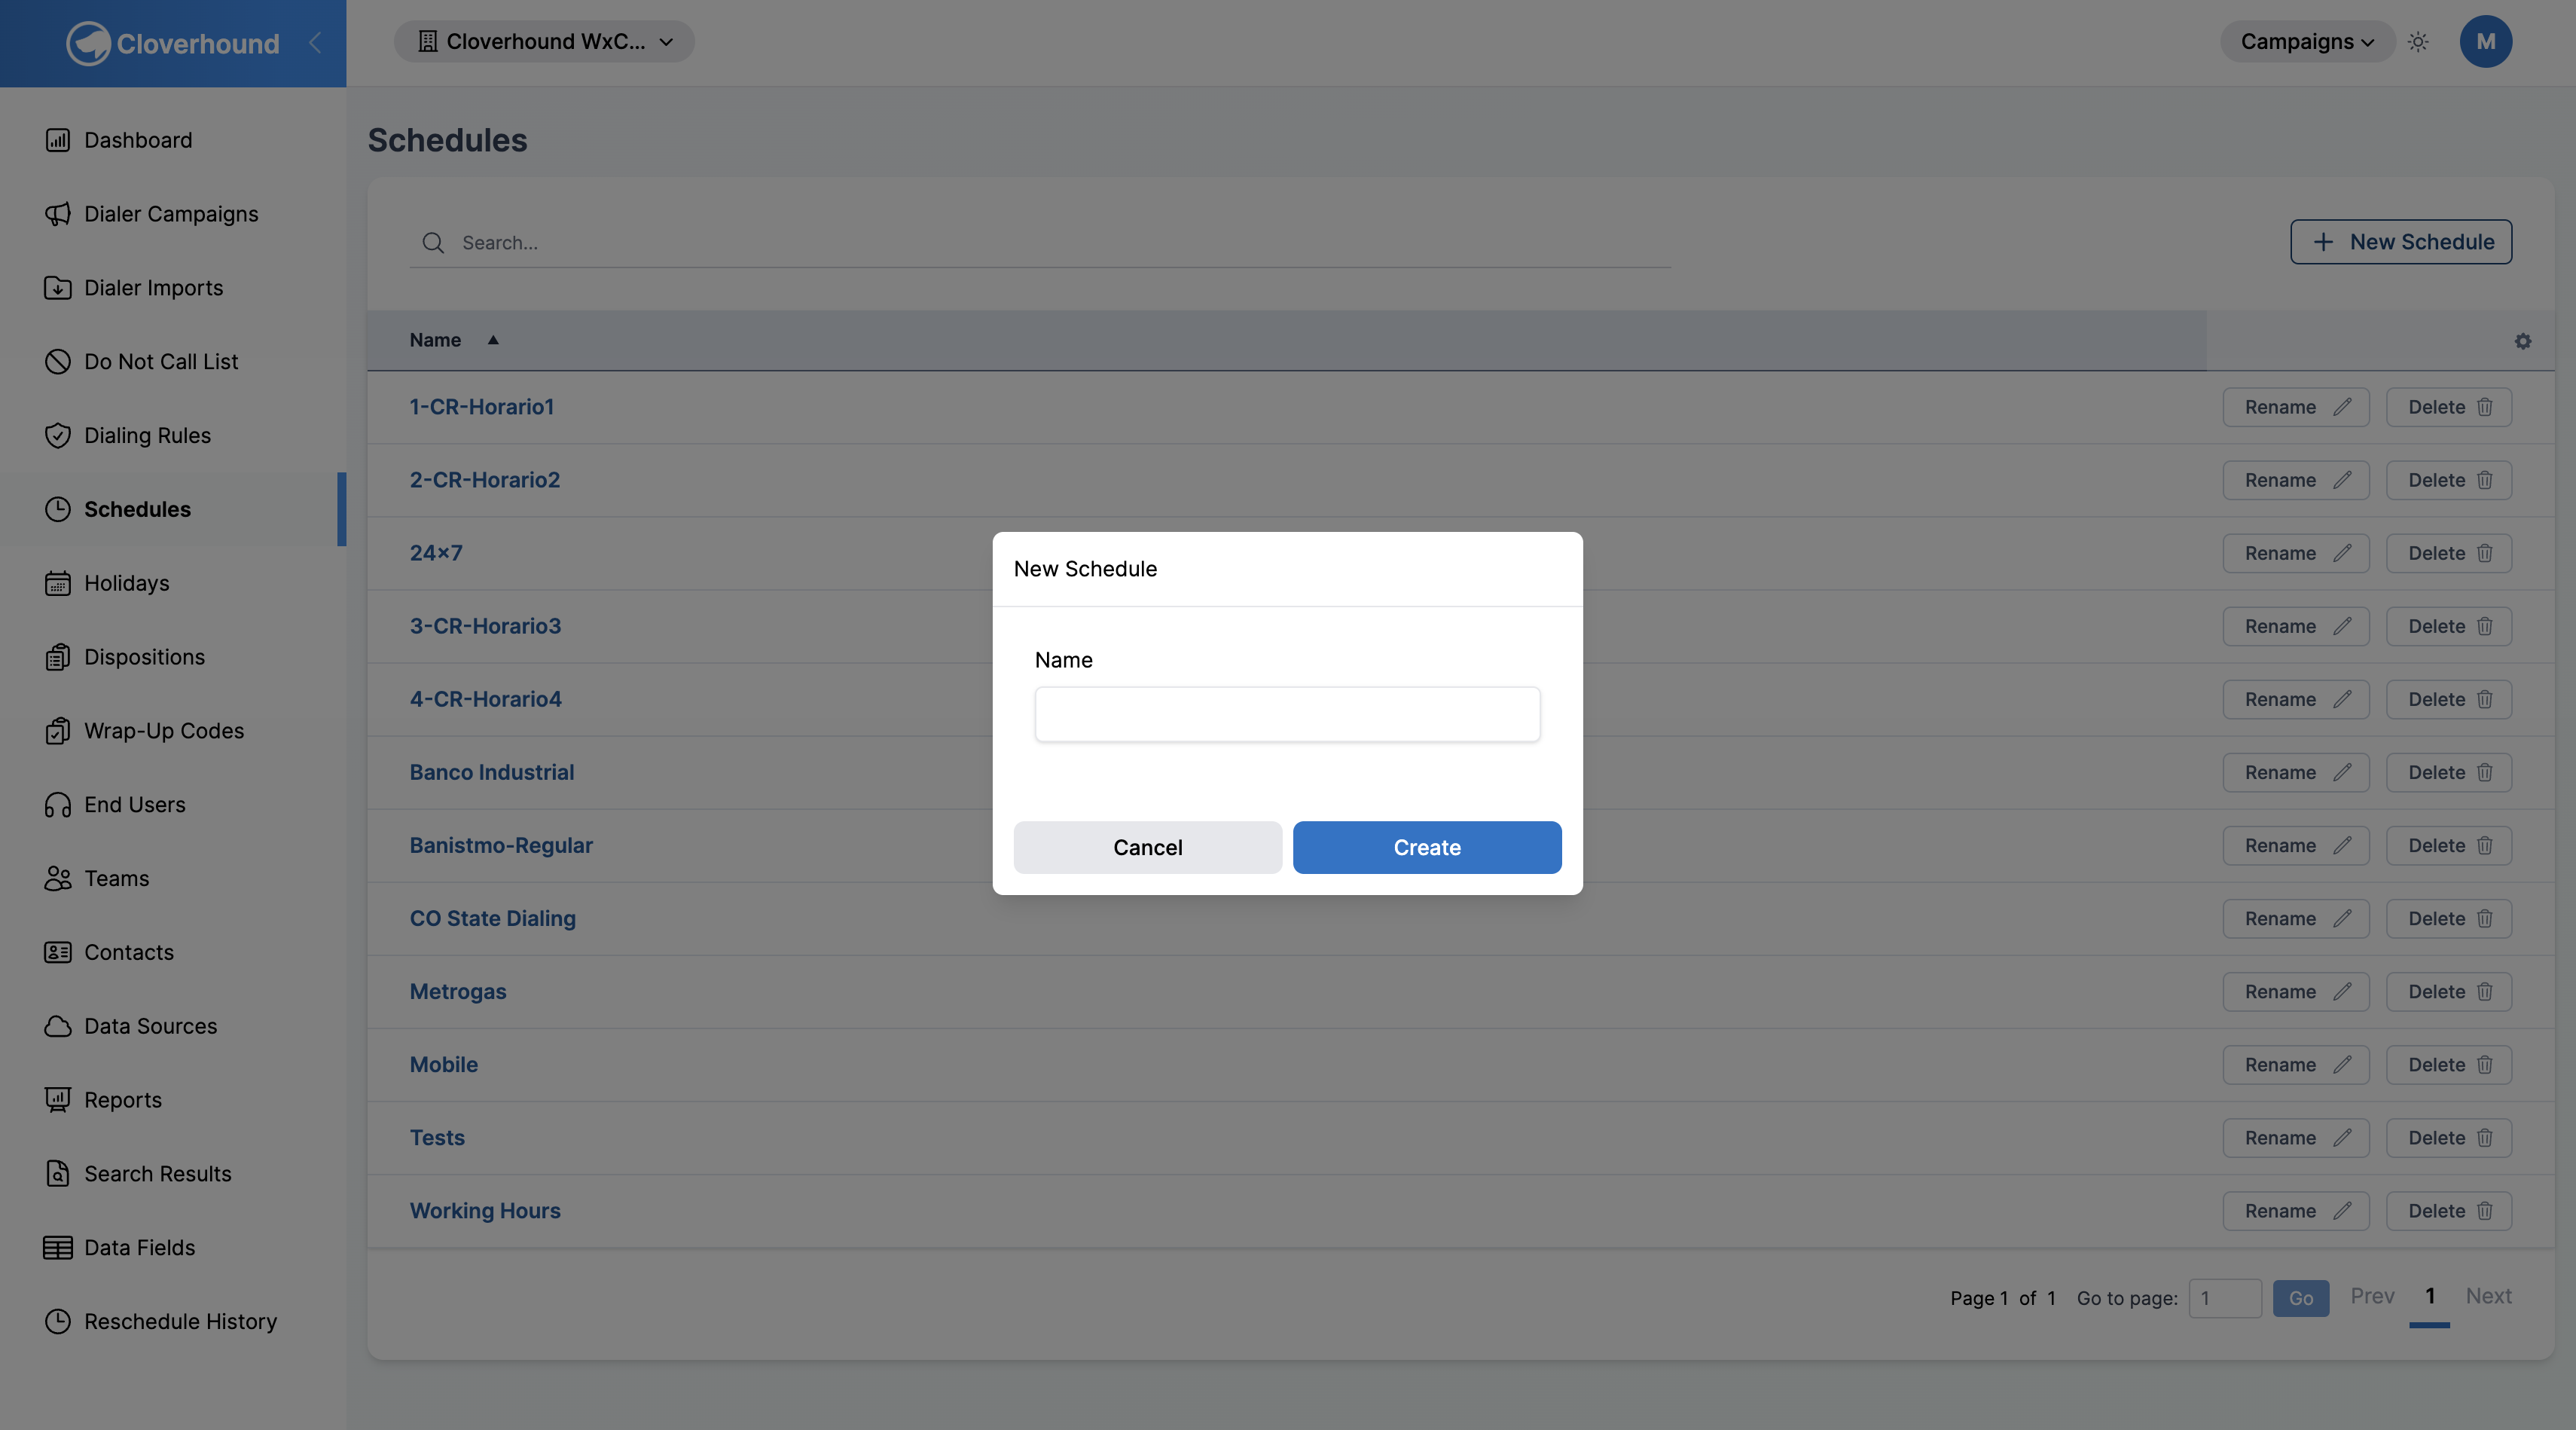
-
Click Create. The schedule is saved and its detail page opens, where you can add regular and special entries.
Renaming or Deleting a Schedule
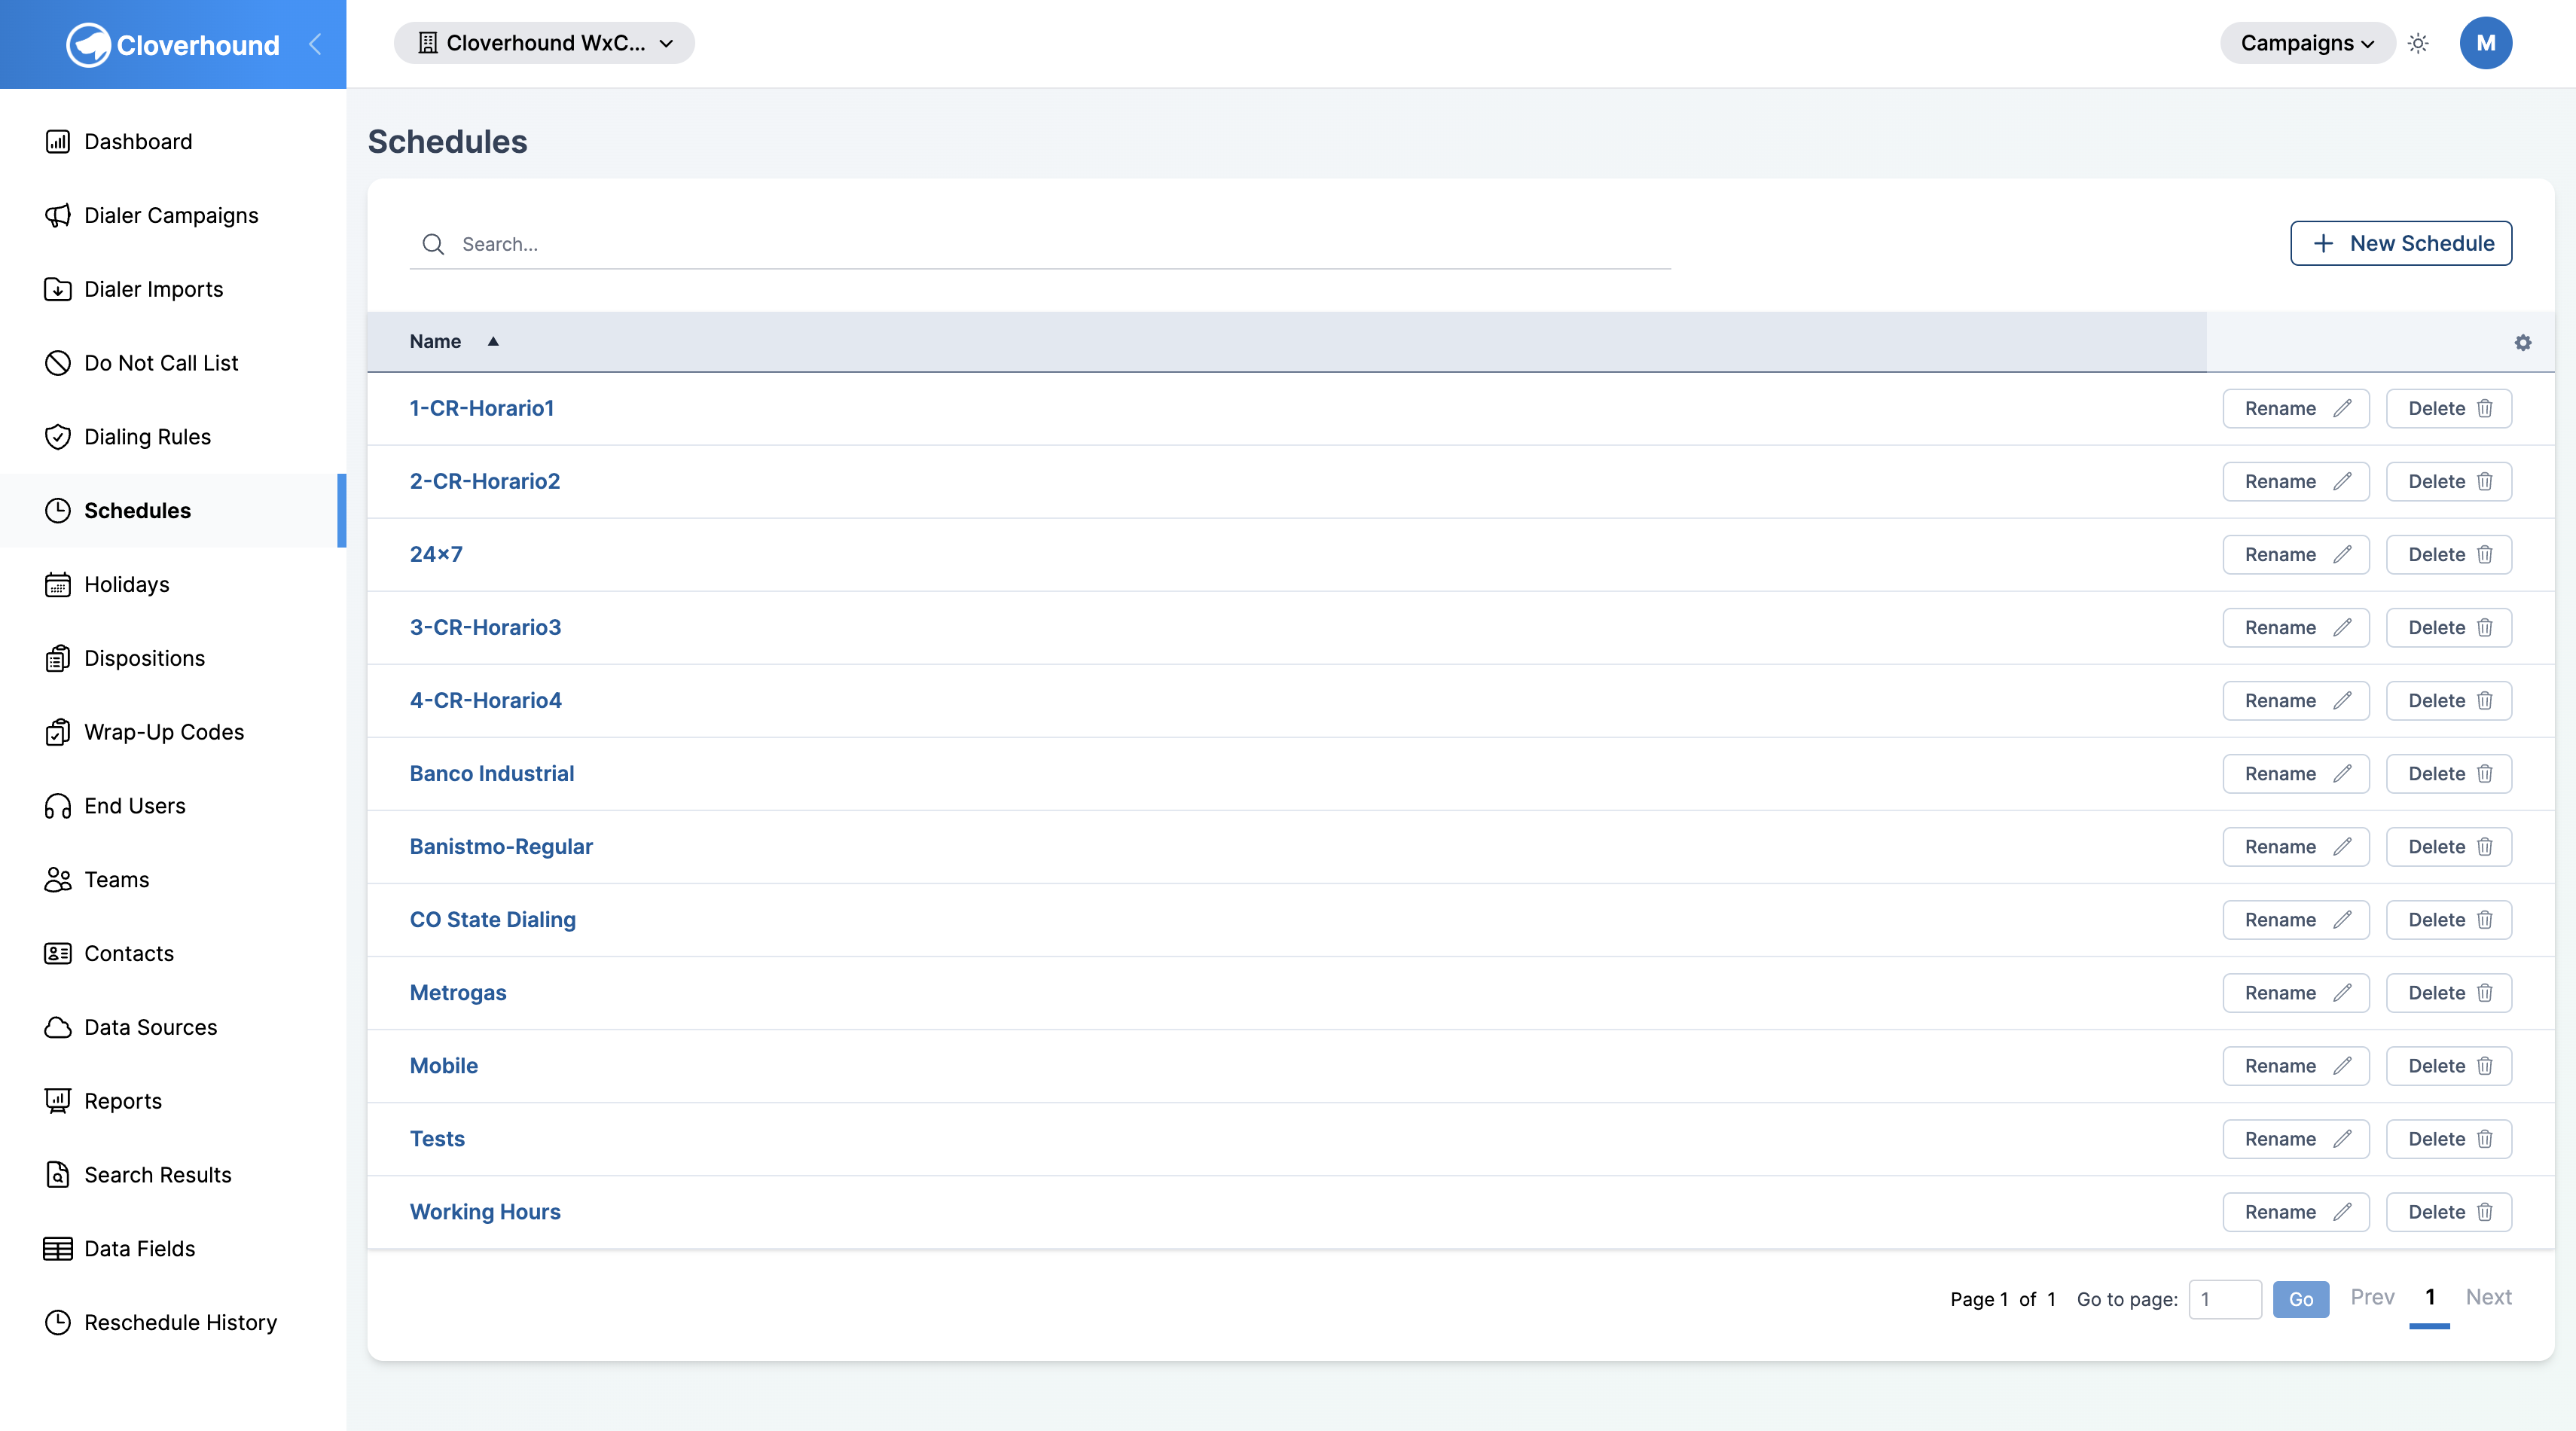
From the Schedules index page you can rename or delete the schedule object itself — not just its entries.
- Rename — click the Rename action on the schedule row, enter a new name, and save.
- Delete — click the Delete action on the schedule row and confirm.
Deleting a schedule is irreversible and has two cascading effects:
- All regular and special entries inside the schedule are permanently removed.
- Every campaign that was using the schedule is unassigned — their schedule is set to none, making them dial at any time unless a Holiday List is still attached.
Review which campaigns use the schedule before deleting it.
Opening a Schedule
-
Navigate to the Campaigns module.
-
Open the Schedules page. Each row is a named schedule that you can attach to one or more campaigns.
-
Click the name of the schedule you want to edit.

The schedule detail page shows two tabs: Regular and Special. Each tab has its own list, its own + New button, and its own Edit and Delete actions on every row.
Managing Regular Schedules
Regular schedules define the recurring weekly hours when the campaign is allowed to dial. A schedule can contain multiple regular entries, which is useful when different days have different hours (for example, weekdays 9:00 AM to 5:00 PM plus Saturday 10:00 AM to 2:00 PM).
Reading the Regular Tab
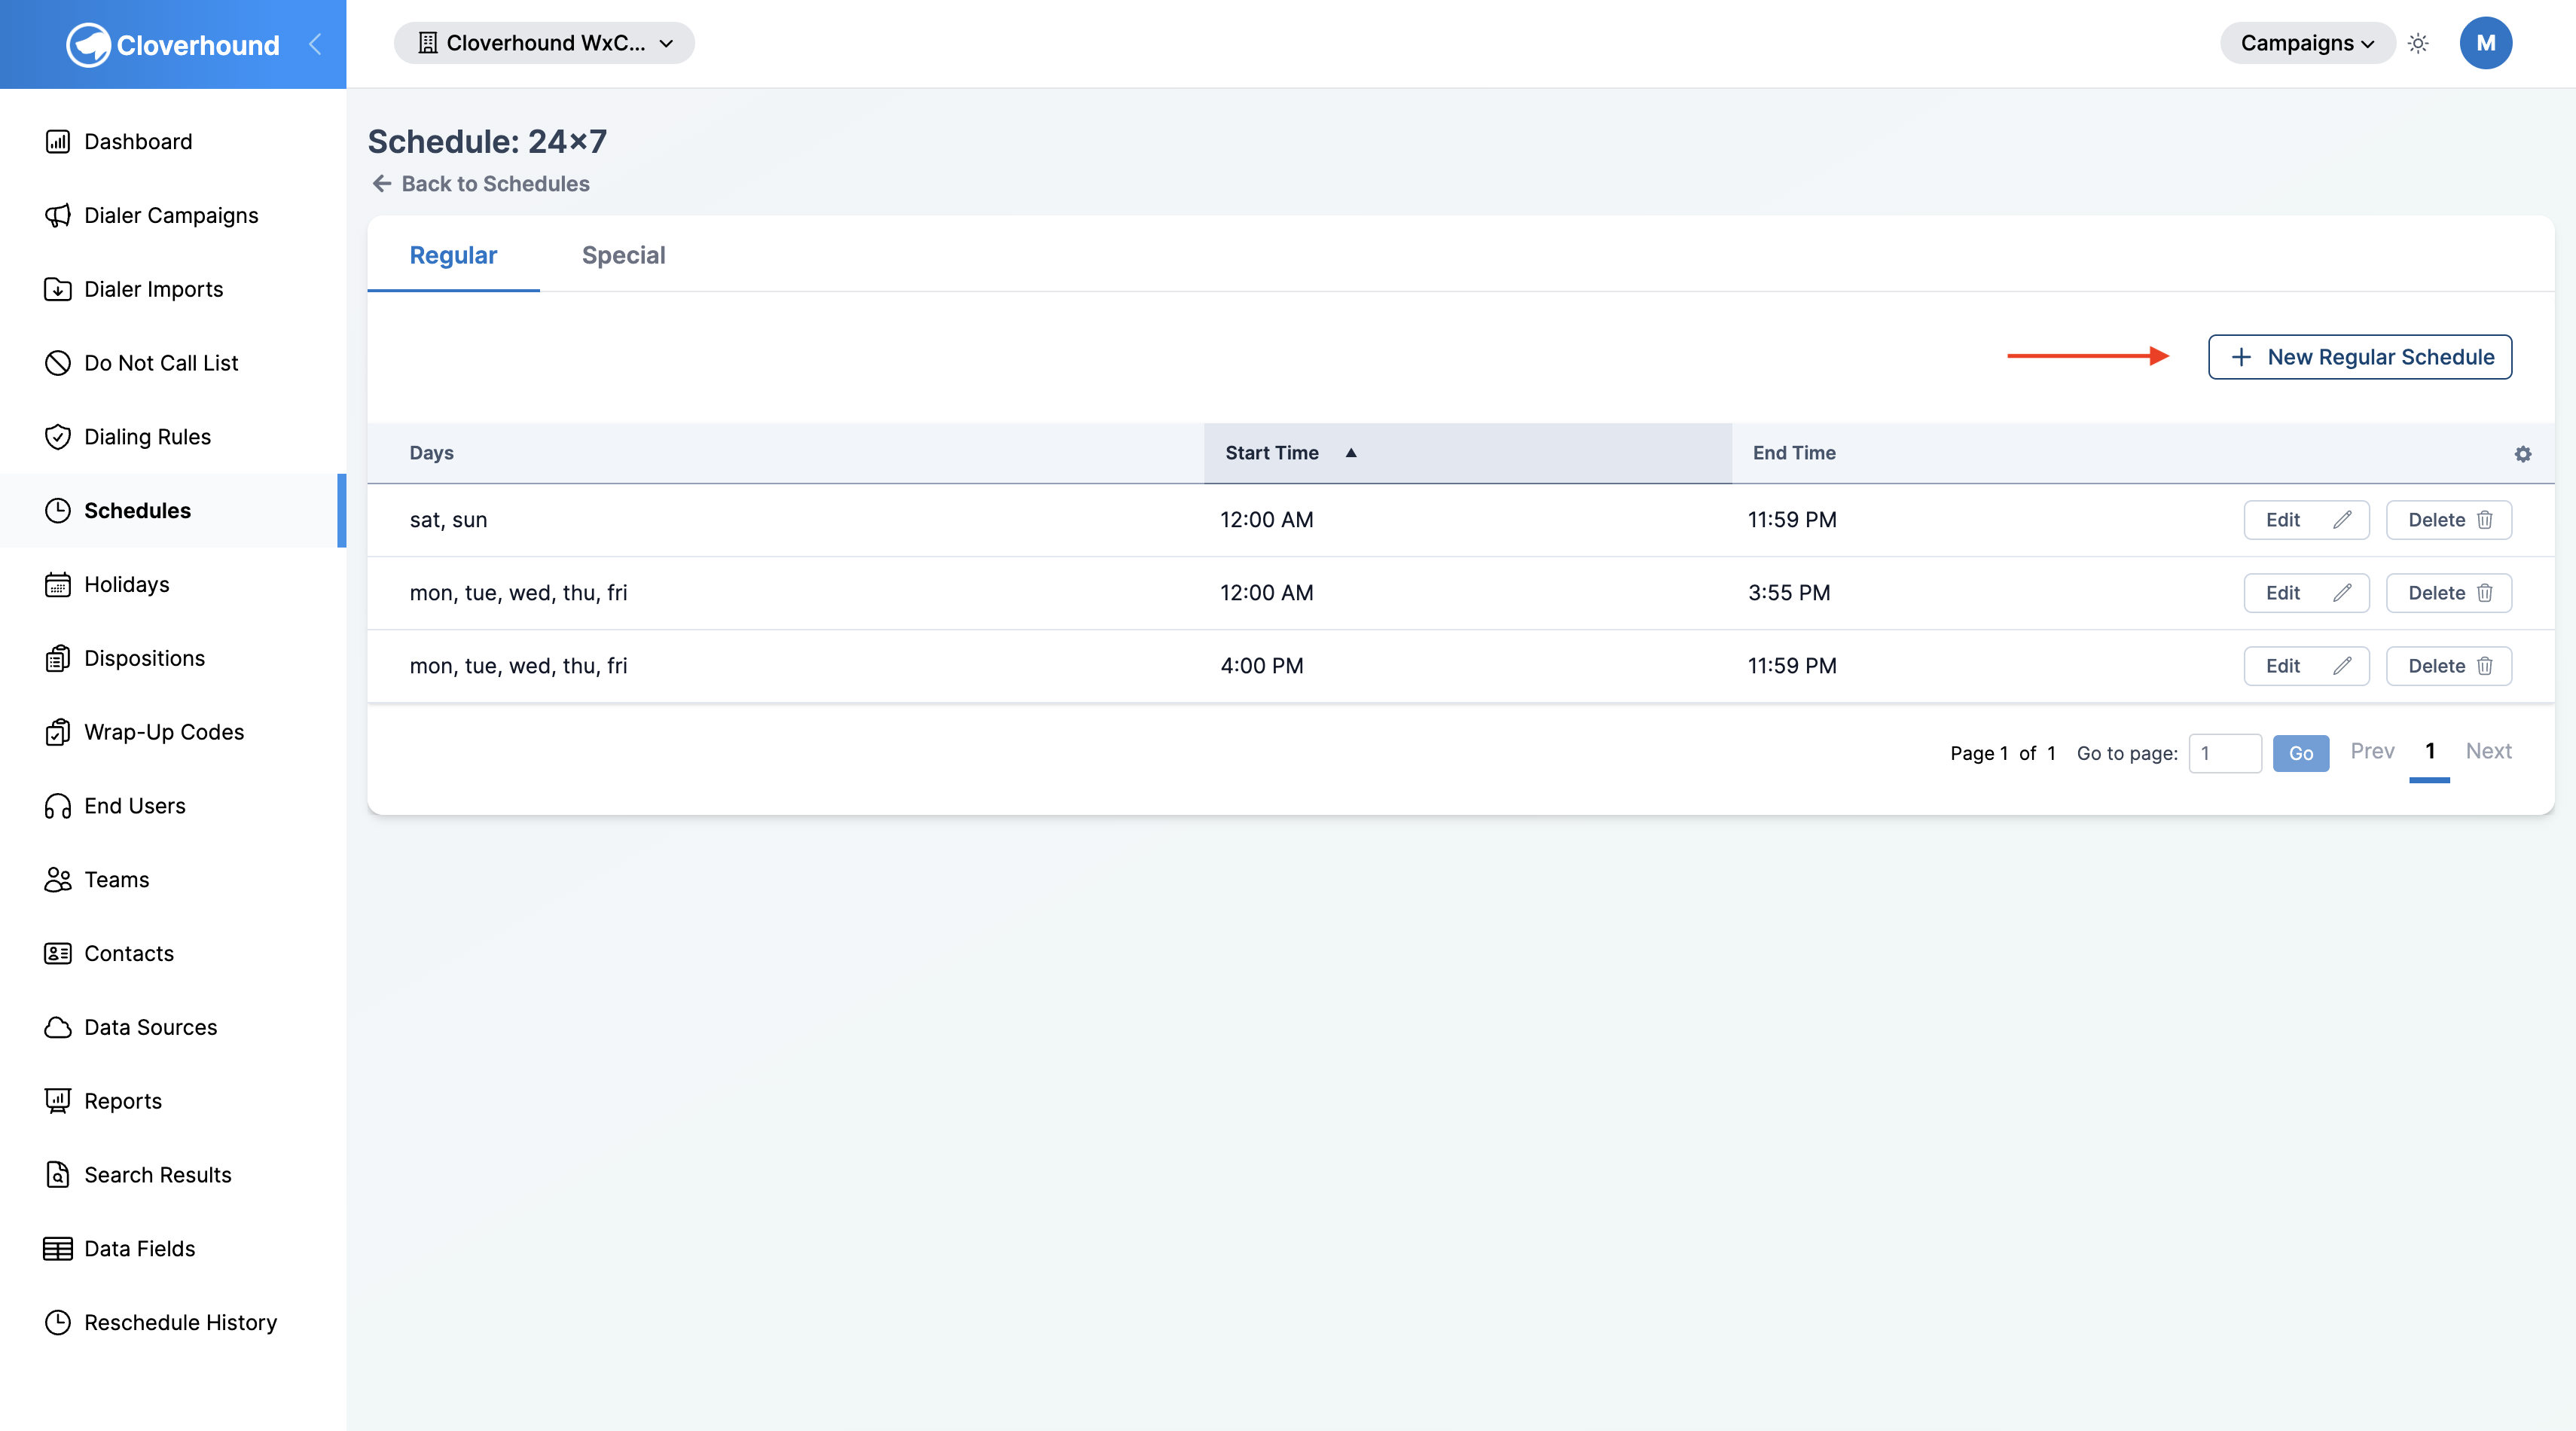
The table on the Regular tab lists each entry with three columns:
- Days — the days of the week this entry covers, rendered as an abbreviated list (for example,
Mon, Tue, Wed, Thu, Fri). - Start Time — the time of day the campaign starts dialing, formatted in 12-hour time.
- End Time — the time of day the campaign stops dialing.
Creating a Regular Schedule
-
Open the Regular tab on the schedule detail page.
-
Click the + New Regular Schedule button.
-
Select the days this entry applies to by checking any combination of Mon, Tue, Wed, Thu, Fri, Sat, and Sun.
-
Set the start time and end time using the time pickers. Both fields are required and use the organization's configured time zone.
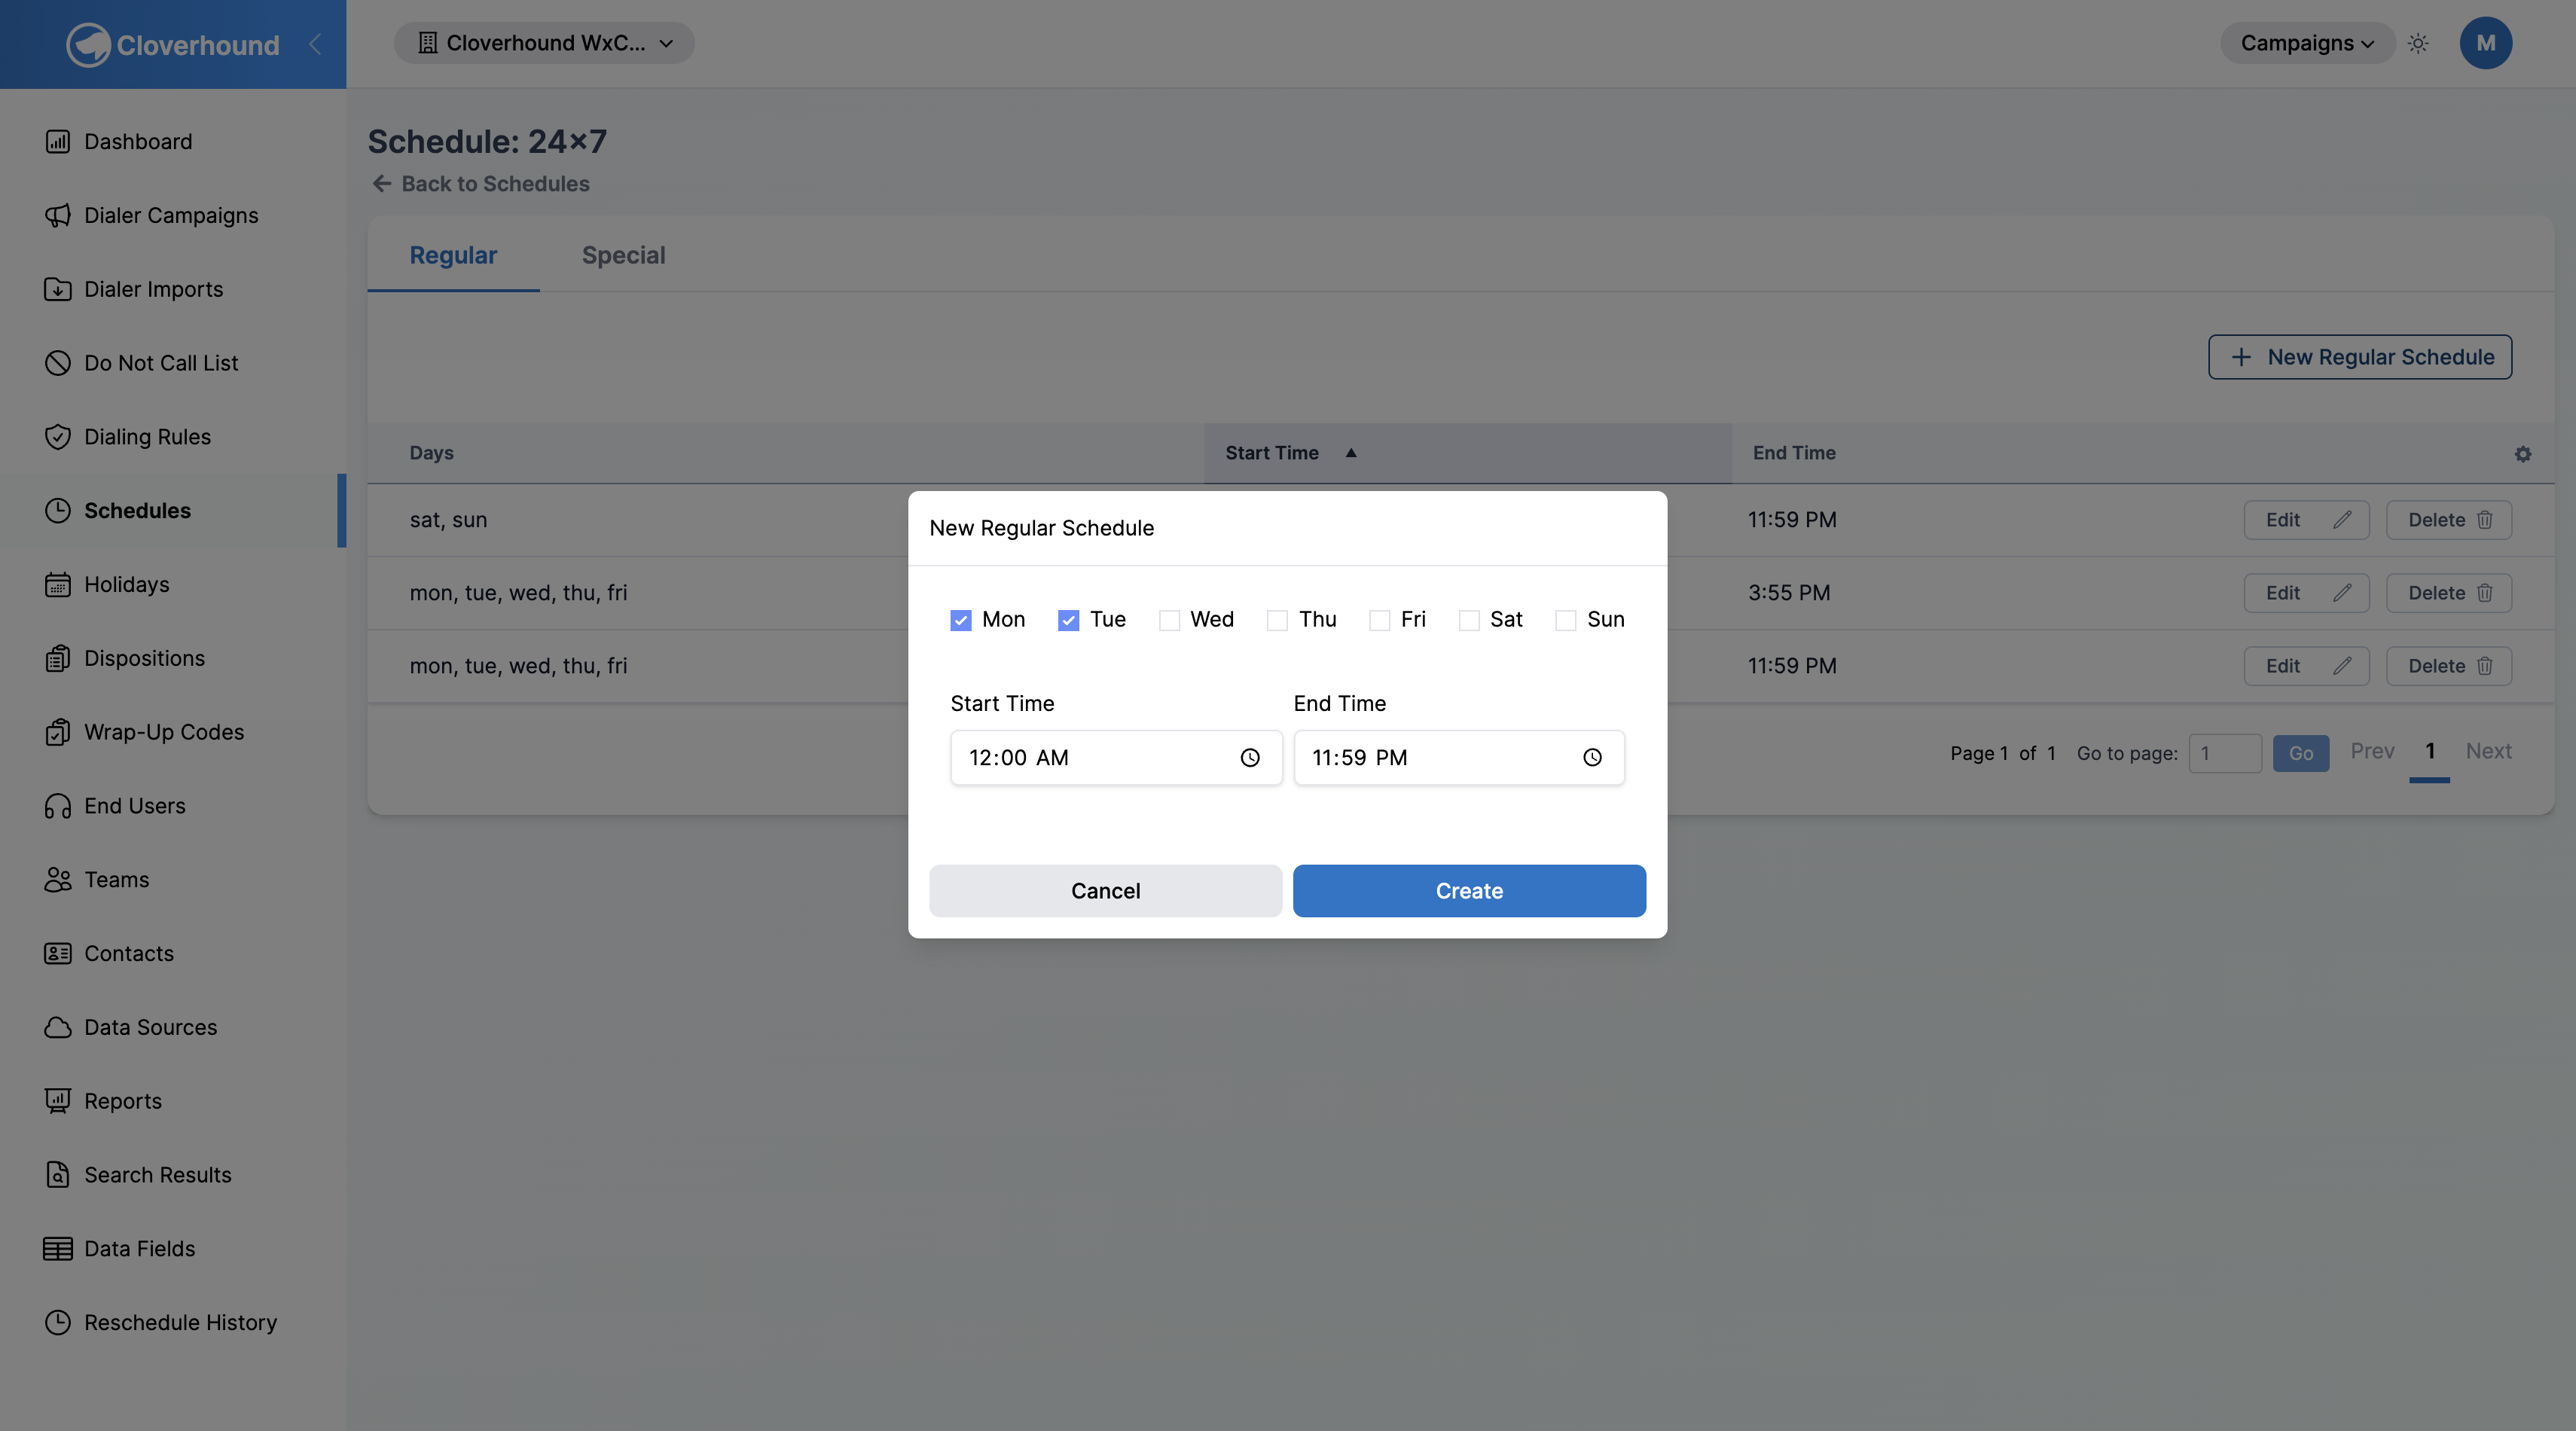
-
Click Create to save the entry.
Editing a Regular Schedule
- Locate the entry in the Regular tab table.
- Click the Edit button in the actions column.
- Update the days, start time, or end time.
- Click Save.
Deleting a Regular Schedule
- Locate the entry in the Regular tab table.
- Click the Delete button in the actions column.
- Confirm the deletion.
Deleting a regular schedule takes effect immediately for every campaign that uses the parent schedule. If this is the only regular entry and the schedule has no special entries either, the campaign is treated as always open.
Managing Special Schedules
Special schedules override the weekly pattern on a specific date. Use them for holidays, training days, severe-weather closures, or any exception to normal hours. A special schedule can set different hours for the day or close the day entirely.
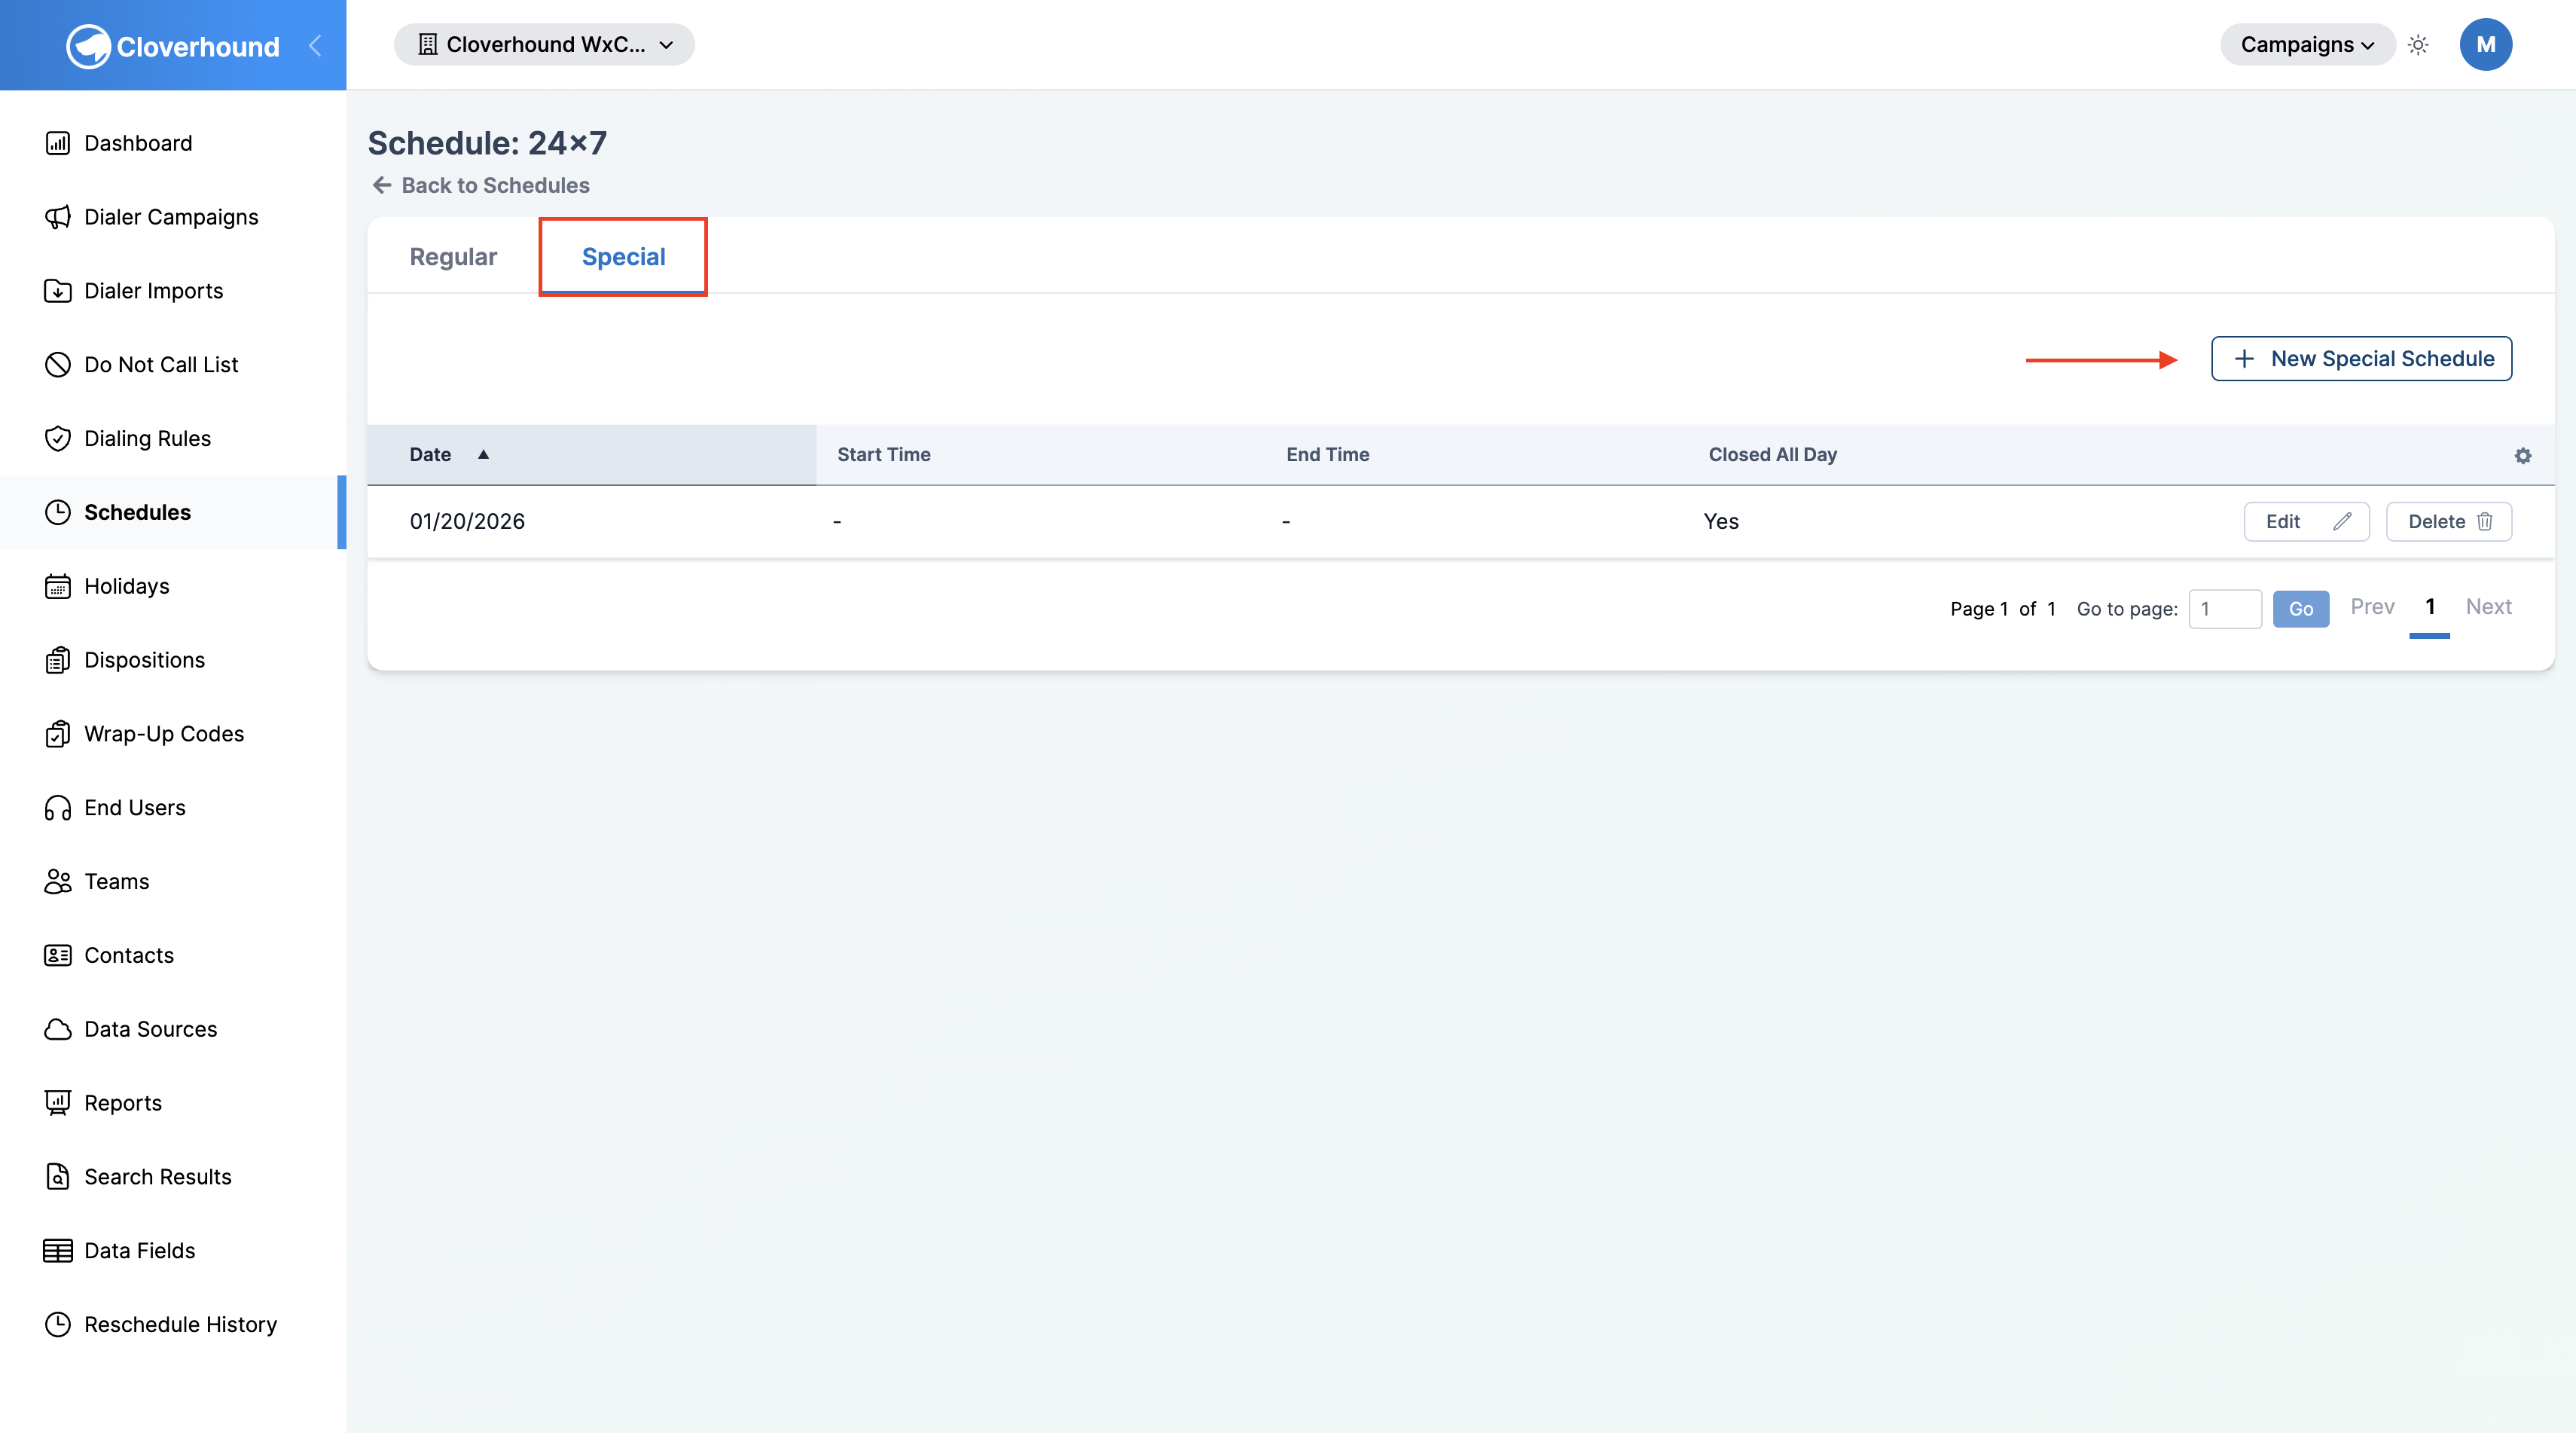
Reading the Special Tab
The table on the Special tab lists each entry with four columns:
- Date — the specific date this entry applies to, formatted
MM/DD/YYYY. - Start Time and End Time — the opening hours for that date, or
-when the day is marked closed. - Closed All Day —
Yeswhen the campaign is fully blocked for the date,Nowhen only the hours change.
Creating a Special Schedule
-
Open the Special tab on the schedule detail page.
-
Click the + New Special Schedule button.
-
Pick the date on the mini calendar.
-
Choose one of the following:
- For reduced or shifted hours, leave Closed All Day off and set the start time and end time.
- For a full-day closure, turn on the Closed All Day toggle. The time fields become read-only and the campaign will not dial on that date.
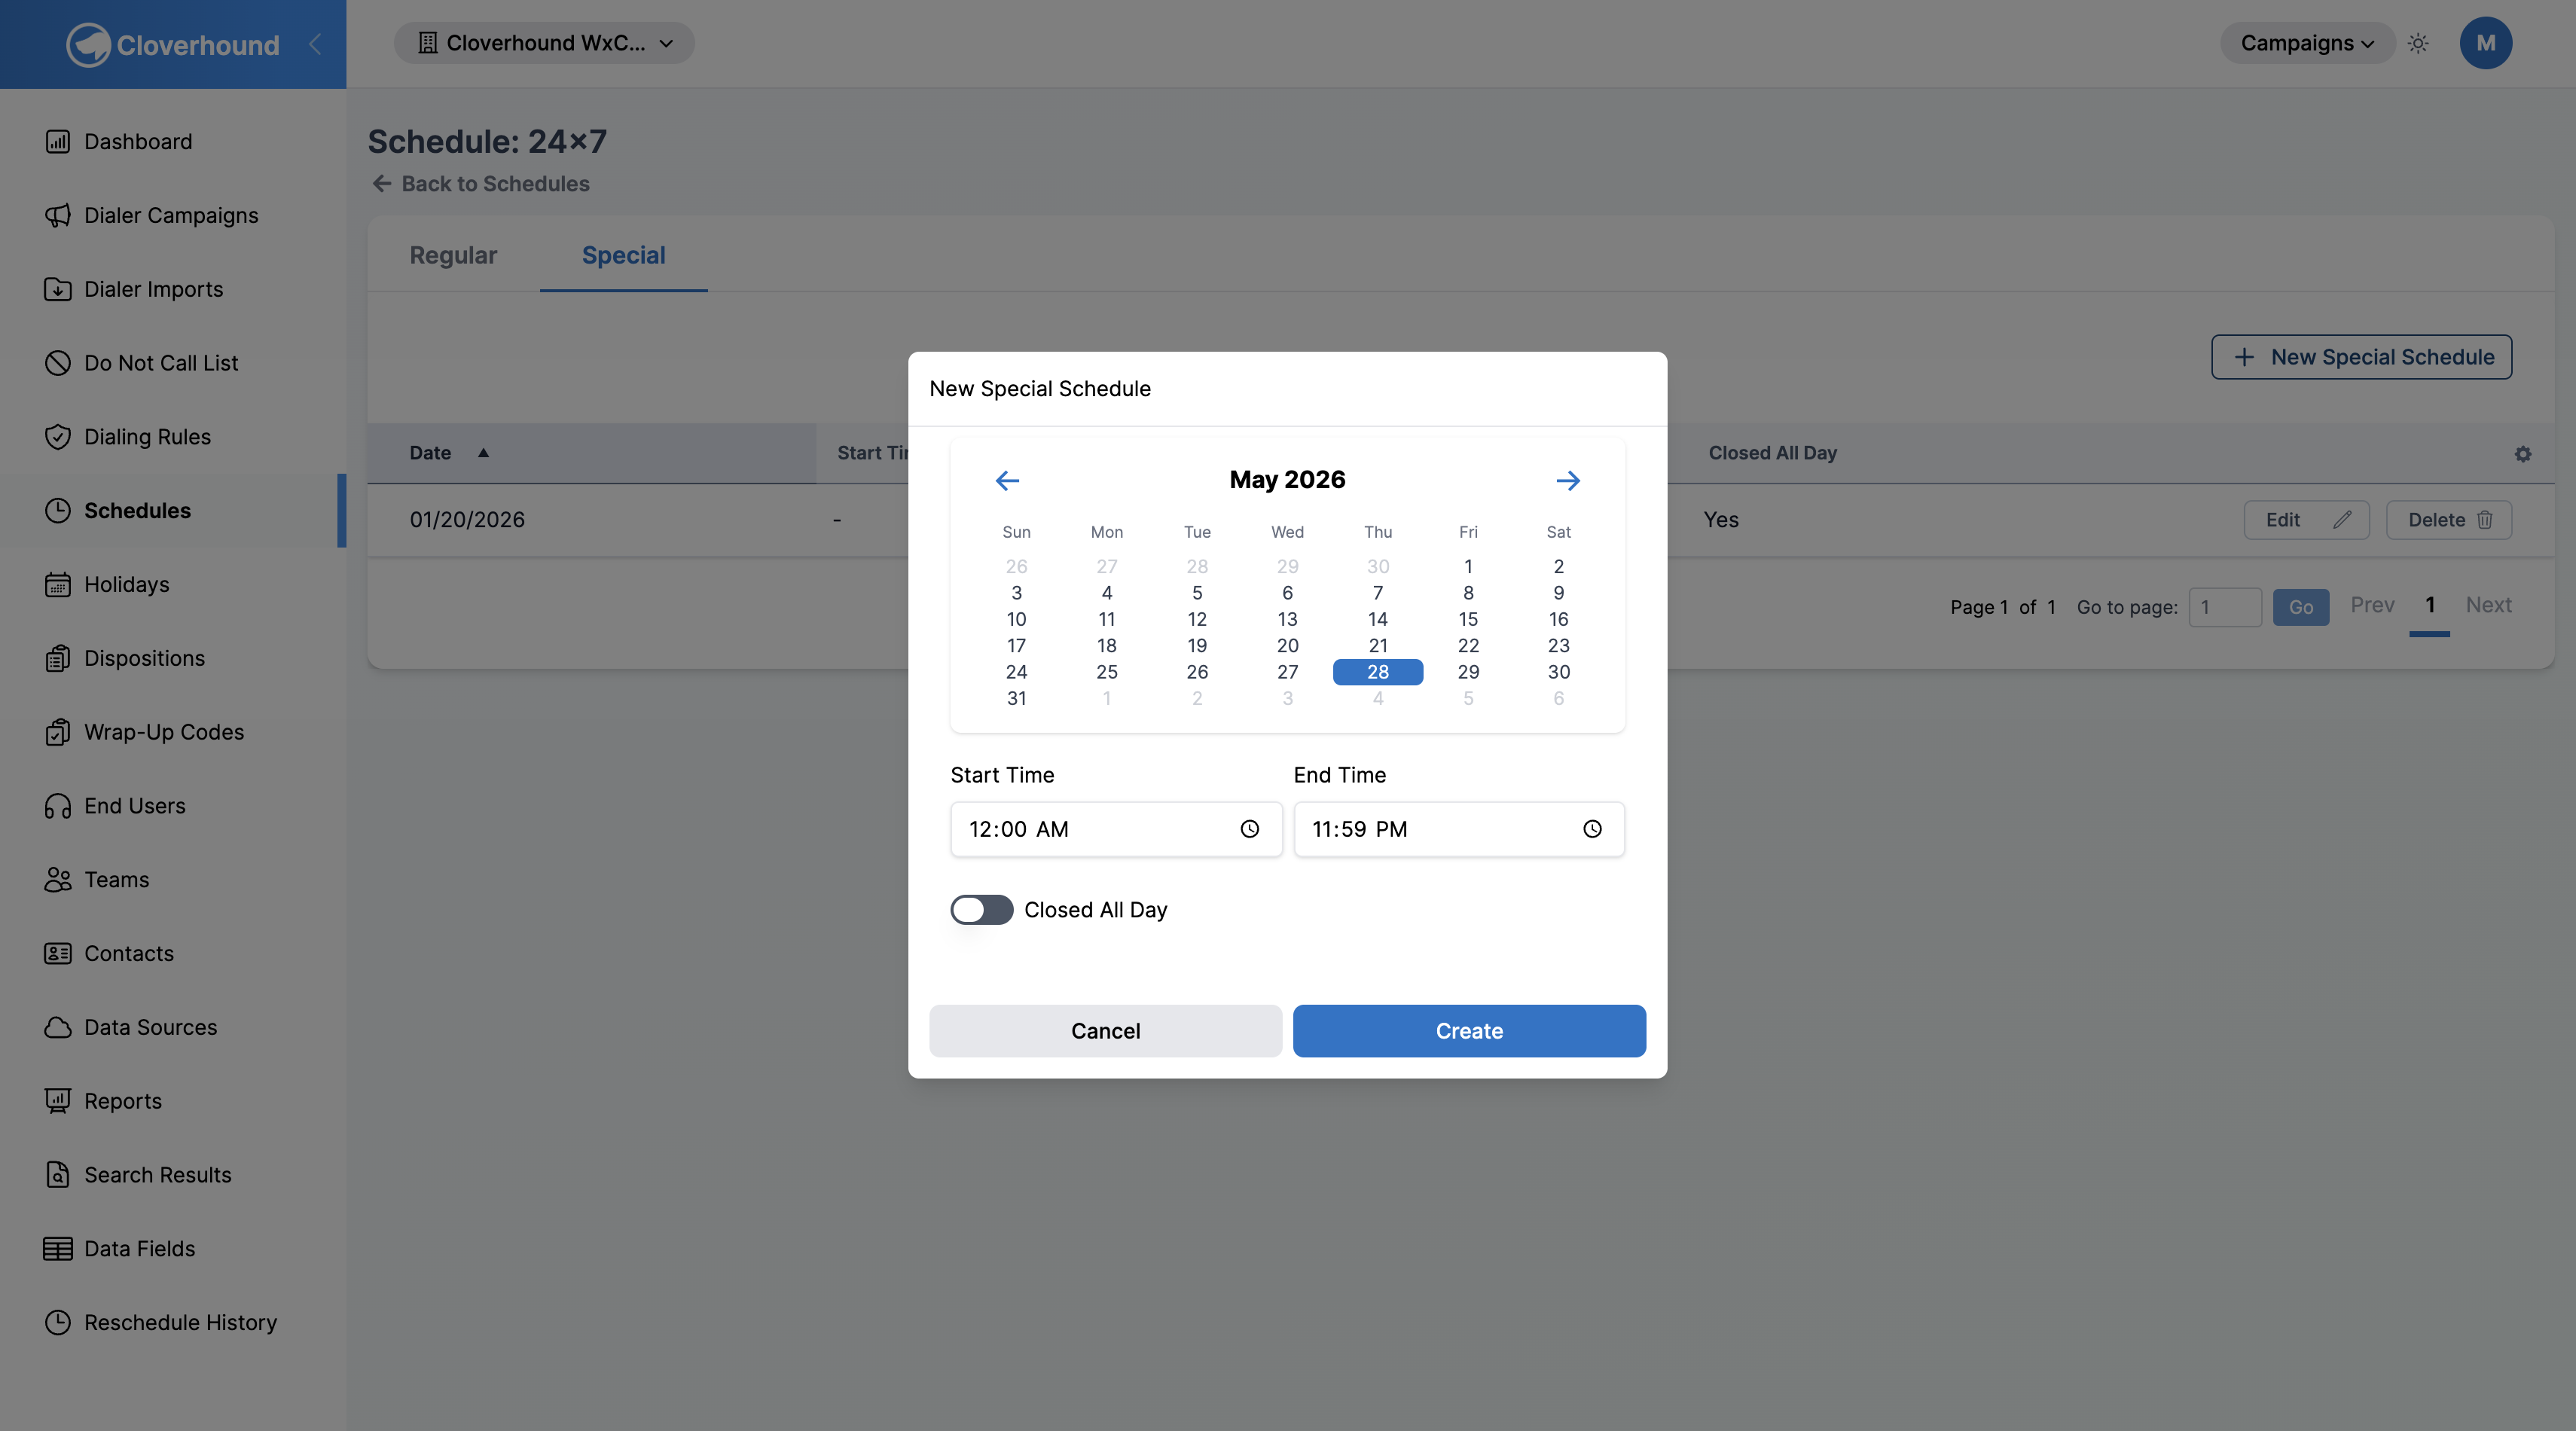
-
Click Create to save the entry.
You can add multiple special entries for the same date with different time windows — for example, 9:00 AM–12:00 PM and 2:00 PM–5:00 PM on the same day. The campaign dials during any of those windows.
Editing a Special Schedule
- Locate the entry in the Special tab table. The table shows Date, Start Time, End Time, and Closed All Day.
- Click the Edit button in the actions column.
- Update the date, times, or Closed All Day toggle.
- Click Save.
Deleting a Special Schedule
- Locate the entry in the Special tab table.
- Click the Delete button in the actions column.
- Confirm the deletion.
On any given date, a special schedule entry takes precedence over the weekly regular schedule. If Closed All Day is set, the campaign is closed on that date regardless of what the regular schedule would allow.
Assigning a Schedule to a Campaign
A schedule only affects dialing once it is attached to a campaign.
-
Navigate to the Campaigns module and open the Campaigns page.
-
Create a new campaign or edit an existing one.
-
On step 1 of the campaign form, open the Schedule dropdown and pick your schedule. The dropdown lists every schedule in the organization.
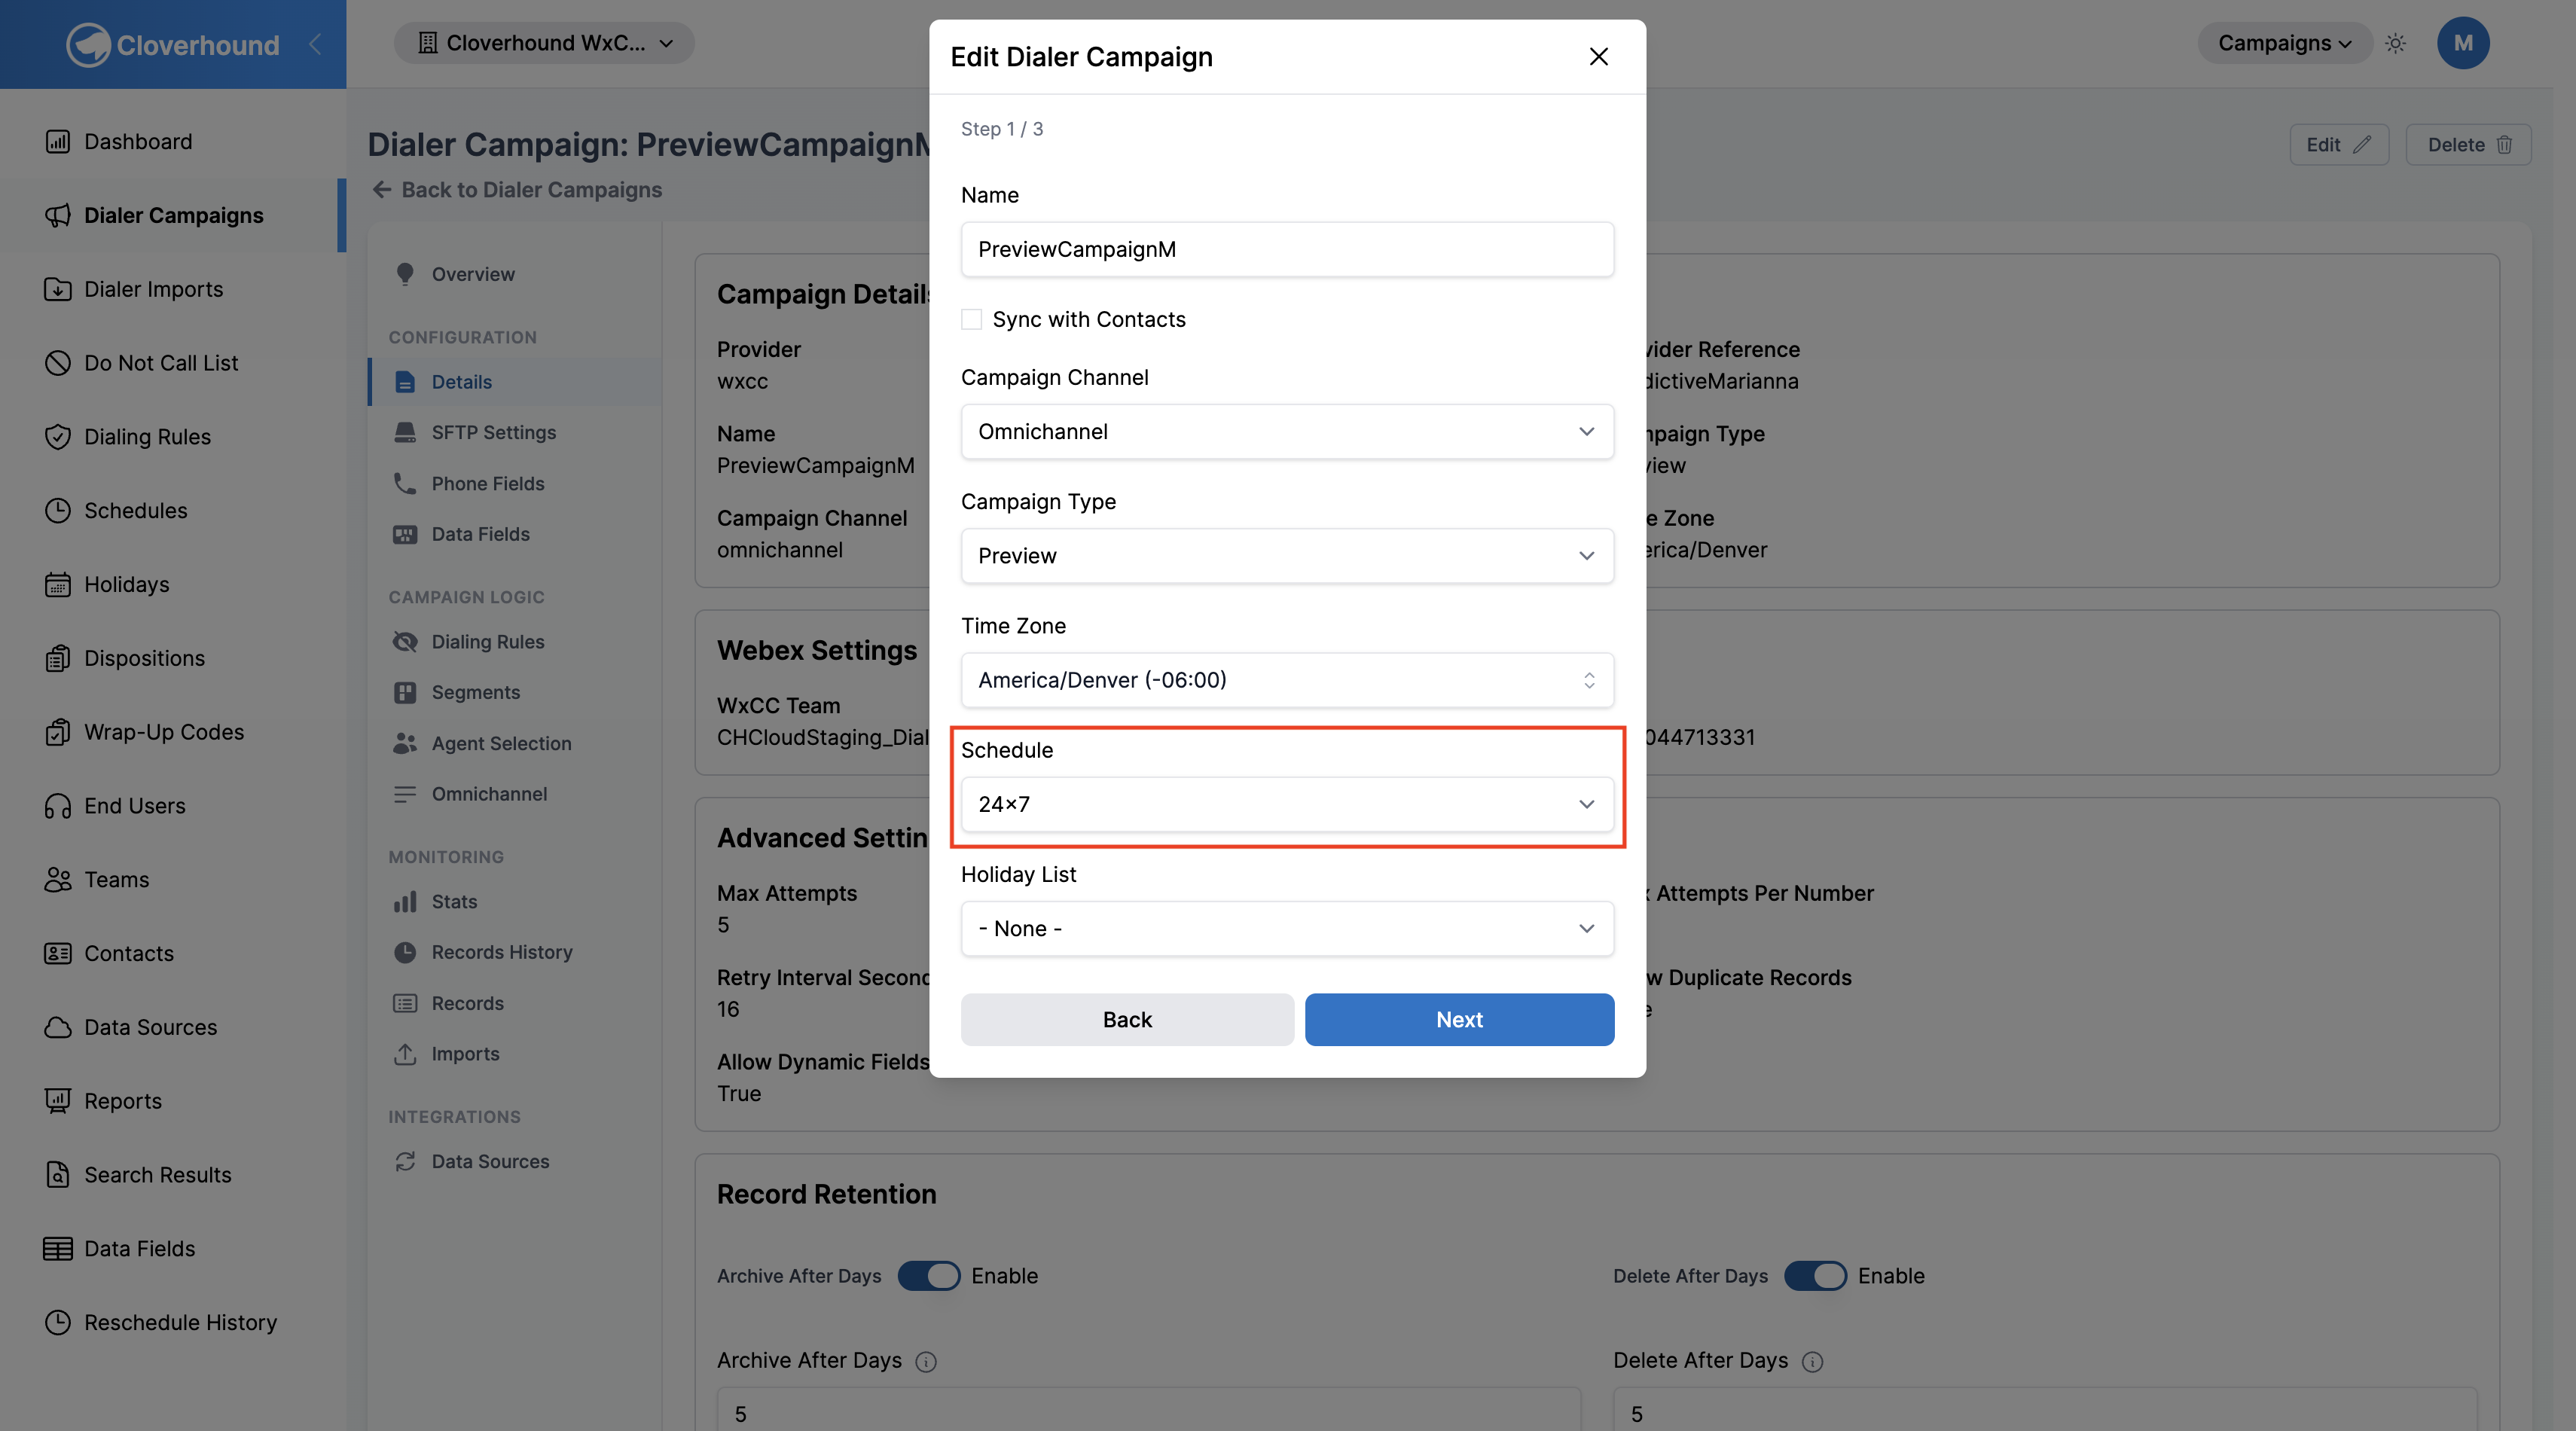
-
Complete the rest of the form and save the campaign.
The campaign now dials only during the hours defined by the attached regular and special schedule entries.
Tips and Best Practices
- A schedule with no regular and no special entries is treated as always open, as is a campaign with no schedule assigned at all. Add at least one regular entry to enforce operating hours.
- Use multiple regular entries when different days need different hours rather than forcing one entry to cover every case.
- Times are resolved using the campaign's time zone, falling back to the organization's time zone.
- Pair schedules with a Holiday List when you want full-day blocks that apply across every year without creating a special entry per date.
- Compliance — align your schedules with local and national regulations for permissible calling hours. Restricted hours vary by region and can change; review them periodically.
- Agent availability — coordinate campaign schedules with agent shifts so calls that connect are handled promptly.
- Performance review — revisit your schedules periodically and adjust based on contact rates and campaign data.
You can now build up a schedule with recurring weekly hours and date-specific exceptions, and attach it to any campaign that should follow those hours.