Viewing Import History
The Imports tab on a Dialer Campaign shows a history log of every record import that has run into that campaign, whether triggered manually (CSV upload), pulled from an SFTP connection, or sourced from Salesforce. Use it to confirm that imports ran, check how many records were loaded, download the original file, and troubleshoot failures.
Opening the Imports tab
-
Navigate to the Campaigns module and open the campaign you want to inspect.
-
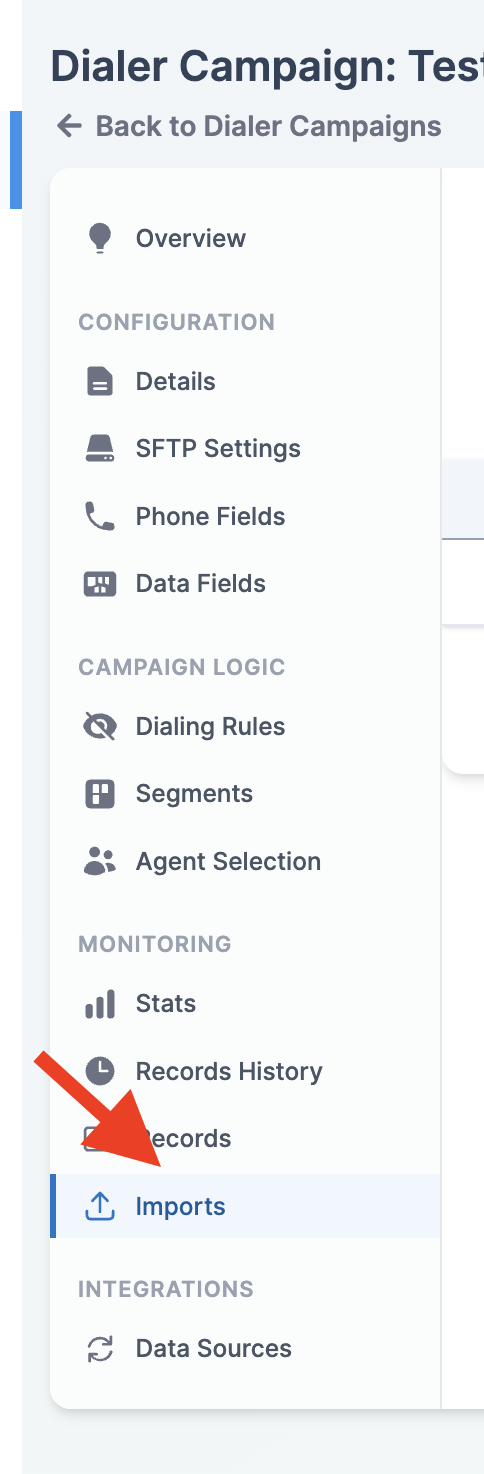
Select the Imports tab in the left navigation of the campaign page.
-
Review the history table. Each row represents one import run, sorted by Imported At (most recent first) by default. The view is limited to imports from the selected date range.
Reading the History Table
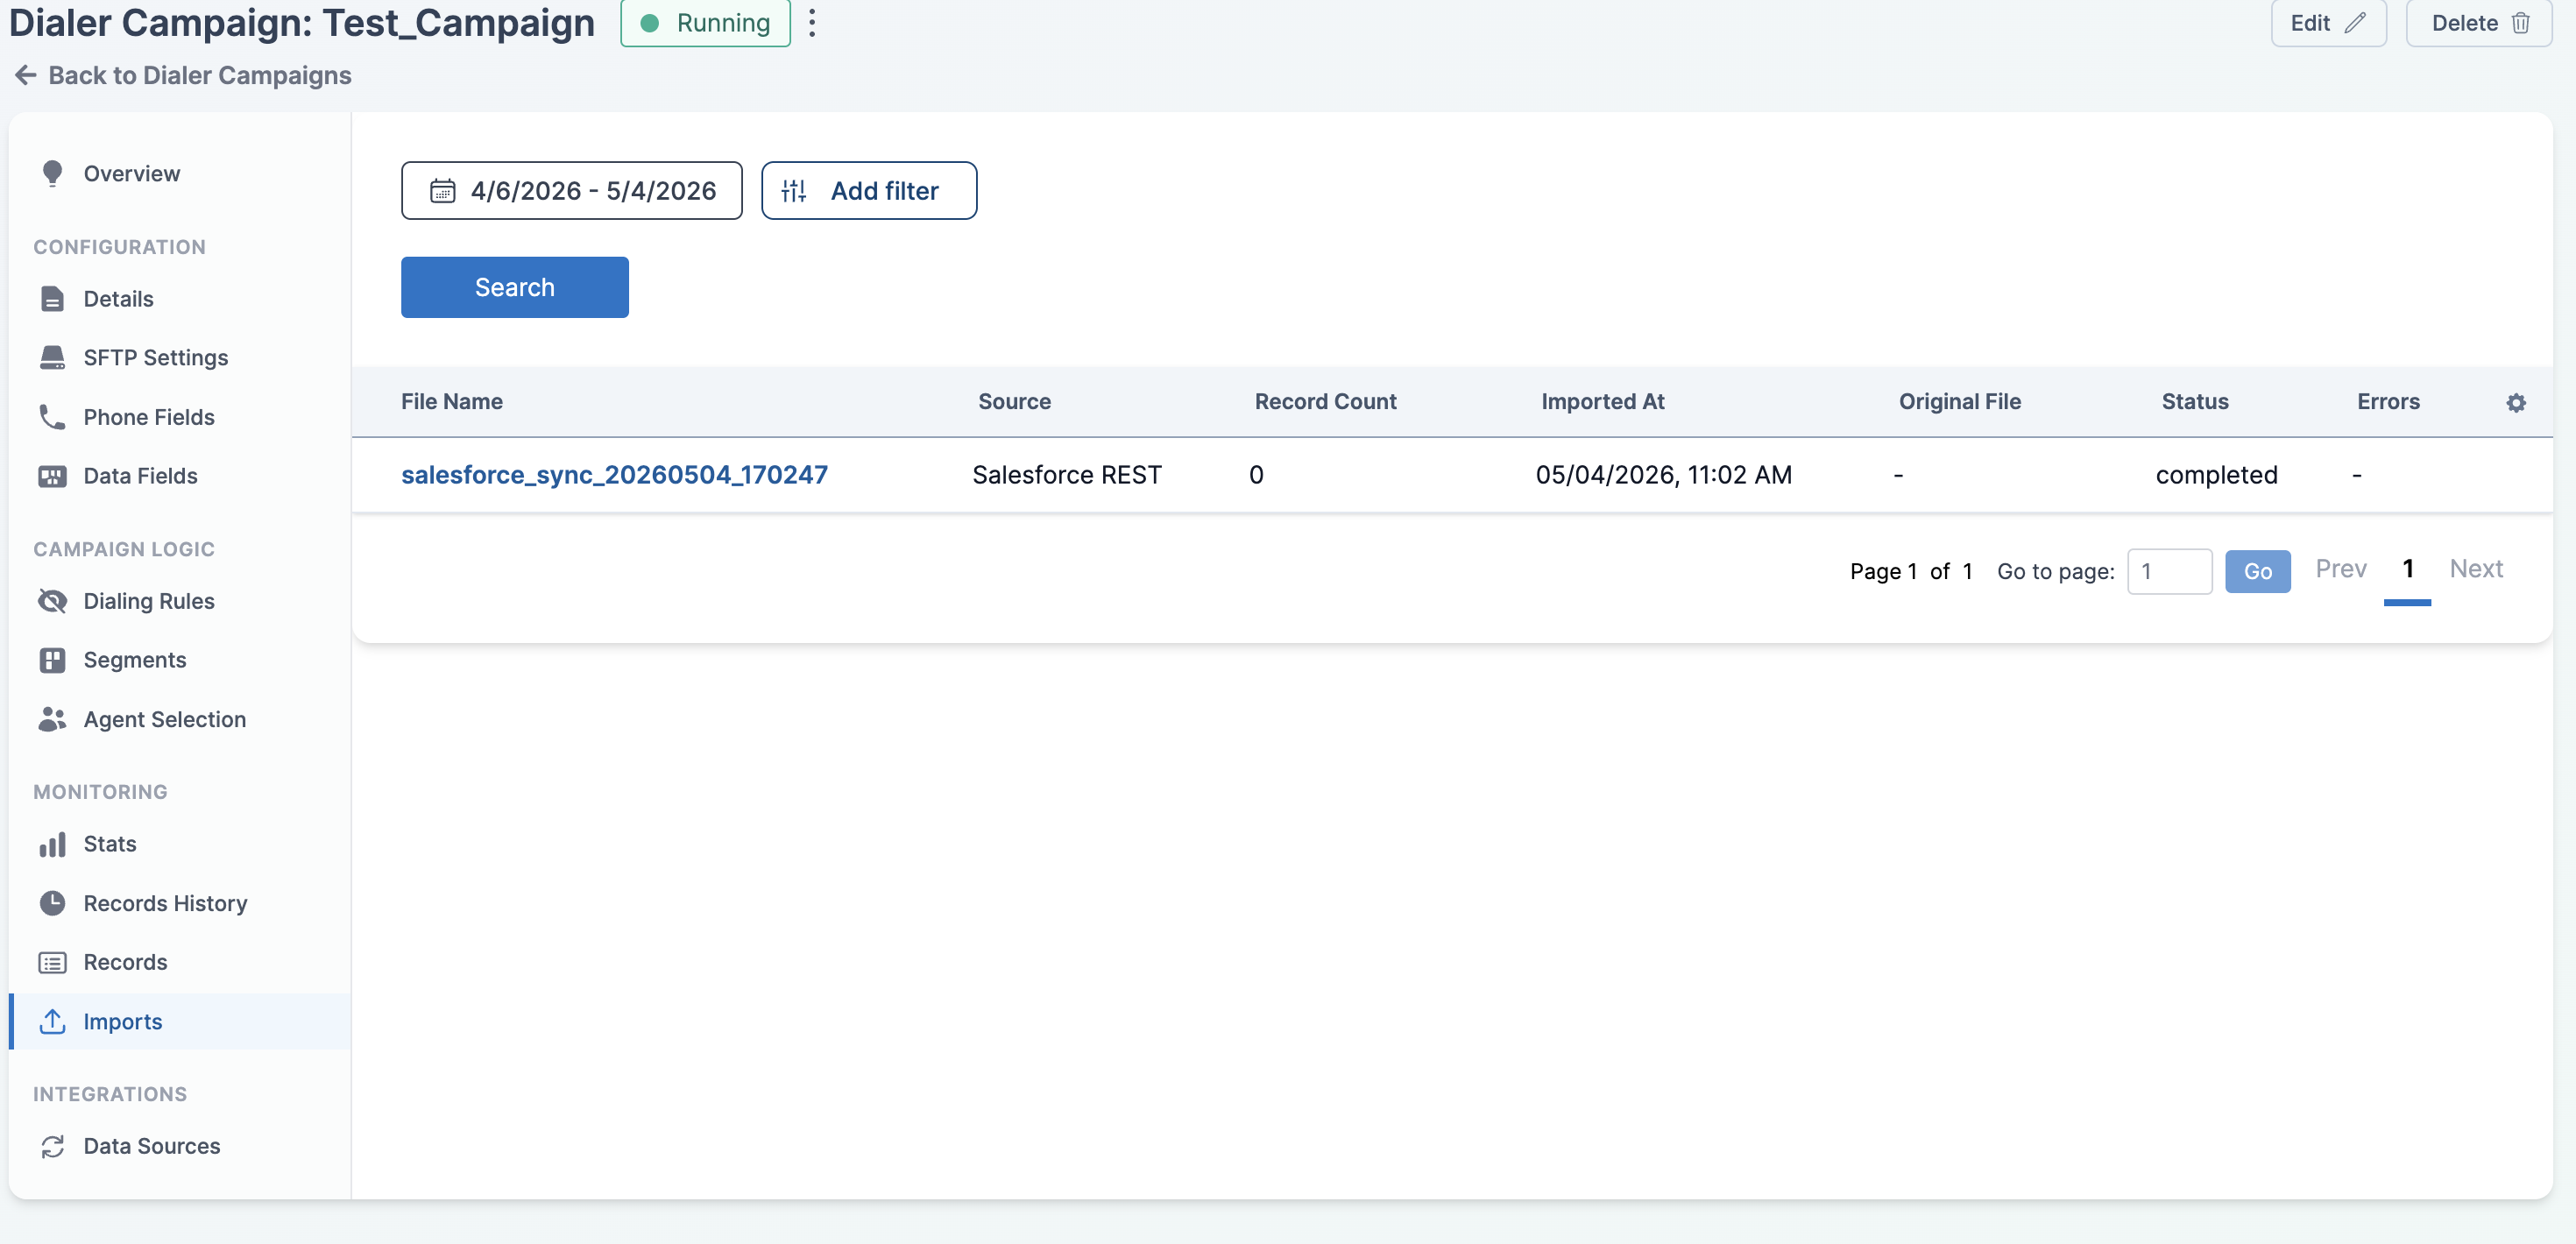
Each row includes the following columns:
- File Name — the name of the file that was imported. Click the filename to open the import's detail page.
- Source — how the import was triggered. Possible values:
- Manual — an admin uploaded a CSV through the UI.
- SFTP — the file was pulled from a configured SFTP connection (see Setting Up SFTP Automated Import).
- Salesforce CDC — records came from a Salesforce Change Data Capture stream.
- Salesforce REST — records were fetched from Salesforce via REST.
- Record Count — the number of records loaded into the campaign from this import.
- Imported At — the date and time the import was recorded, shown in your local time zone.
- Original File — a Download link for the source file, when available. Salesforce sources and some failed SFTP runs will show
-because no file is stored. - Status — the current state of the import: pending, processing, completed, or failed.
- Errors — a Show errors button appears when the import recorded an error. Click it to open a modal with the full error message.
Filtering by Date Range
-
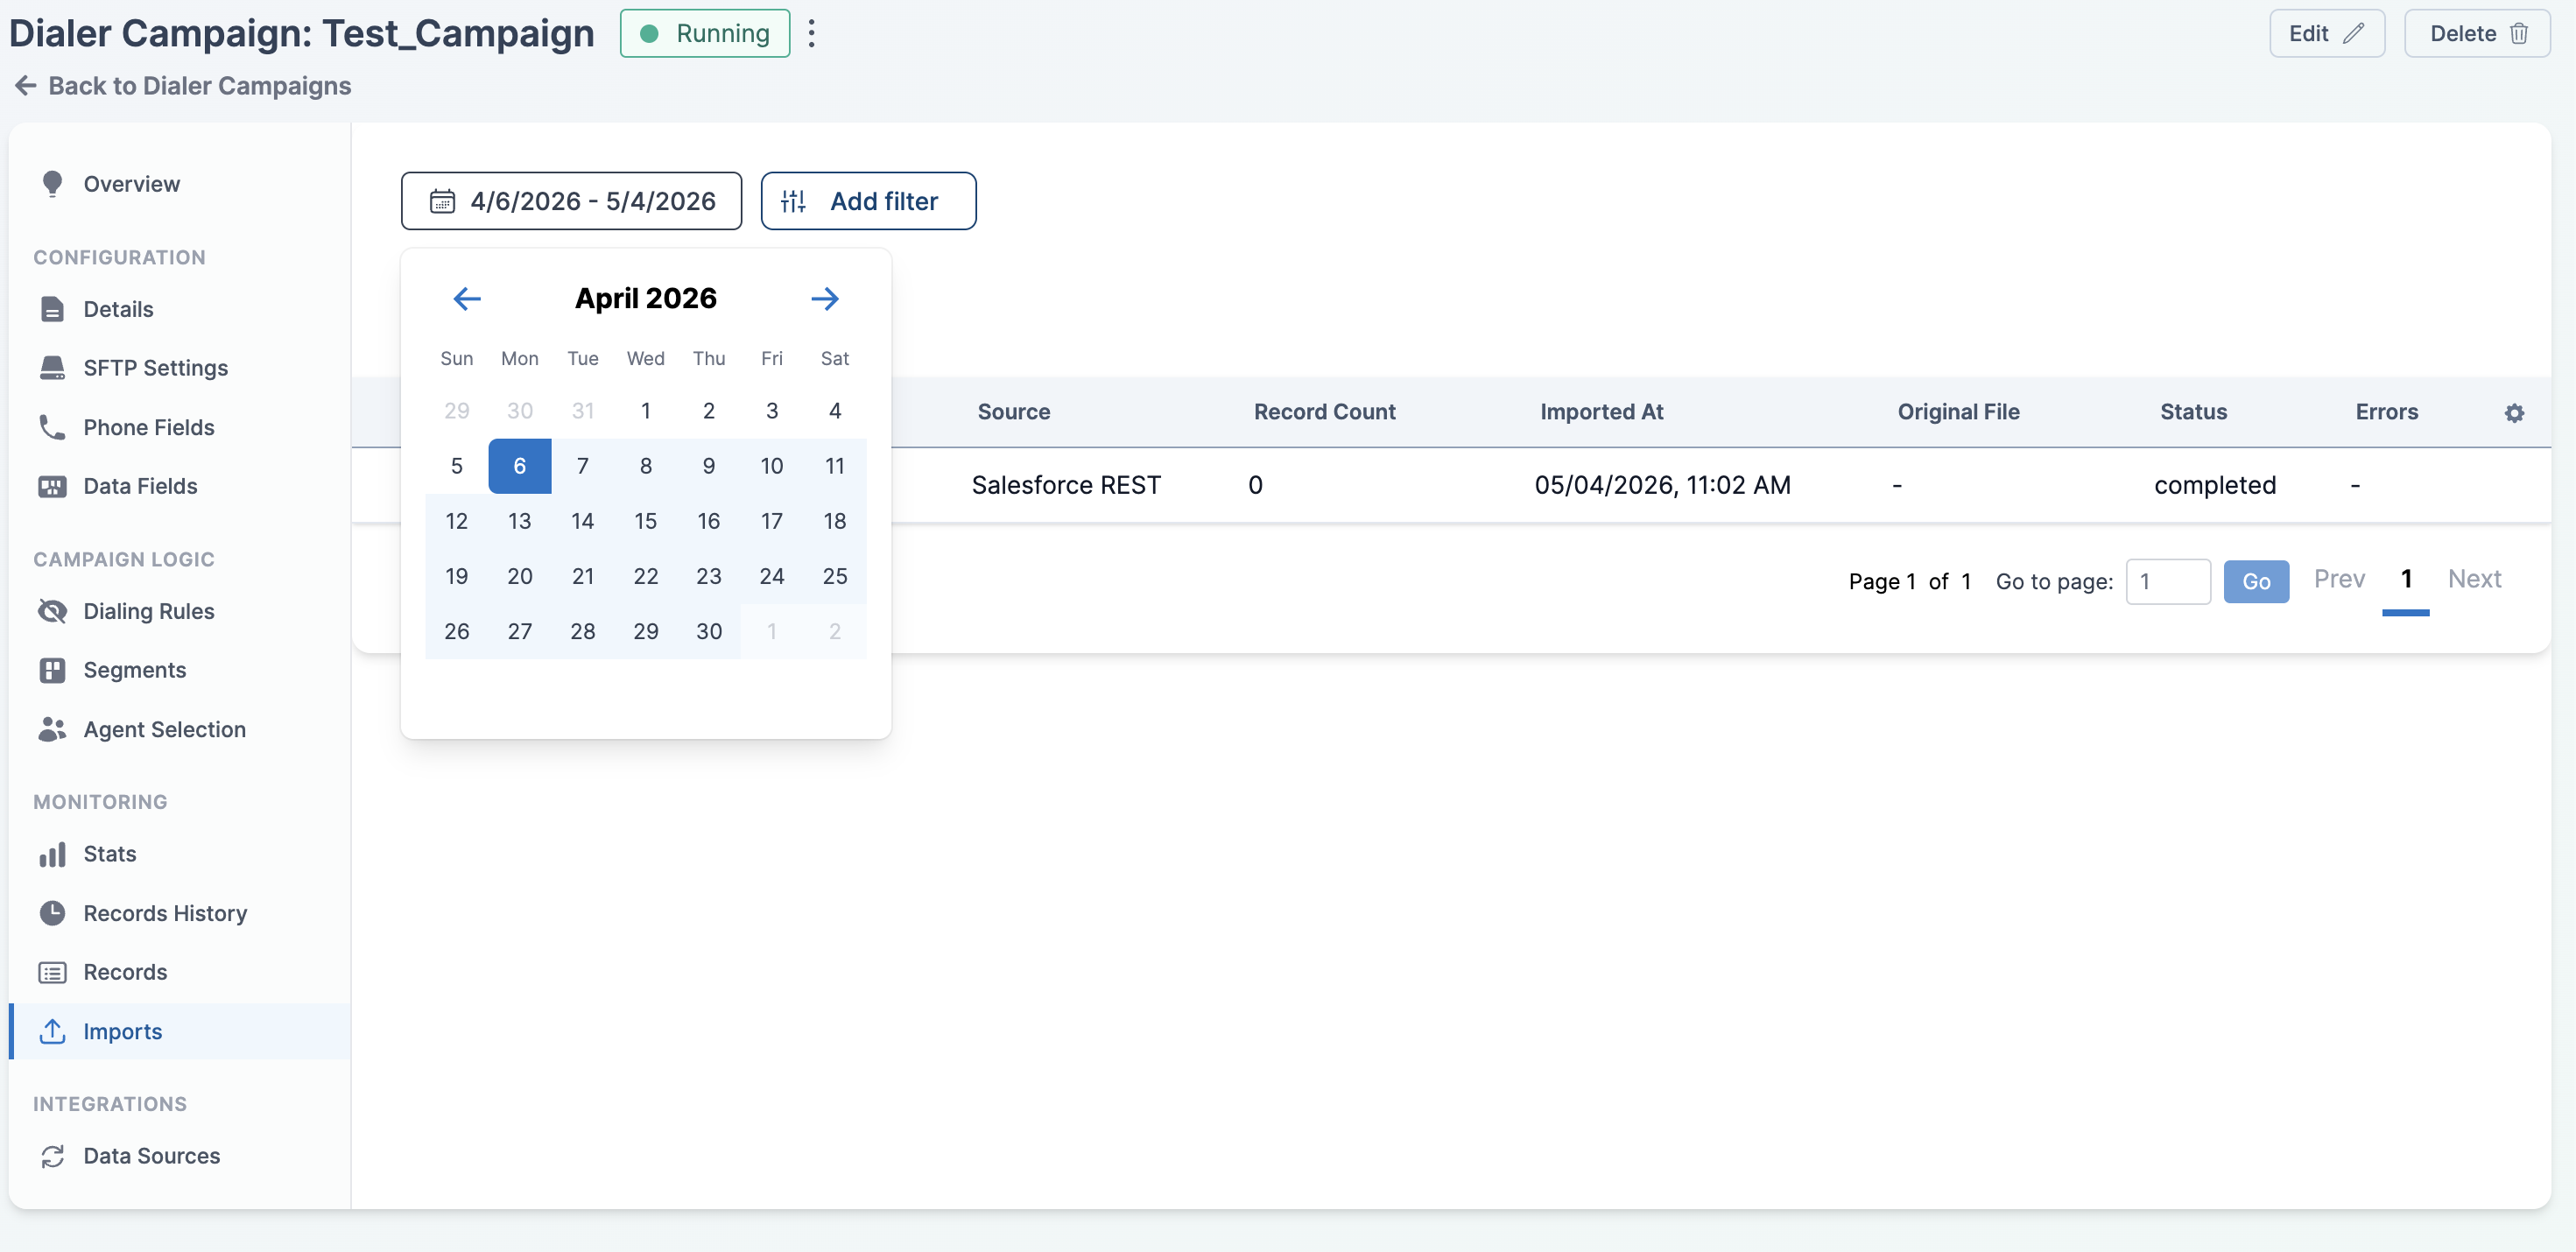
Click the date range picker above the table.
-
Pick a start and end date. Only imports recorded within that range are shown. The tab defaults to the last 28 days.
-
Click Search to apply.
Filtering by Column
-
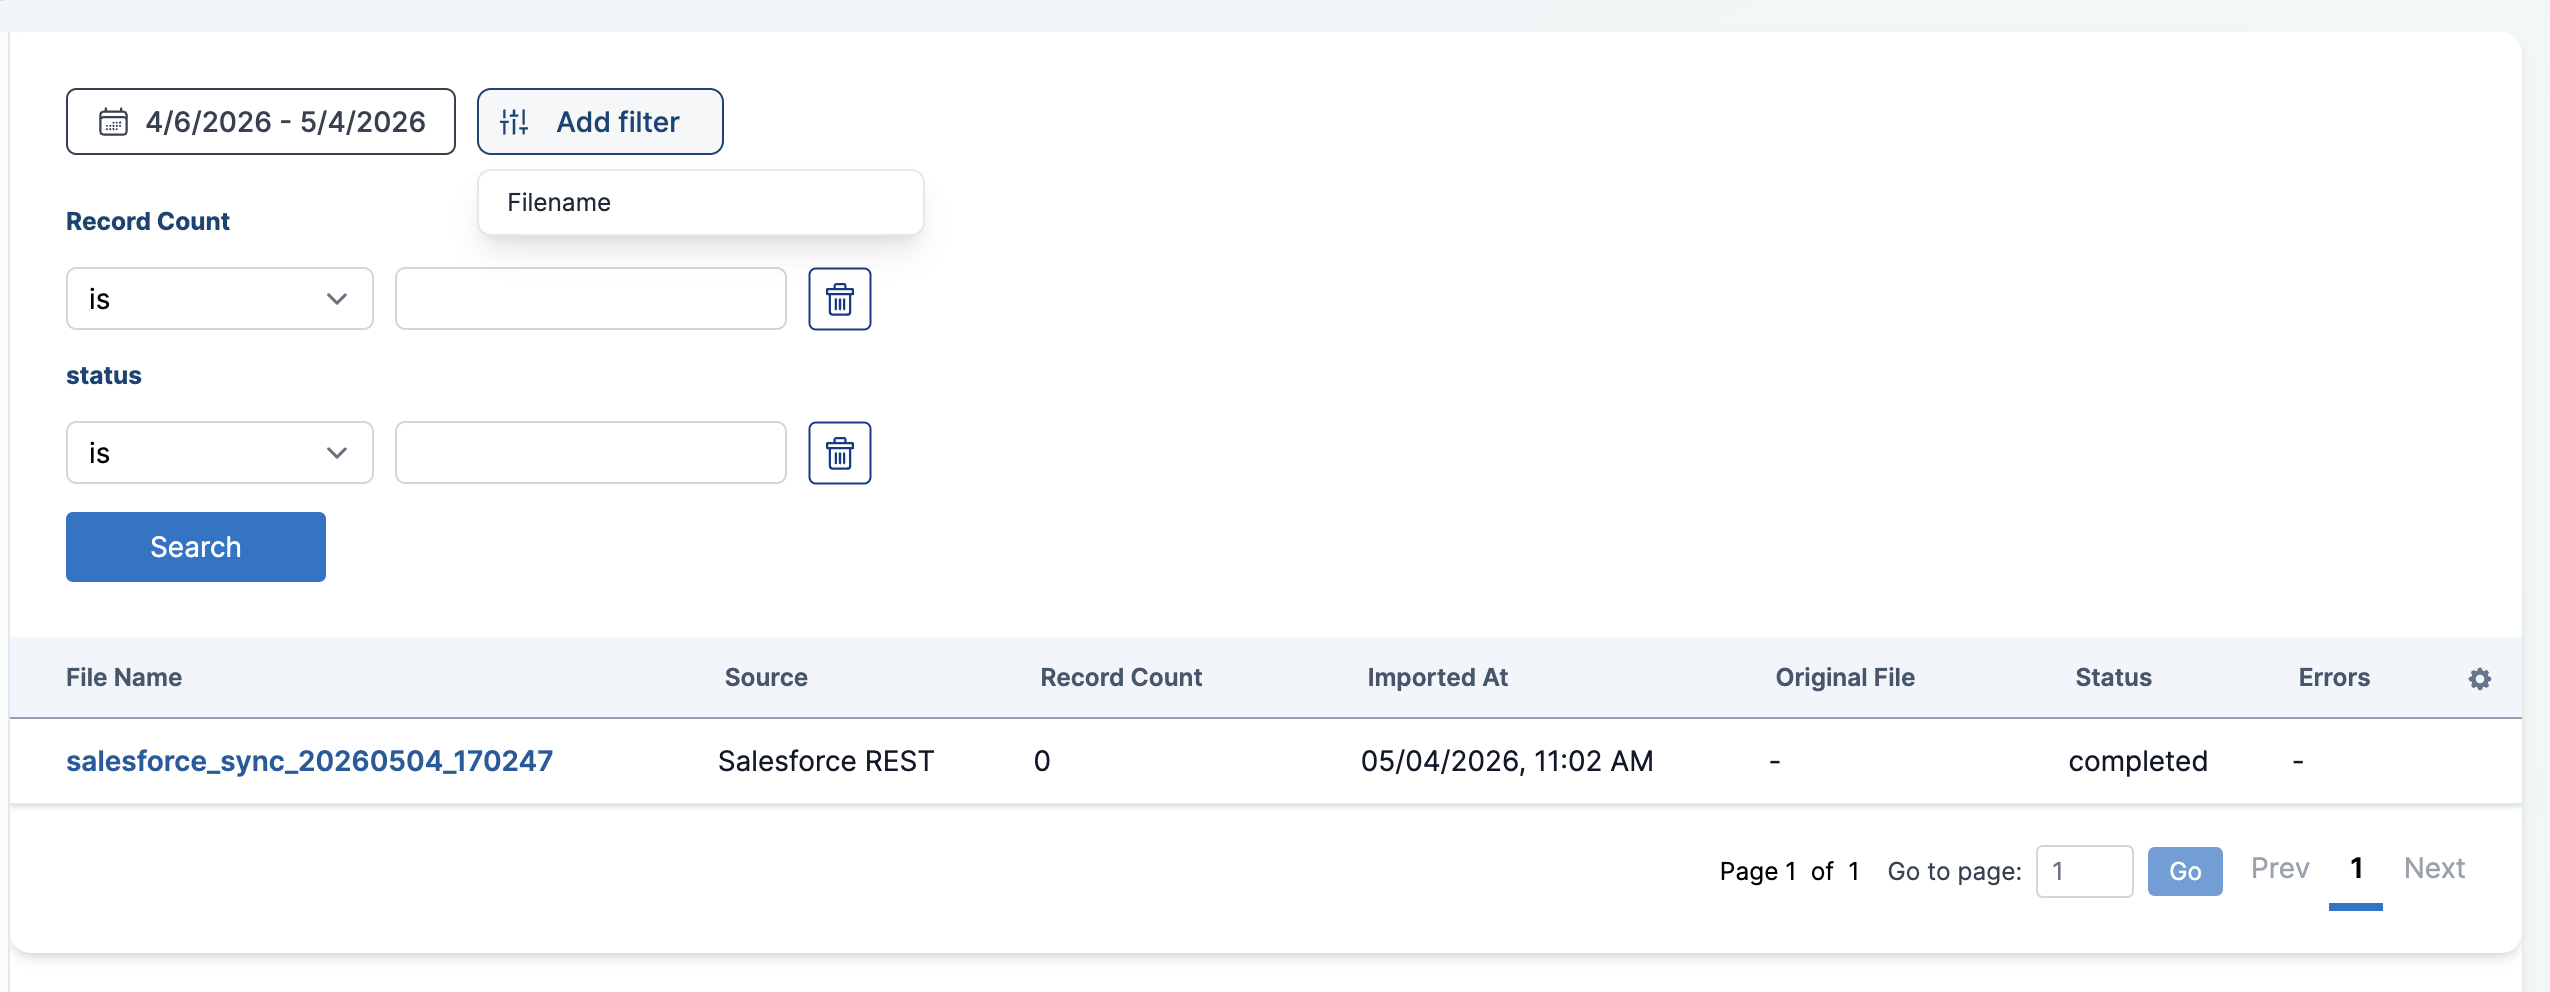
Click the Add filter button above the table.
-
Select a column to filter by:
- Filename — text match.
- Record Count — numeric comparison.
- Status — match against
pending,processing,completed, orfailed.
-
Set the filter condition:
- For Filename or Status, choose a text comparison (
contains,doesn't contain,starts with,ends with,is,is not) and enter a value. - For Record Count, choose a numeric comparison (
>=,<=,>,<,is,is not) and enter a whole number.
- For Filename or Status, choose a text comparison (
-
Click Search to apply. To remove a filter, click the trash icon next to it.
Downloading the Original File
Click the Download link in the Original File column to download the source CSV exactly as it was received.
Download is only available when the file is stored with the import. Salesforce-sourced imports and failed SFTP runs that never reached the storage step will show - in this column.
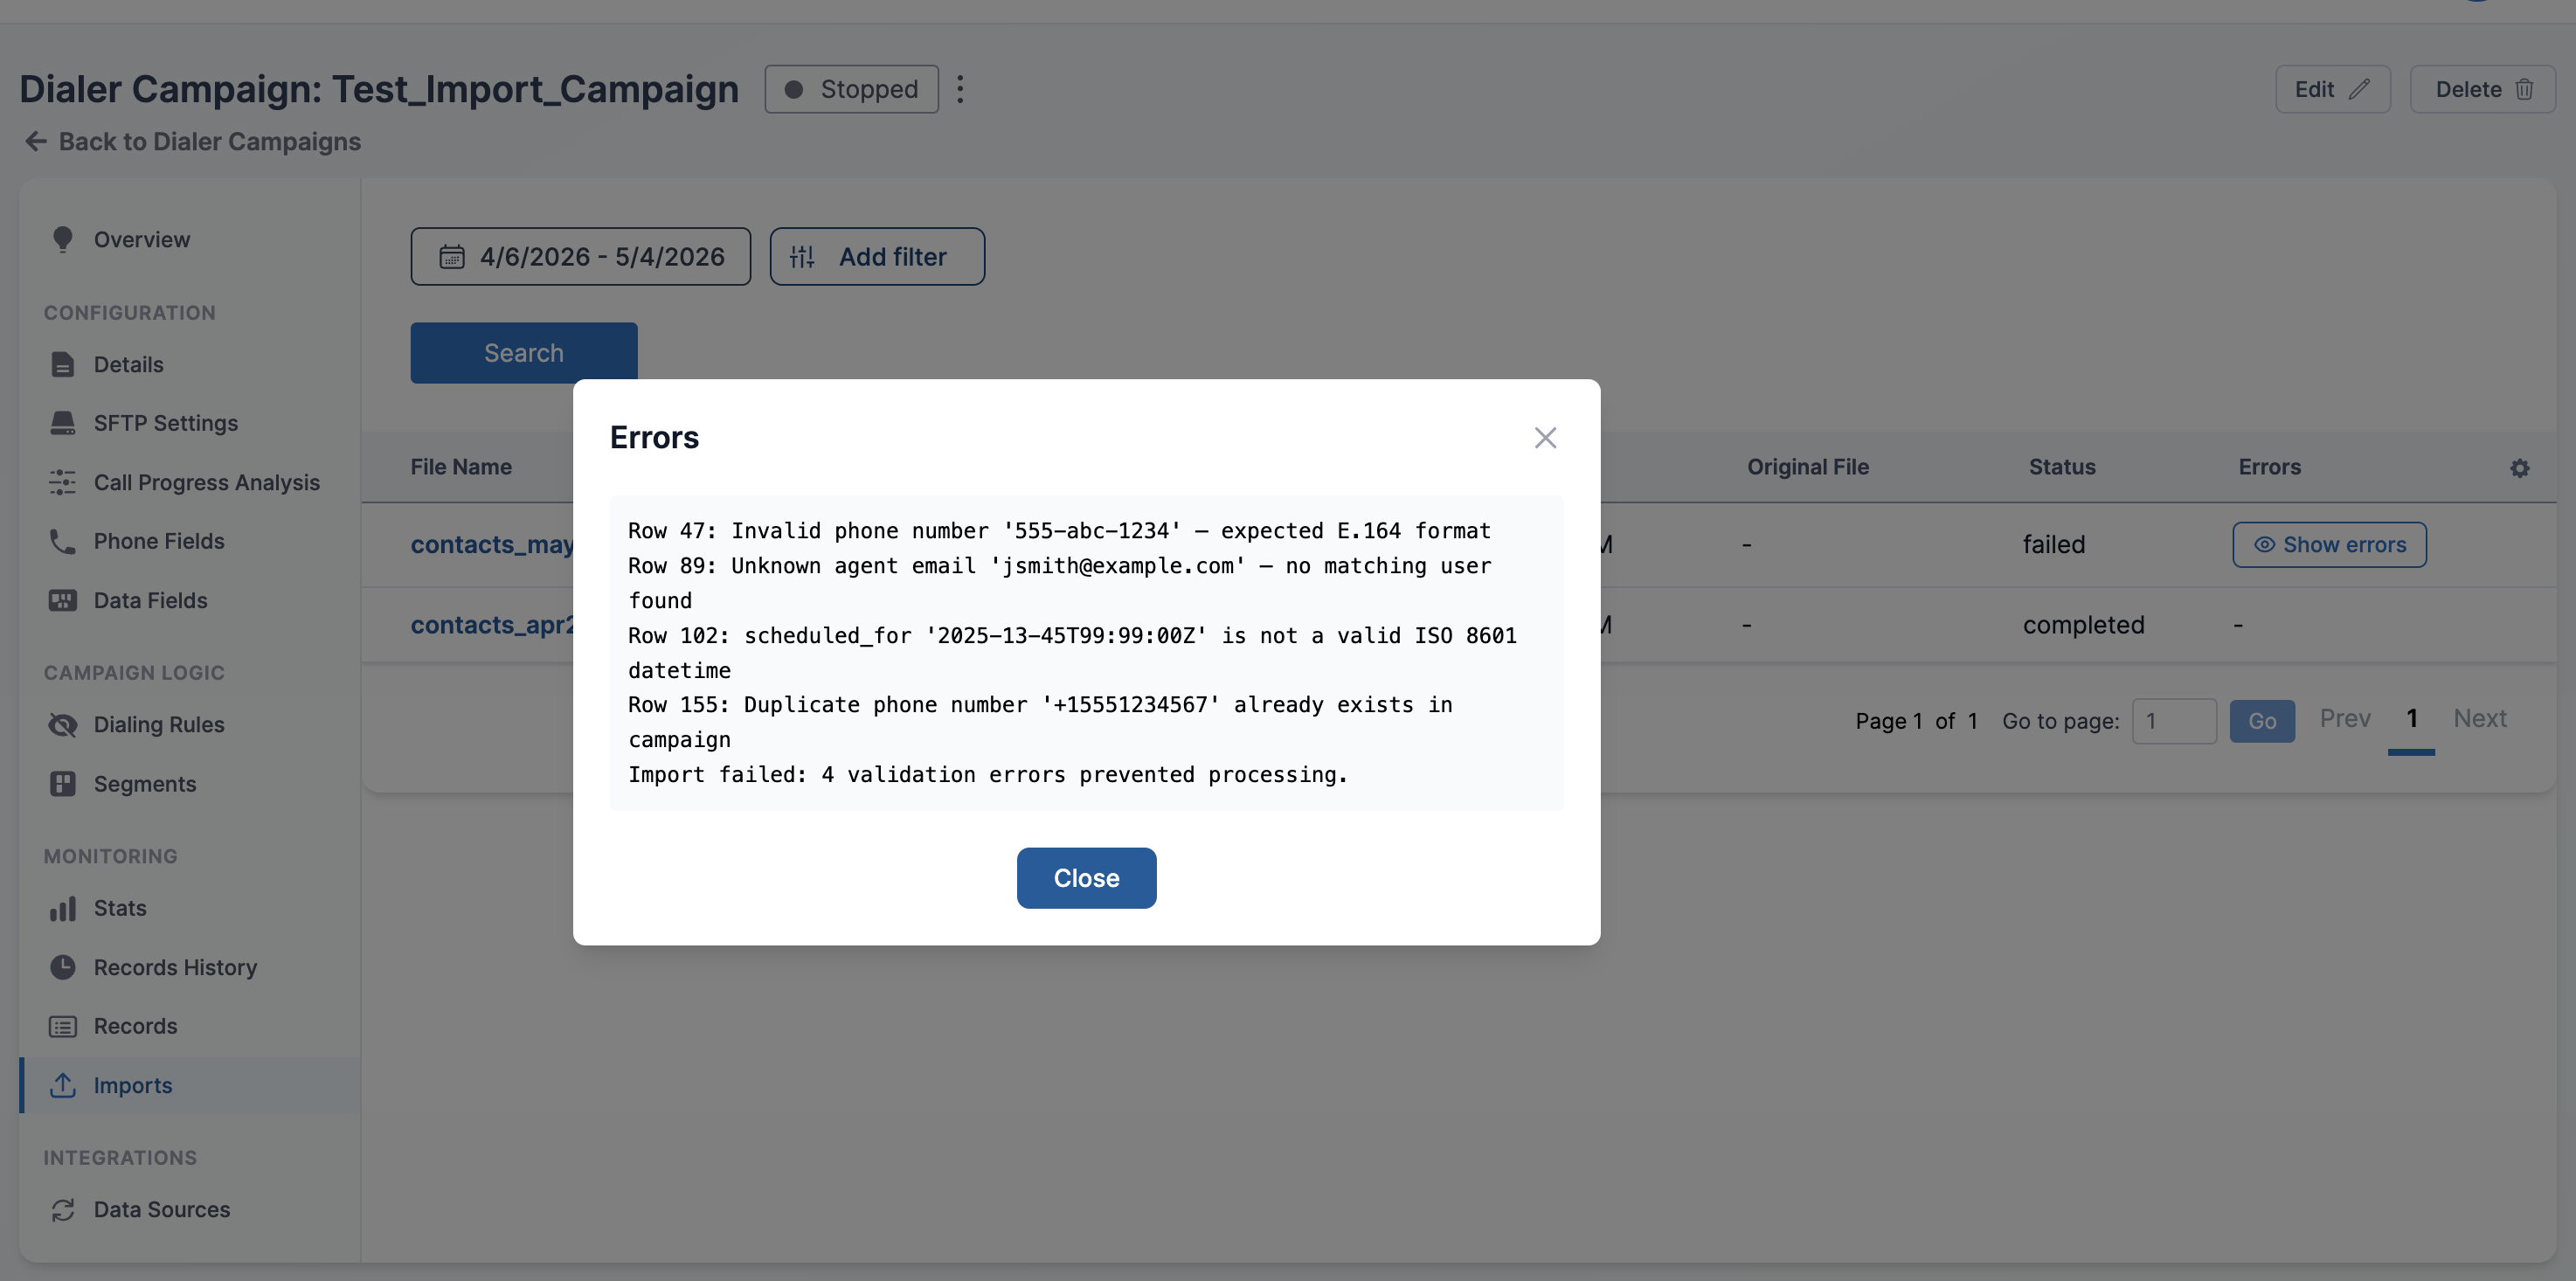
Inspecting Import Errors
When an import has a status of failed (or completed with non-fatal issues), a Show errors button appears in the Errors column.
-
Click Show errors on the row.
-
Review the error message in the modal. The text is the raw error recorded by the import worker — it typically names the row or field that caused the failure.
-
Click Close to dismiss the modal.
A failed status means no records from that file were loaded into the campaign. Fix the underlying data or configuration issue and re-run the import to retry.
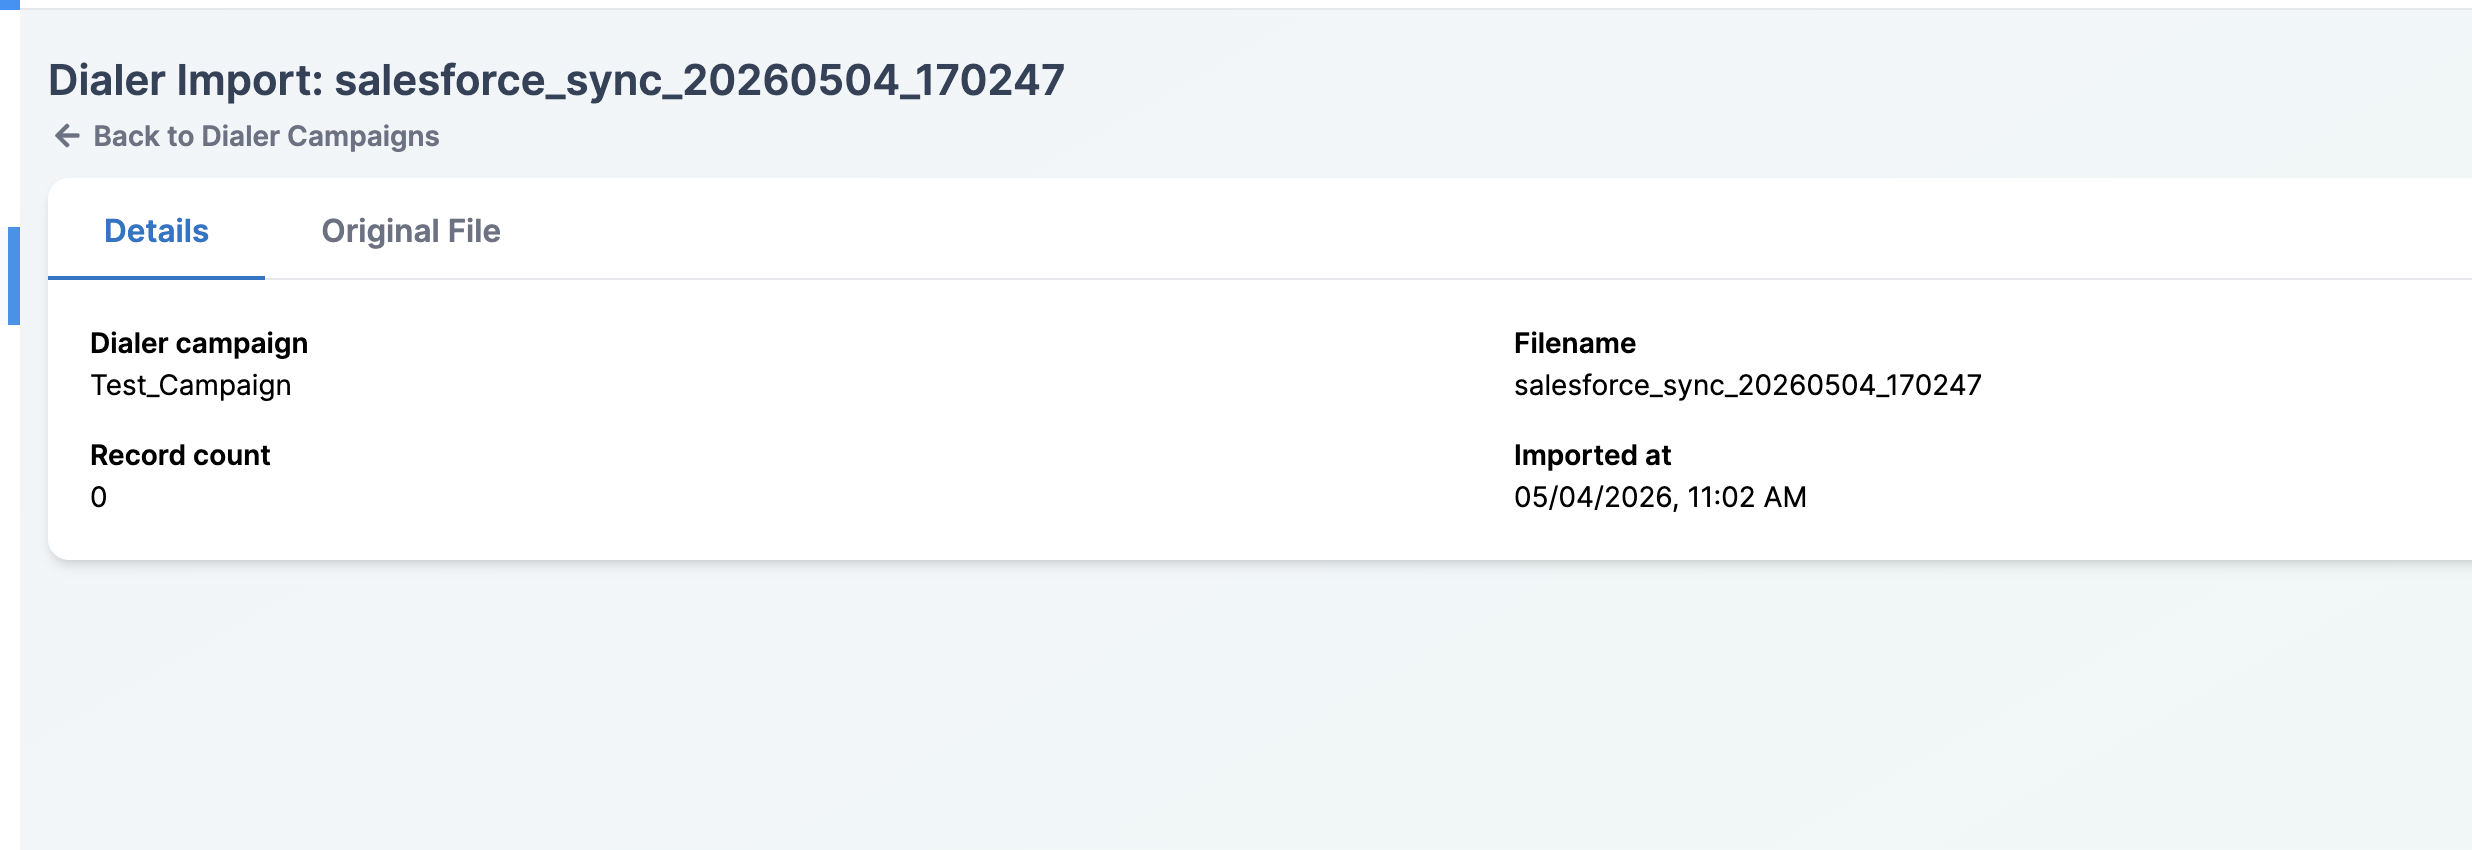
Opening an Import's Details
Click the filename in any row to open that import's detail page. The detail page has two tabs:
-
Details — shows the dialer campaign, filename, record count, and import timestamp.
-
Original File — renders the stored CSV as a sortable, paginated table so you can inspect the exact data that was imported. Not available when no file was stored.
From this tab you can confirm that records from a CSV upload, SFTP poll, or Salesforce sync actually landed in the campaign, download the source file for auditing, and drill into error messages when an import fails.