Call Progress Analysis
The Call Progress Analysis (CPA) tab lets you configure how Webex Contact Center analyzes outbound calls to detect answering machines, silence, and speech patterns. Use it to turn CPA on or off for a campaign and to fine-tune the timing parameters Webex uses when classifying a connected call.
This tab replaces the single Answering Machine Detection Enabled toggle that used to live on the campaign creation form. For new campaigns, configure CPA here after the campaign is created. For details on the initial creation flow, see Creating a New Outbound Campaign.
Availability
The Call Progress Analysis tab only appears on voice-channel campaigns whose type is Progressive or Predictive. It is hidden for:
- Agent Preview campaigns
- Progressive IVR-Based campaigns
- Digital-only (non-voice) campaigns
If you do not see the tab in the campaign sidebar, confirm the campaign type and channel under Campaign Details.
Accessing the Call Progress Analysis tab
-
Navigate to the Campaigns module.
-
Open the campaign you want to configure from the campaigns list.
-
Click the Call Progress Analysis item in the left sidebar under Configuration.
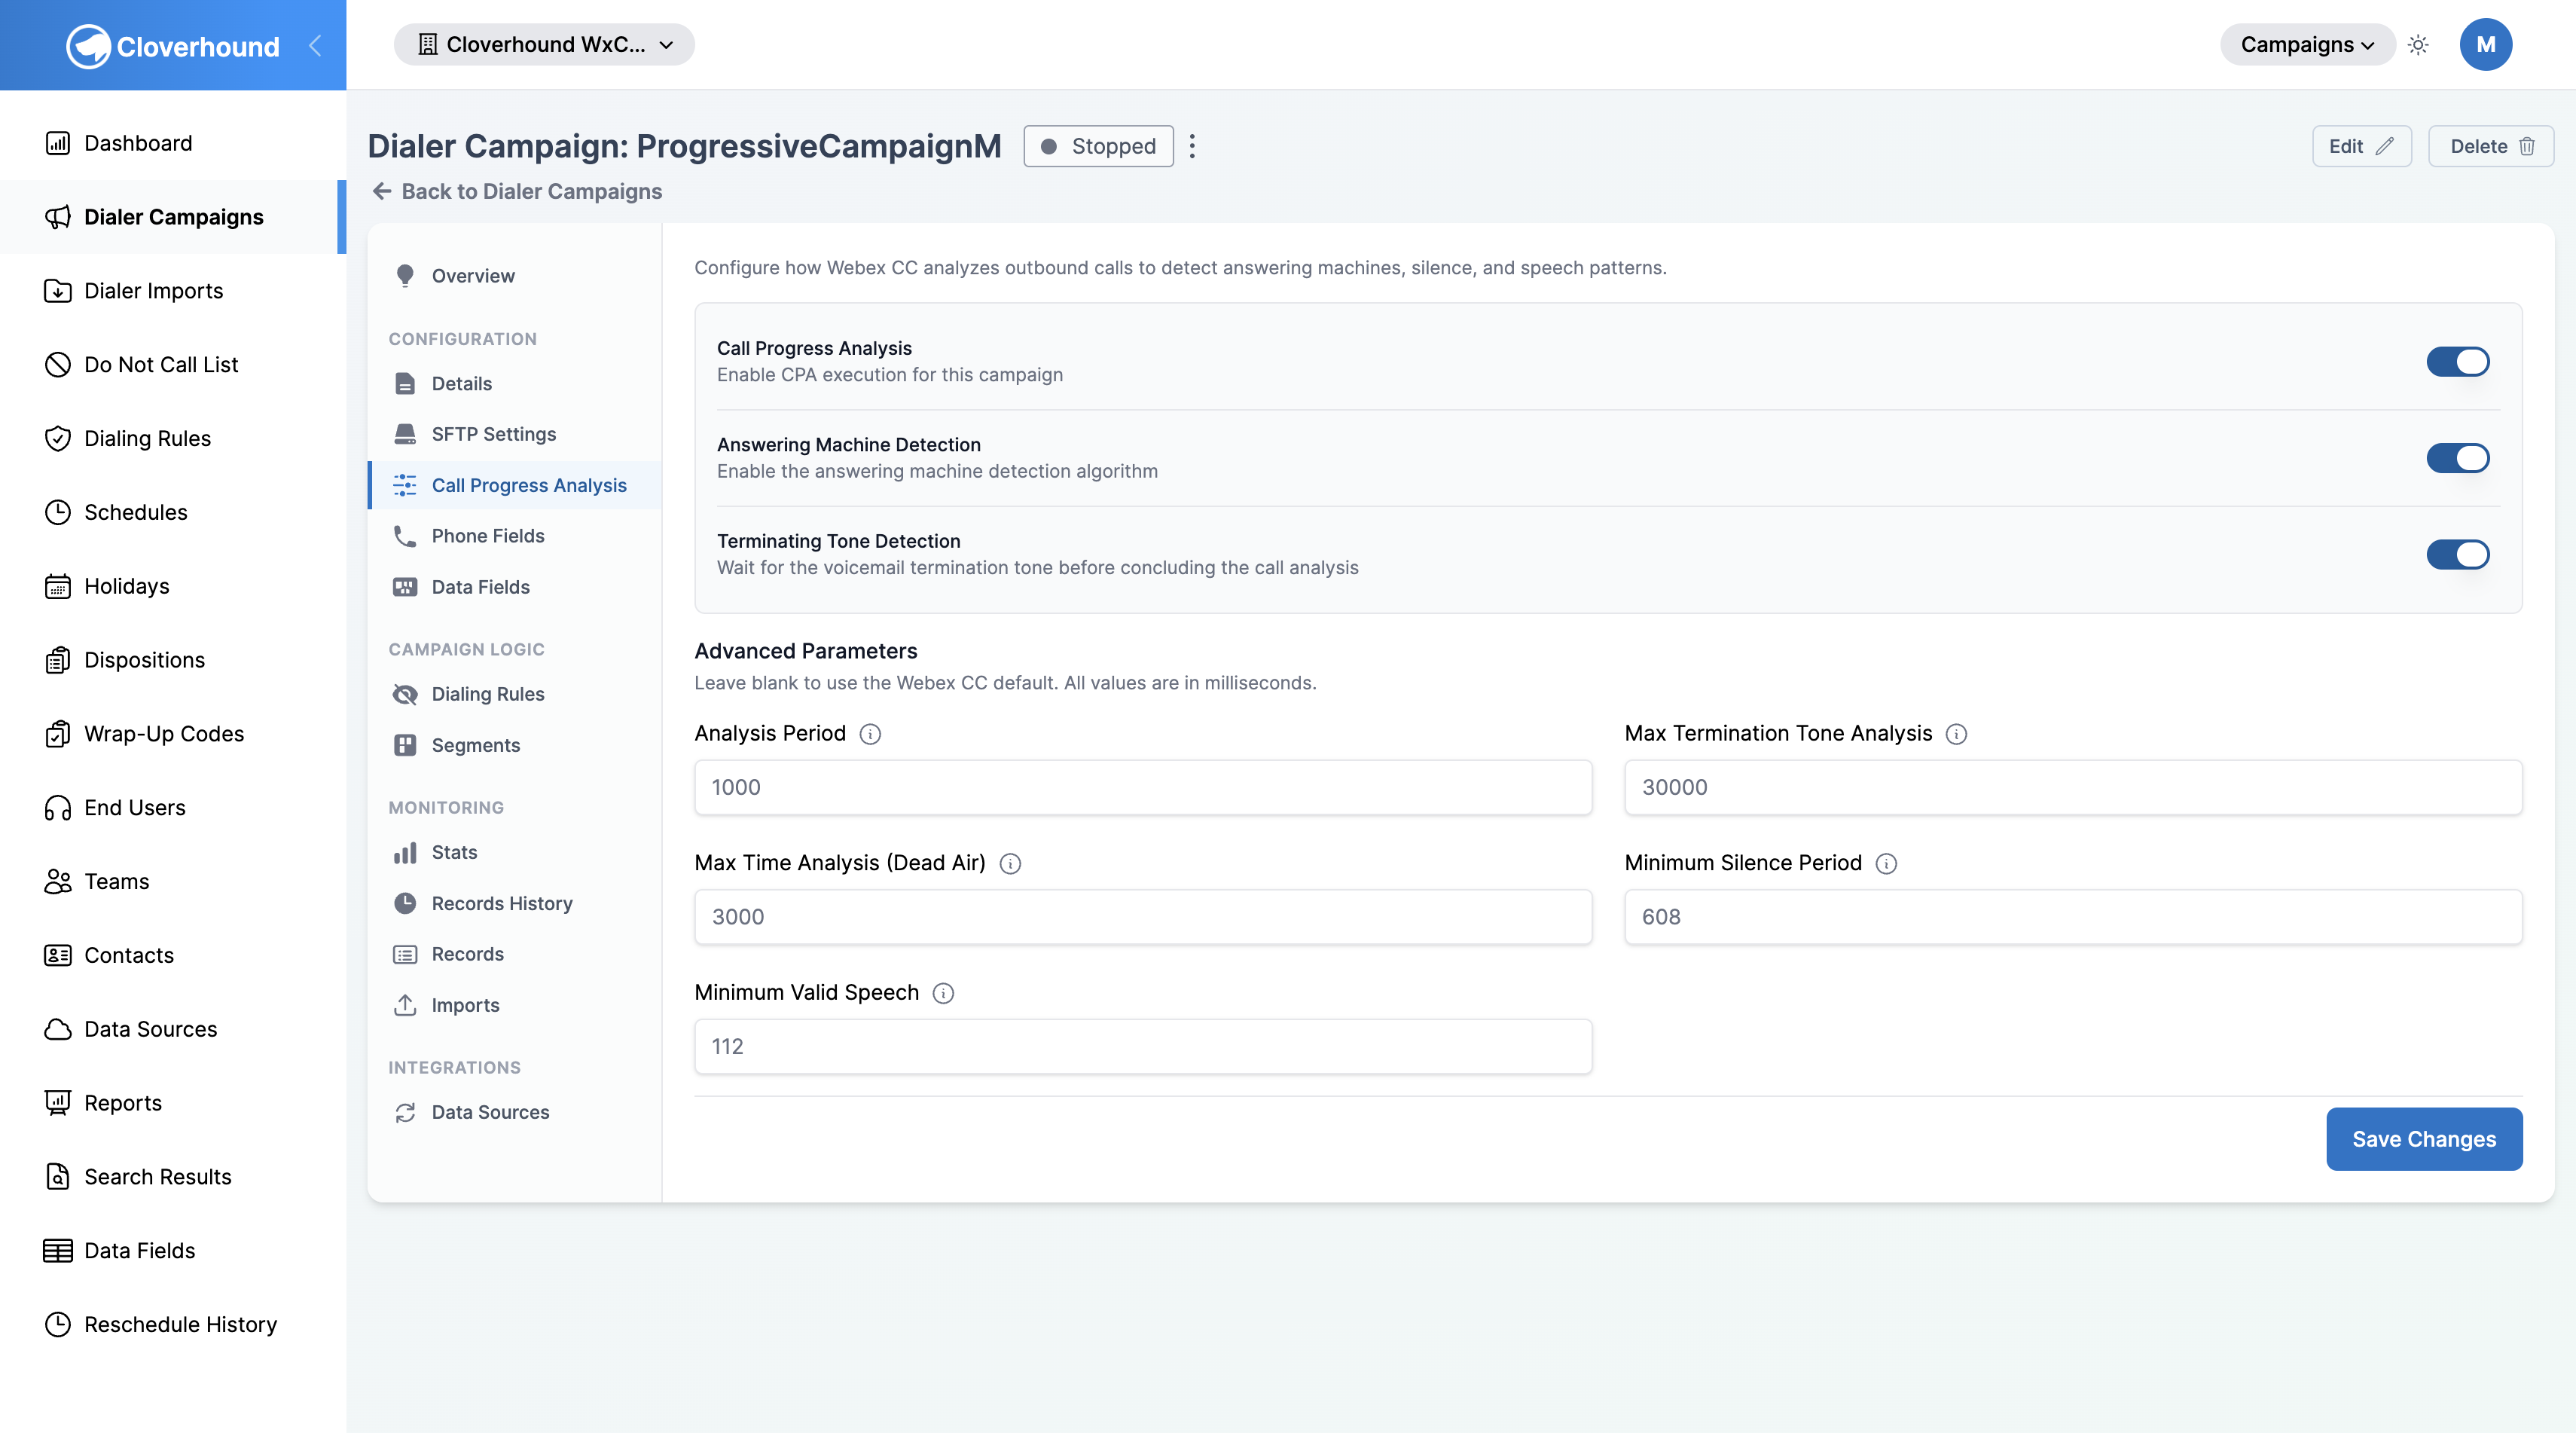
Configuring CPA Toggles
The top of the tab contains three toggles that follow a strict dependency chain: each toggle requires the one above it to be enabled first.

-
Enable the Call Progress Analysis toggle.
- This is the top-level control. When off, Webex runs no CPA on the campaign's calls, and the other two toggles are locked.
-
Enable the Answering Machine Detection toggle to have Webex classify whether a connected call reached a live person or a voicemail greeting.
- This toggle is disabled until Call Progress Analysis is on.
-
Enable the Terminating Tone Detection toggle to make the dialer wait for the voicemail beep before releasing the call or leaving a message.
- This toggle is disabled until Answering Machine Detection is on.
Turning off a parent toggle automatically turns off every dependent toggle. Turning off Call Progress Analysis also clears Answering Machine Detection and Terminating Tone Detection.
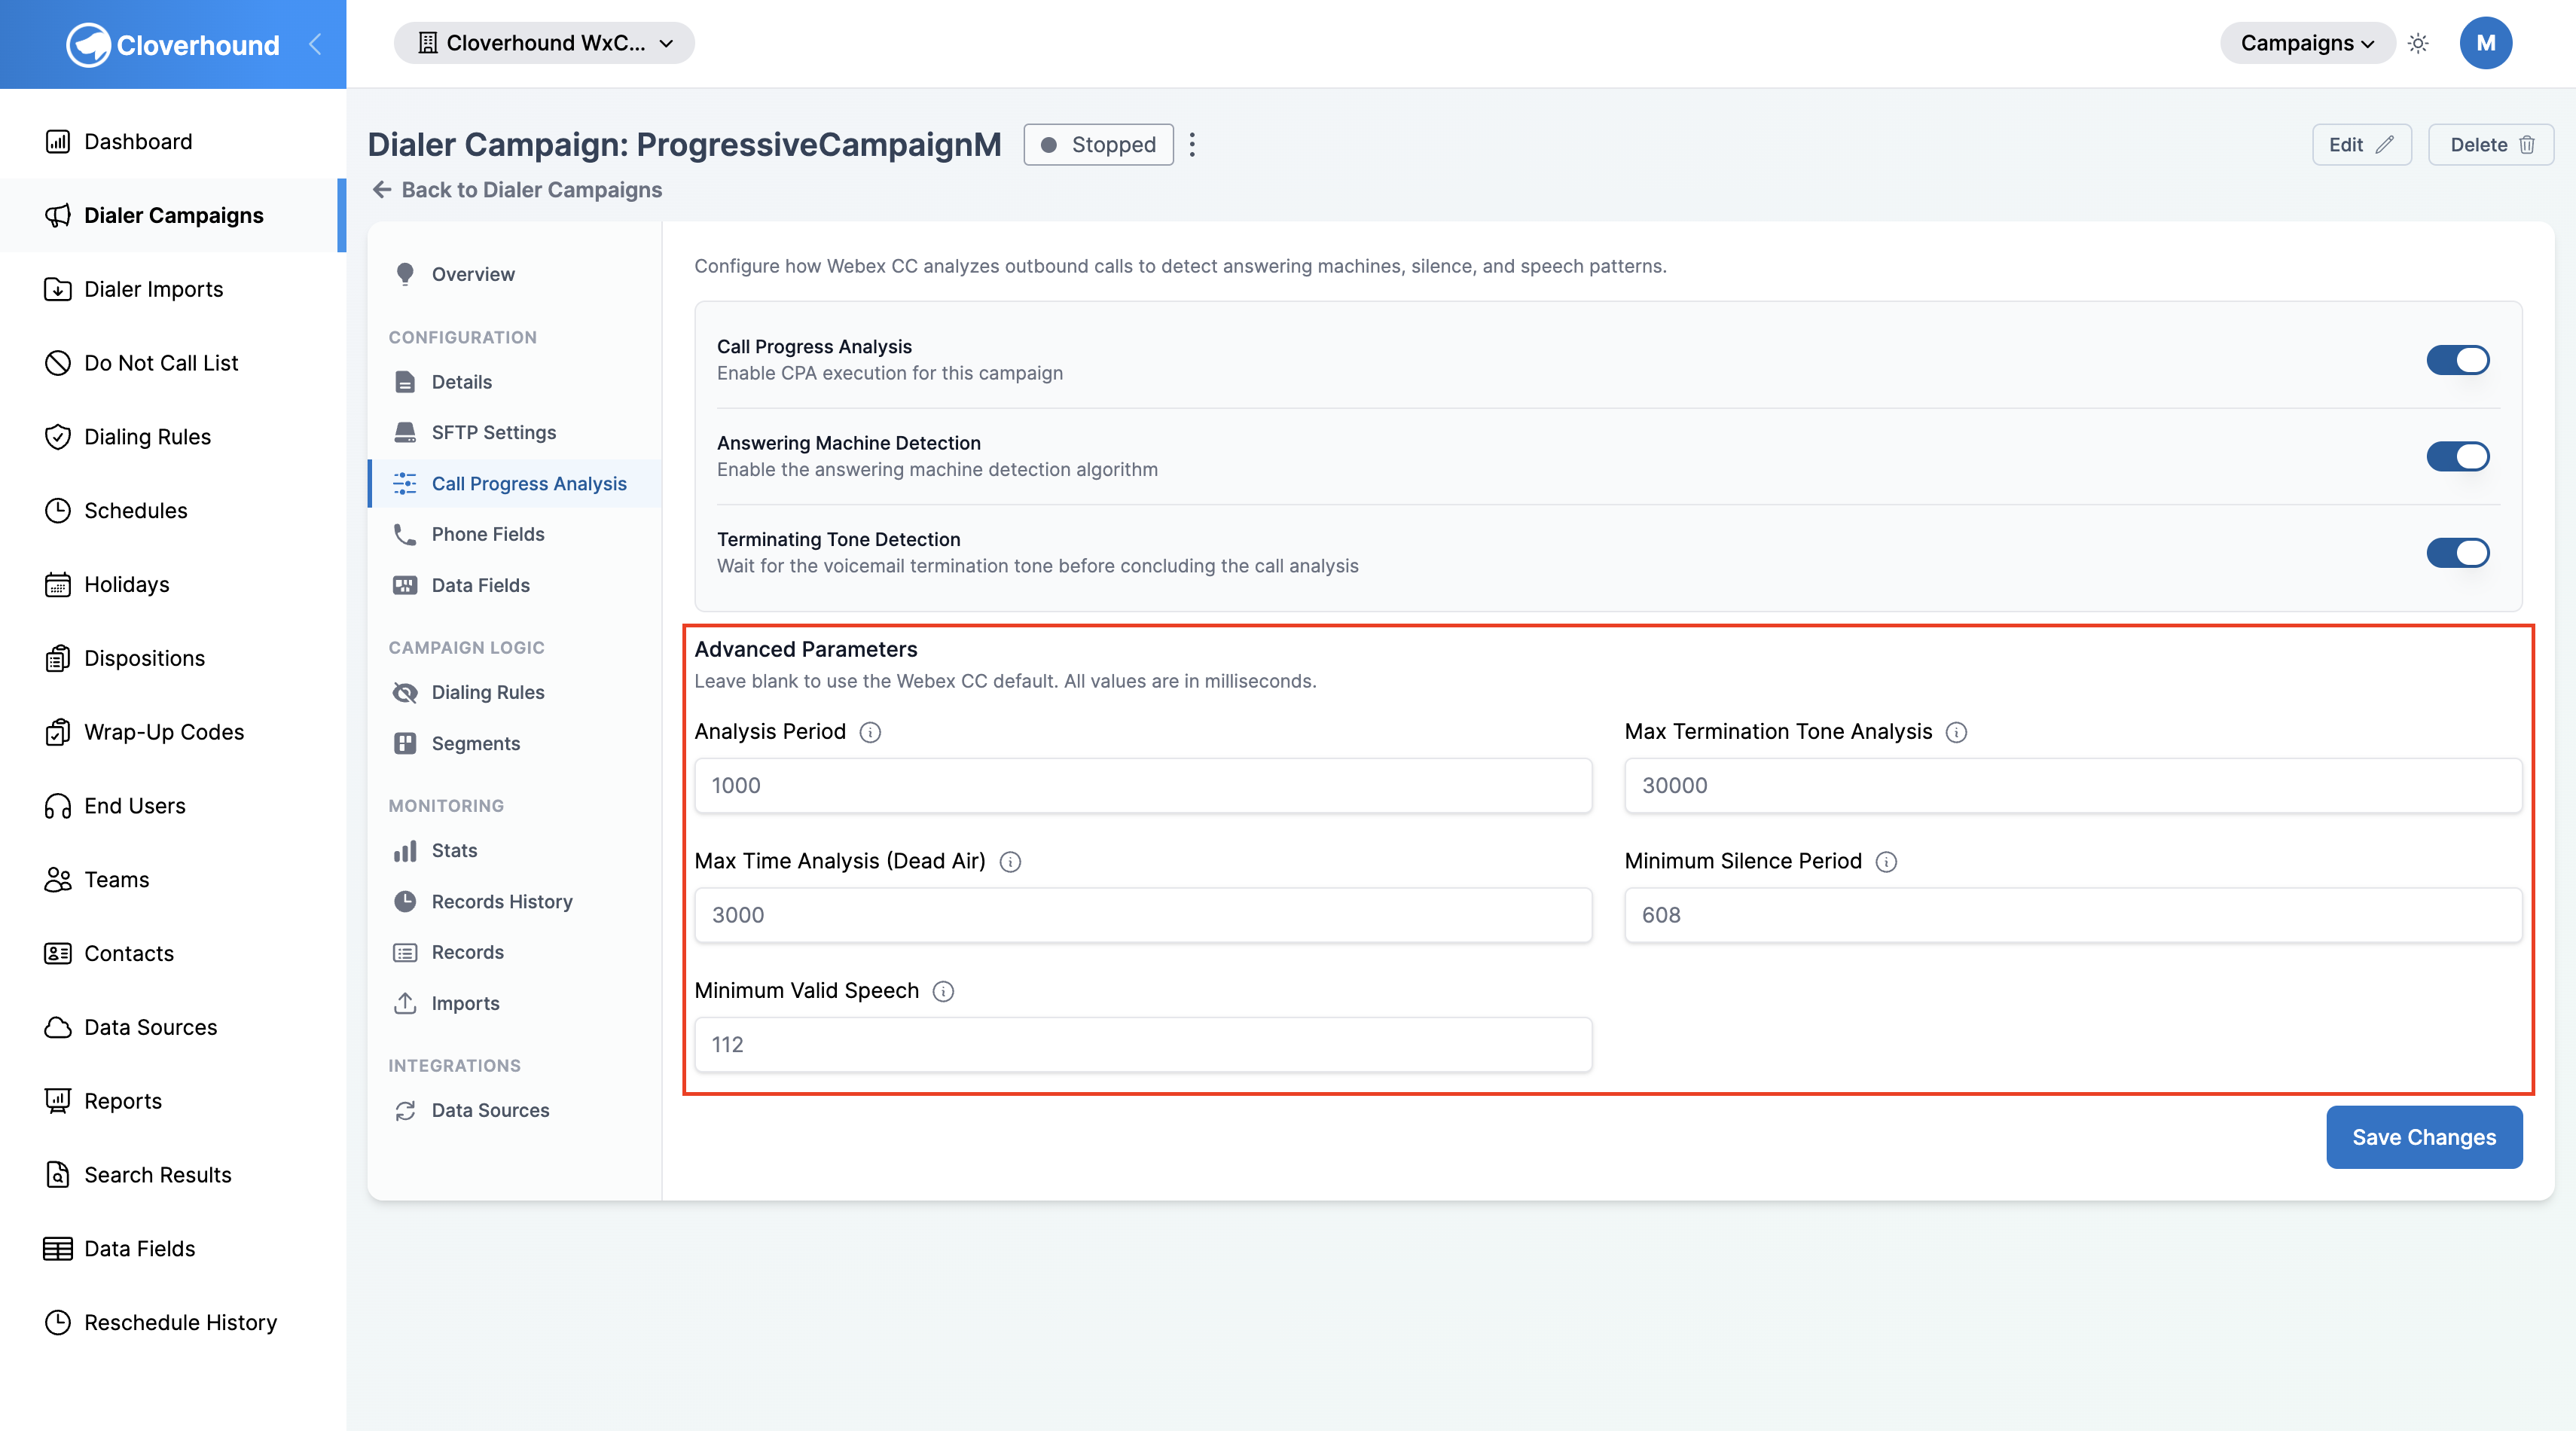
Tuning Advanced Parameters
The Advanced Parameters section below the toggles lets you override the default CPA timing values Webex uses. All values are in milliseconds and must be whole numbers within the ranges shown below.
-
Review the parameter you want to change:
Parameter What it controls Range (ms) Webex default (ms) Analysis Period How long Webex spends analyzing the call before classifying it. 1,000 – 10,000 1,000 Max Termination Tone Analysis Maximum time the dialer listens to a voicemail greeting while waiting for the termination tone. 1,000 – 60,000 30,000 Max Time Analysis (Dead Air) Maximum time allowed for analysis before Webex gives up and classifies the call as dead air. 1,000 – 10,000 3,000 Minimum Silence Period Minimum silence duration Webex requires before classifying the far-end audio as voice. 100 – 1,000 608 Minimum Valid Speech Minimum continuous voice duration Webex requires before classifying the far-end audio as voice. 50 – 500 112 -
Enter a value in the corresponding field, or leave it blank to use the Webex default.
-
Fix any range errors before saving. If you enter a non-integer value or a number outside the allowed range, the field shows an inline error such as
Must be between 1,000 and 10,000and blocks save.
If you are unsure which values to use, leave all Advanced Parameters blank. Only adjust them if you have specific requirements based on your call patterns or compliance needs.
Advanced Parameters take effect only when Call Progress Analysis is enabled. If you fill in values but leave the top toggle off, an amber note appears on the tab and the values have no effect on live calls until CPA is turned on.
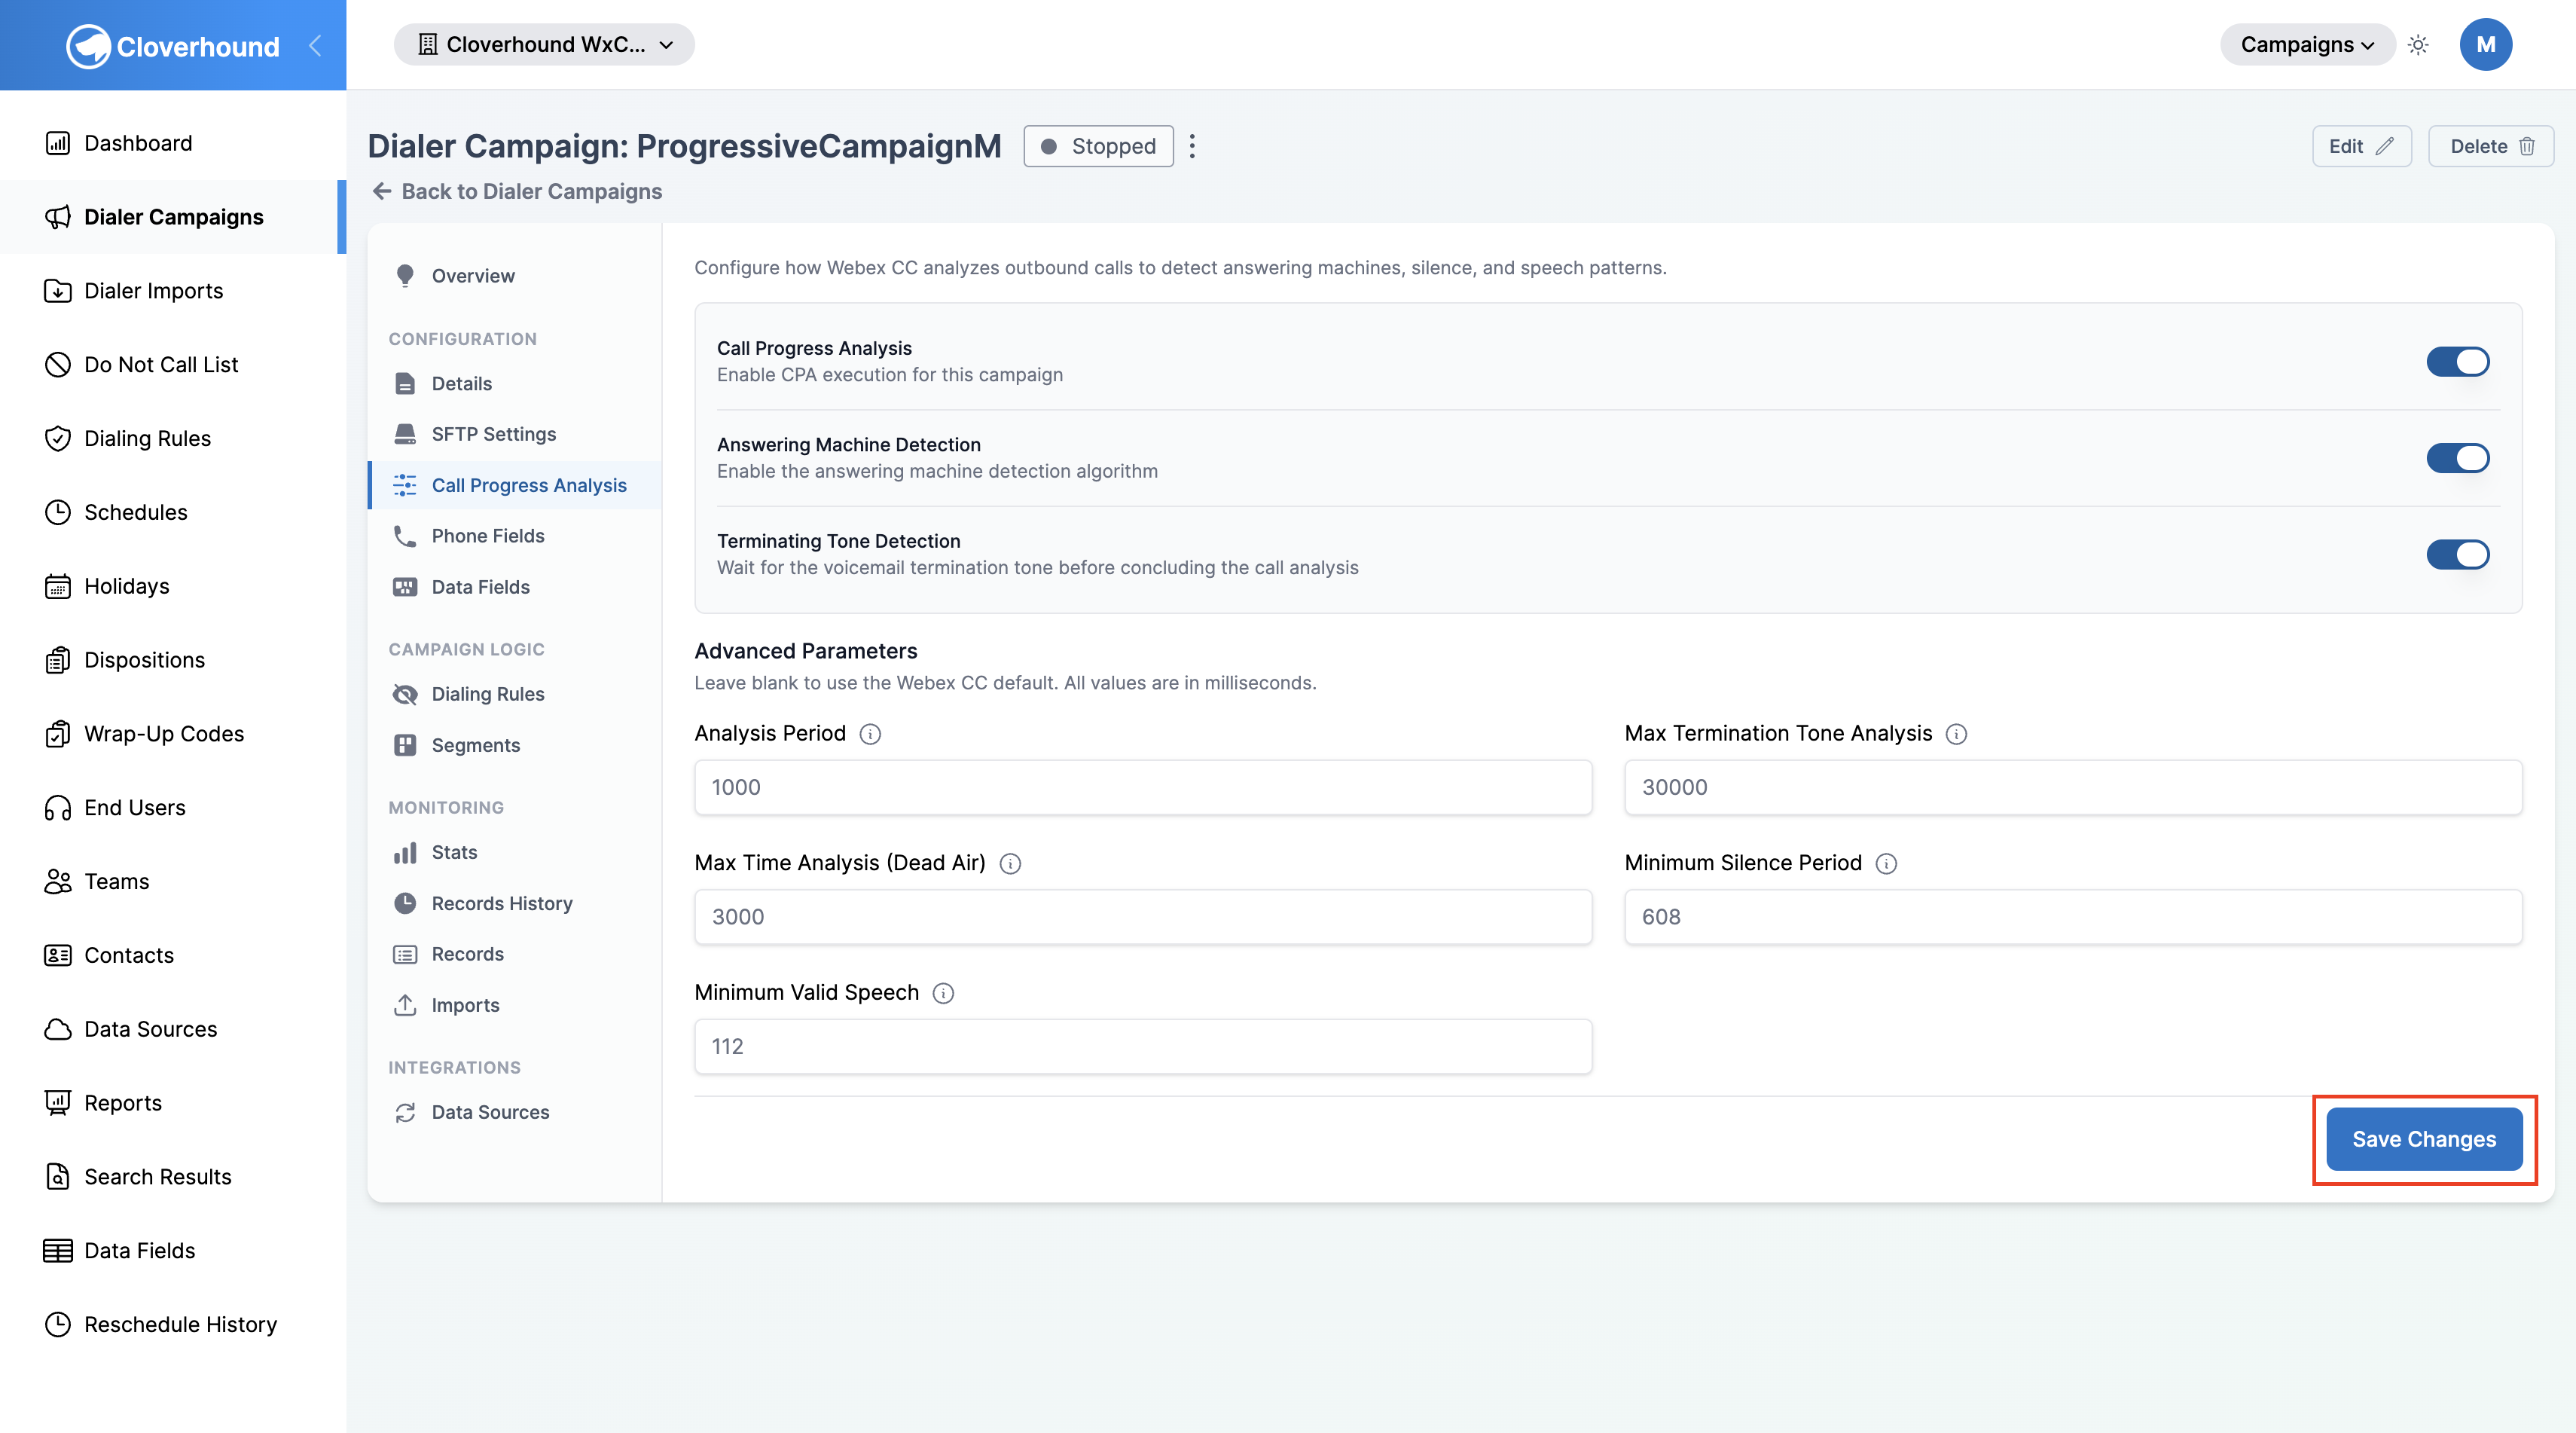
Saving Changes
-
Click the Save Changes button at the bottom of the tab.
-
Wait for the confirmation flash message. The button shows Saving... while the request is in flight.
-
Verify the values persist after the tab refreshes.
If the campaign is currently running, Cloverhound Cloud pushes the updated CPA configuration to Webex Contact Center immediately; you do not need to stop and restart the campaign.
Migration note
Campaigns created before the CPA tab existed used a single Answering Machine Detection Enabled flag. On upgrade, any campaign that had that flag set to true has both Call Progress Analysis and Answering Machine Detection turned on, preserving the previous behavior. Review each migrated campaign in this tab to confirm the new settings match your expectations.
You can now enable CPA for a campaign, choose which detection layers to run, and override Webex's default timing parameters to match your call patterns.