Managing Call Tags
Call Tags are user-defined labels you attach to individual call records. Use them to group, filter, and search calls by your own categories (for example, a campaign name, a disposition, or a follow-up reason).
Tags are scoped to your organization and shared across all calls. Any tag you create on one call can be reused on any other call.
Accessing Call Tags
Call Tags live on the Call details page and are visible in the Calls Table.
-
Navigate to the Analytics module and open the Calls / CDRs page.
-
Click a call row to open its details page.
-
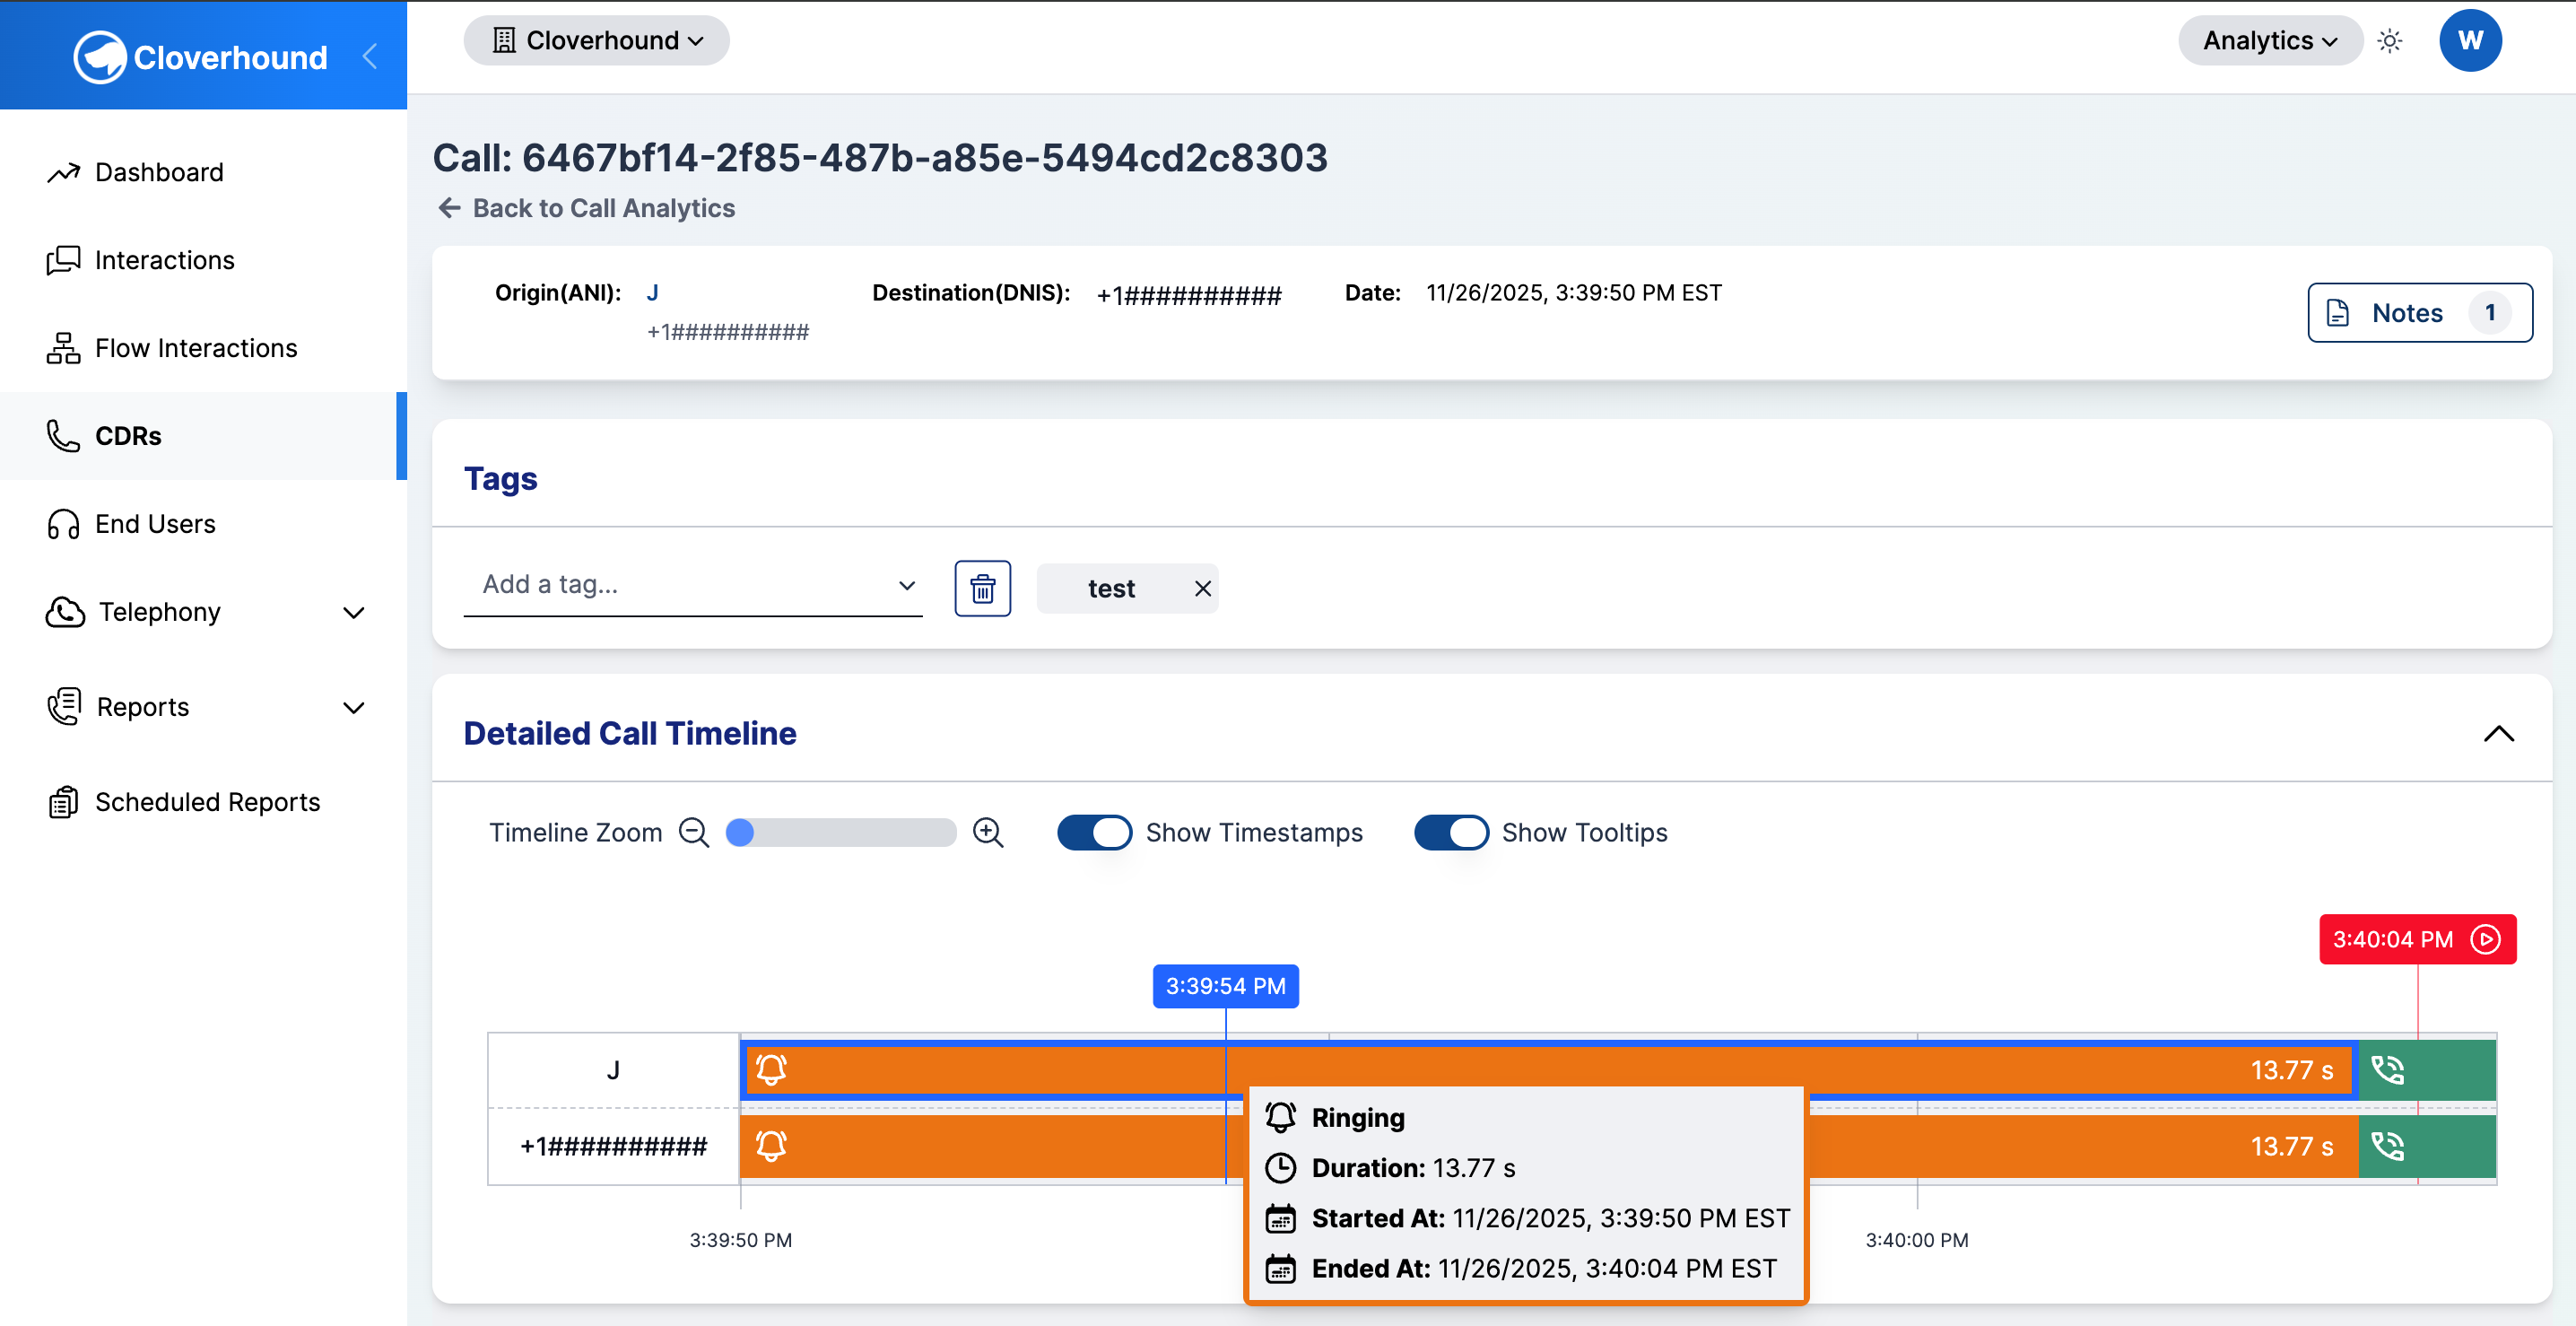
Locate the Tags section near the top of the call details page.
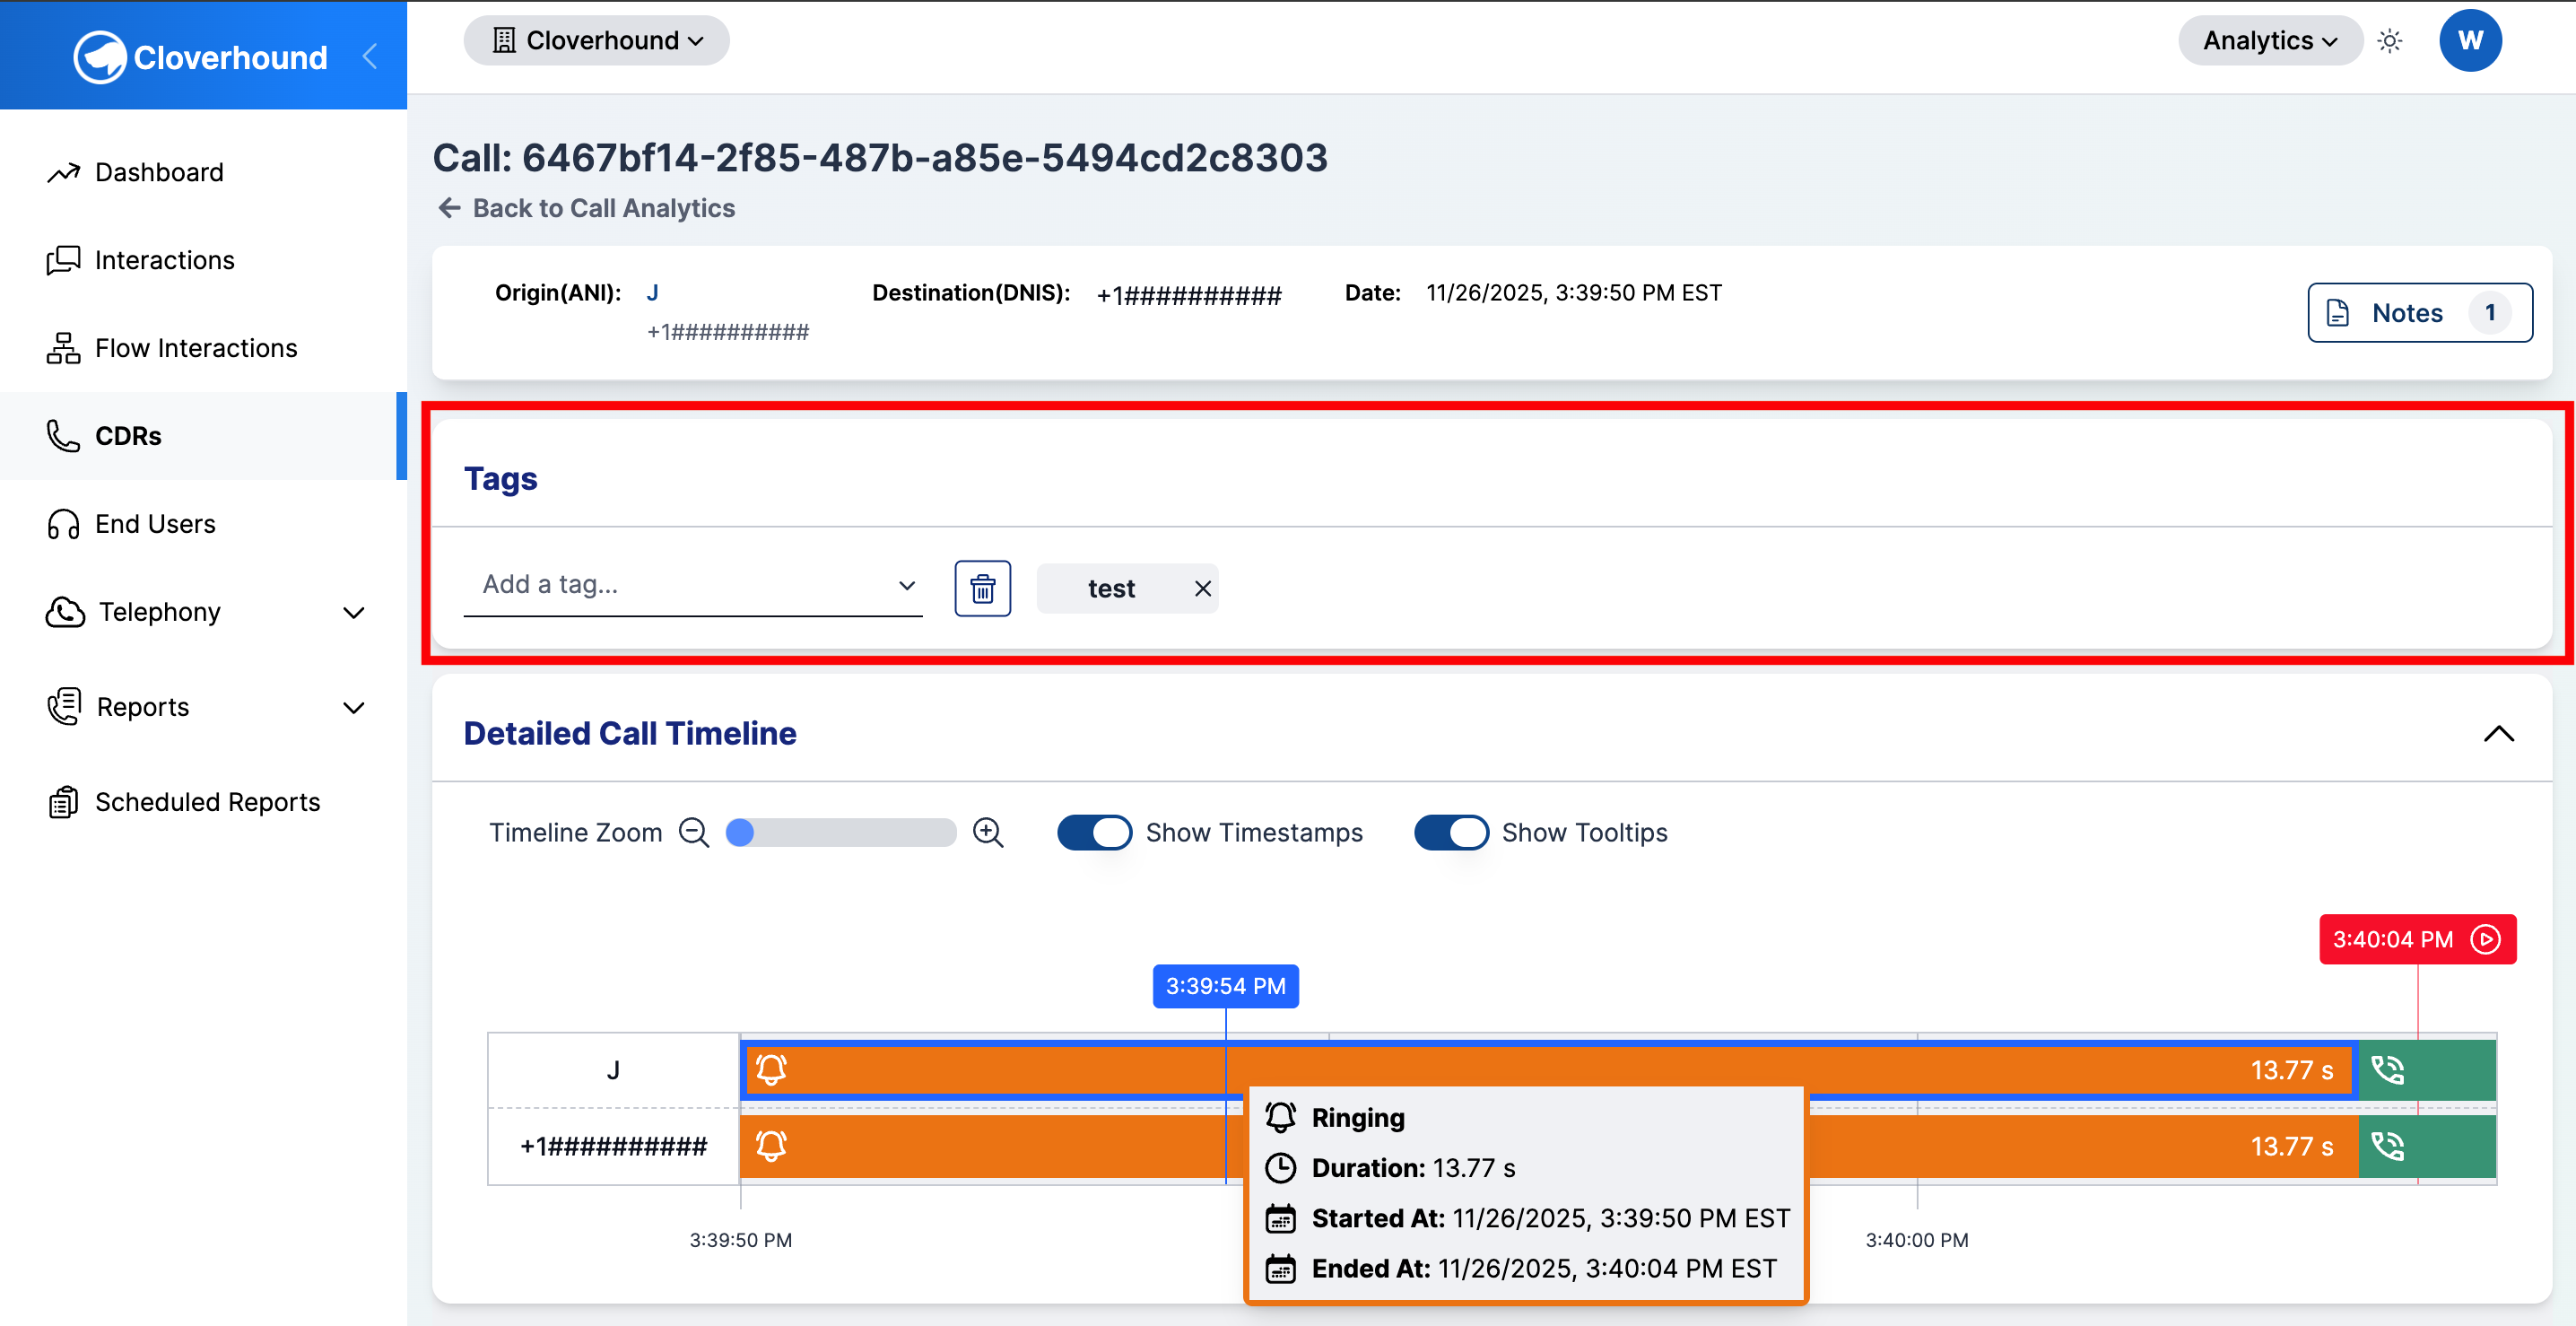
Creating and Assigning a Tag
New tags are created from the same input you use to assign existing ones. If the tag name does not already exist in your organization, it is distinguished by a plus sign, and it is created and assigned to the call in a single step.
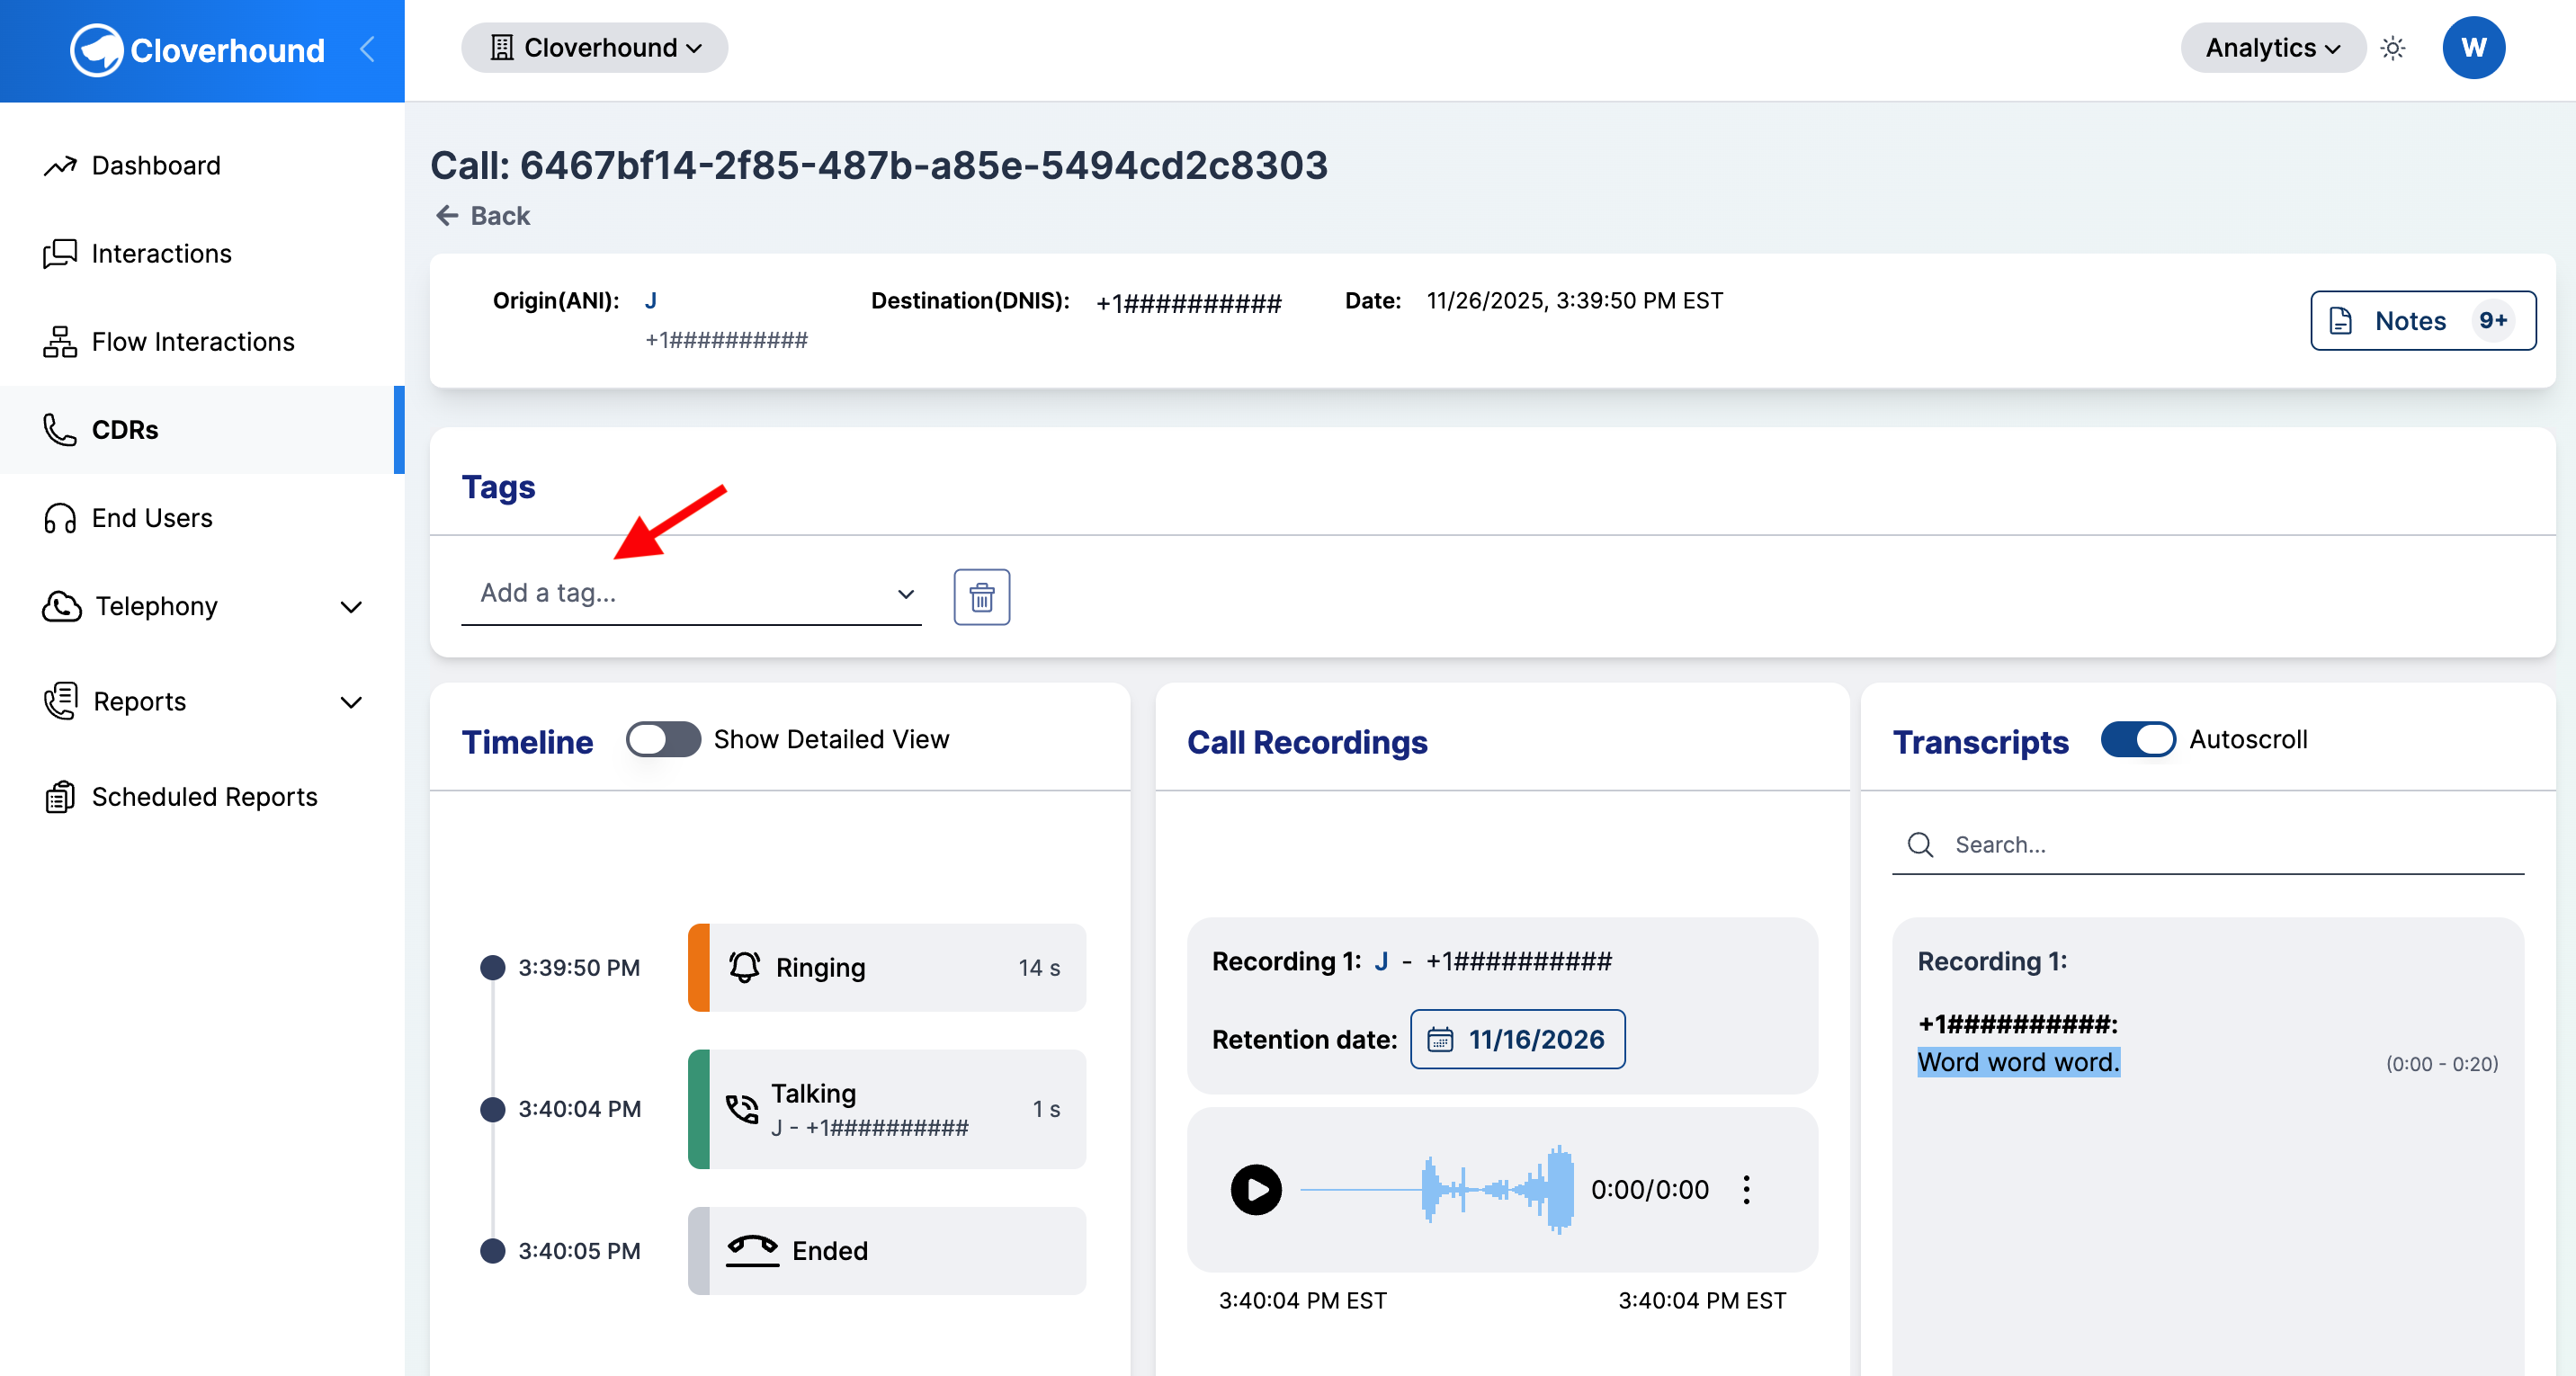
-
Click the Add a tag... input in the Tags section of the call details page.
-
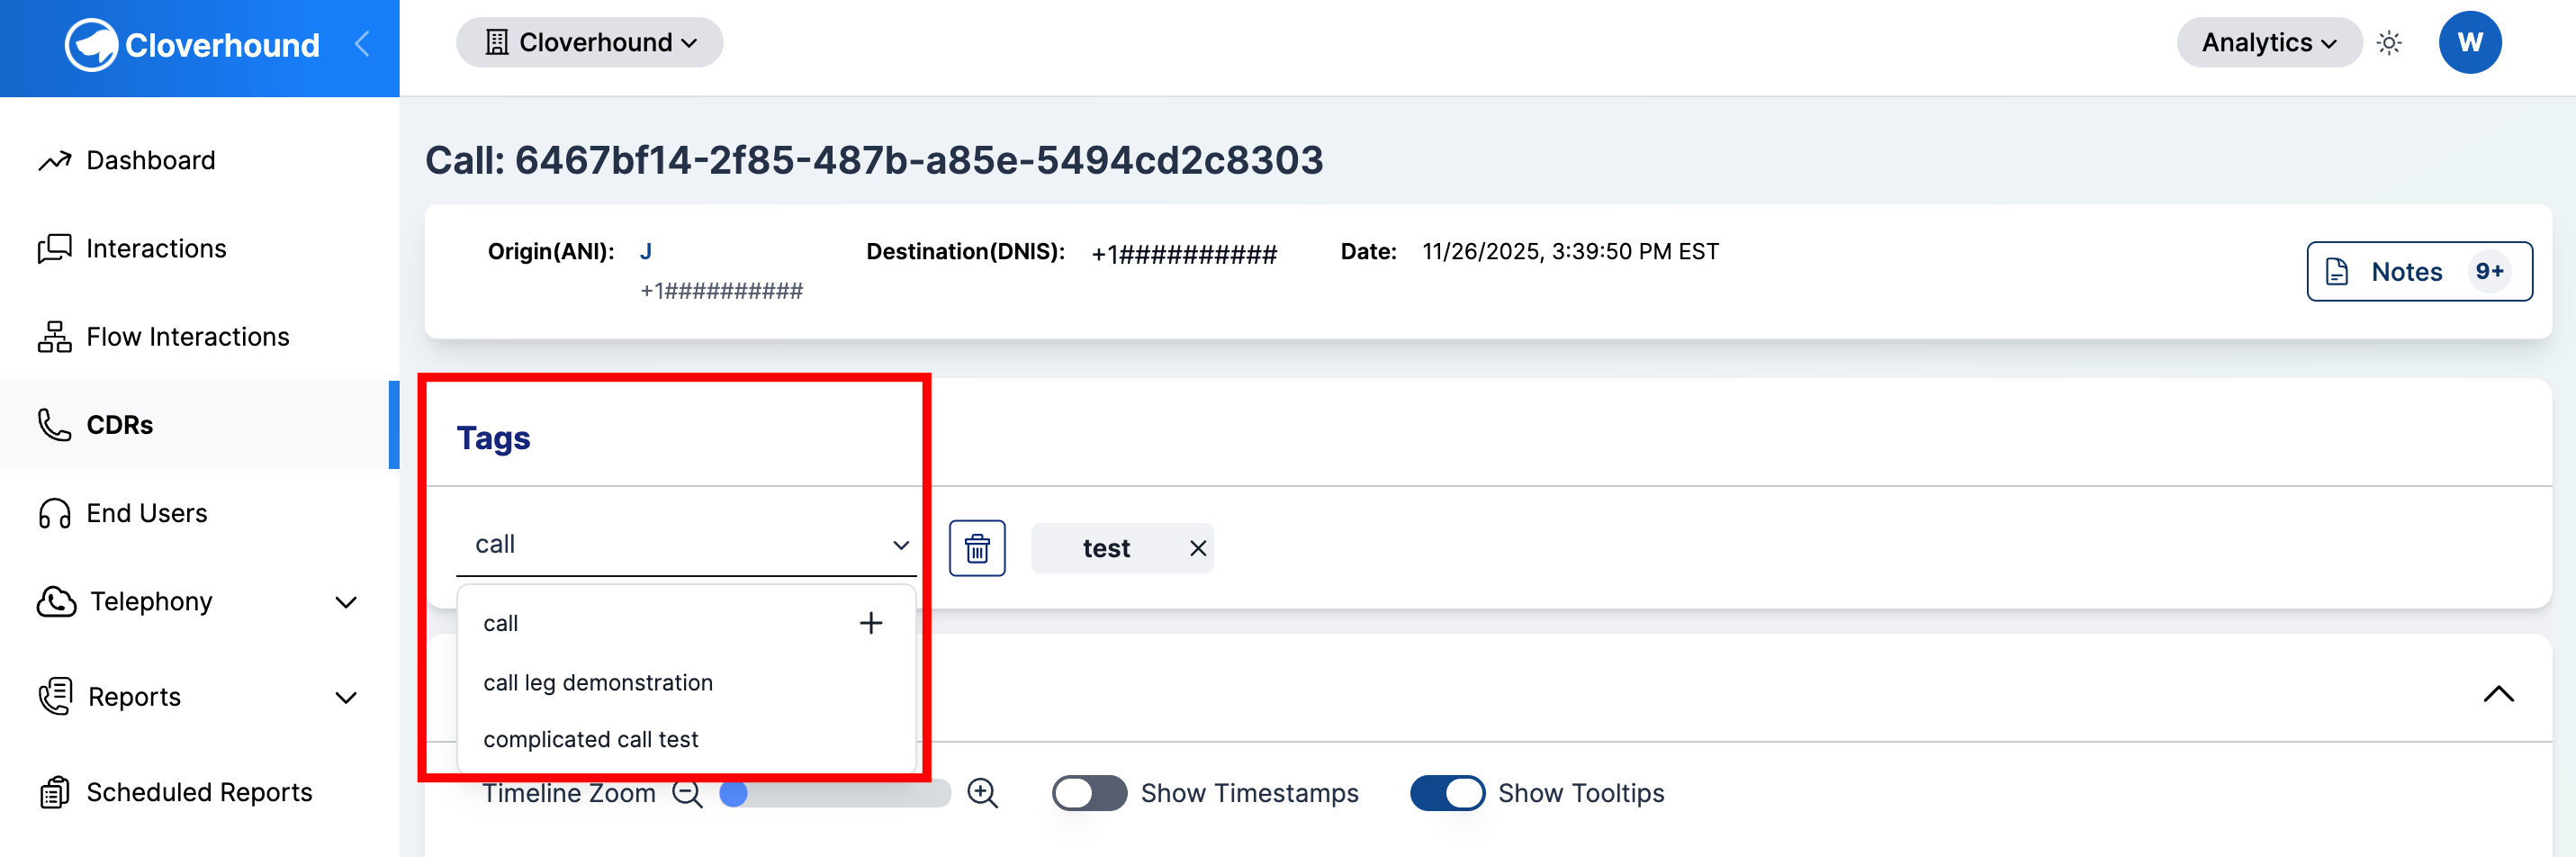
Type the tag name.
- If a matching tag already exists, it appears in the dropdown. Click it, or use the arrow keys and press Enter, to assign it.
- If no tag matches, a new entry with a + icon appears at the top of the dropdown. Click it, or press Enter, to create and assign the tag.
-
Confirm the tag appears as a chip next to the input.

Tag names must be 32 characters or fewer and may contain only letters, numbers, spaces, and hyphens. Names are stored in lowercase, so "Follow-Up" and "follow-up" are treated as the same tag.
Removing Tags from a Call
You can remove a single tag or clear every tag on the call.
-
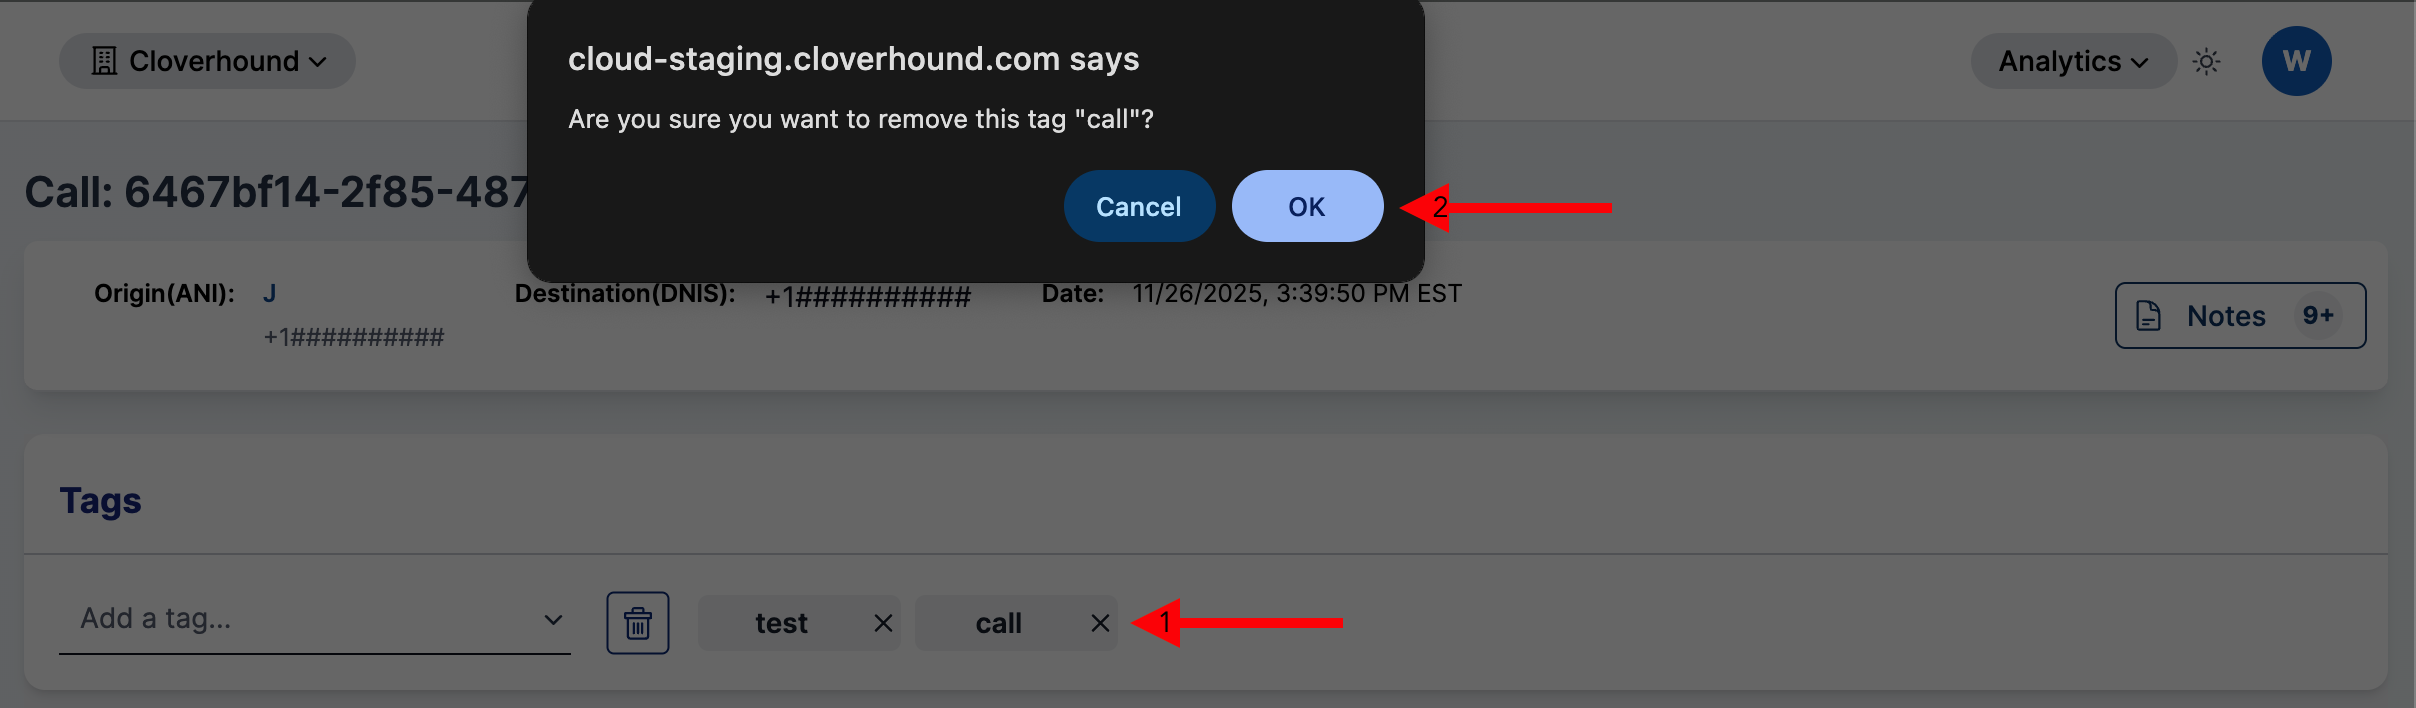
Remove one tag: Click the X icon on the tag chip you want to remove. Click OK on the confirmation prompt.
-
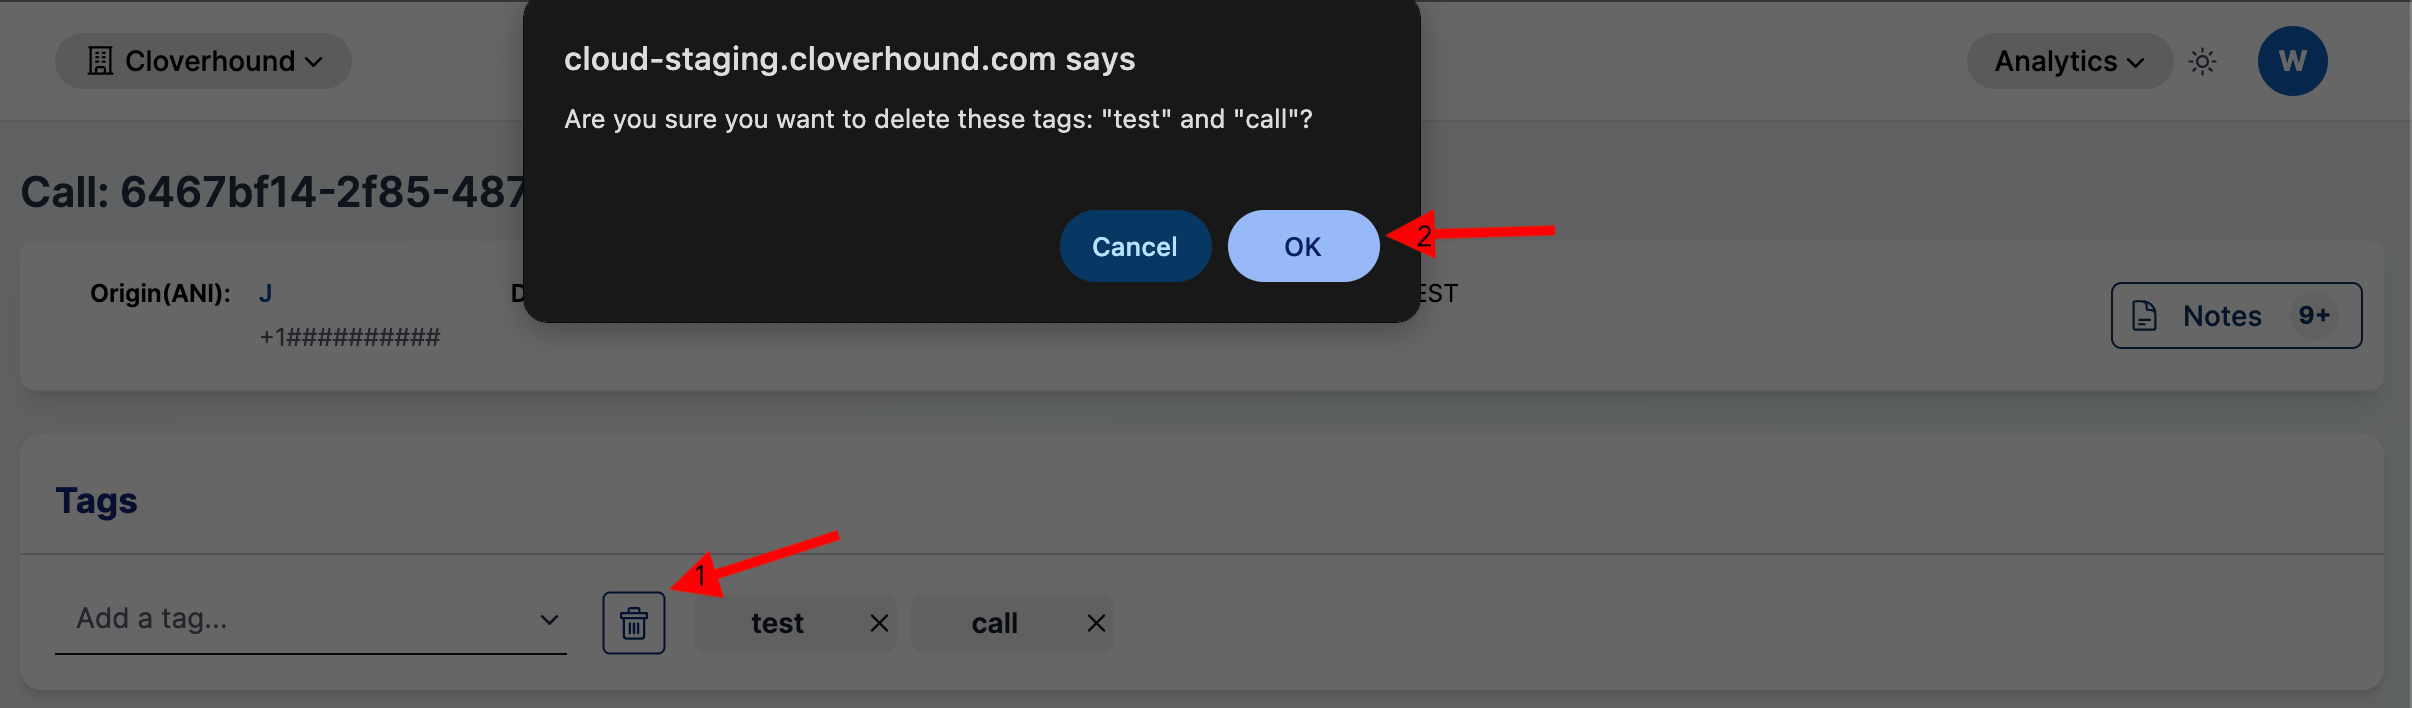
Remove all tags: Click the Trash icon to the right of the input. Click OK on the confirmation prompt, which lists every tag that will be removed.
Removing a tag from a call cannot be undone from the UI. The tag itself is not deleted from your organization; only its assignment to this call is removed.
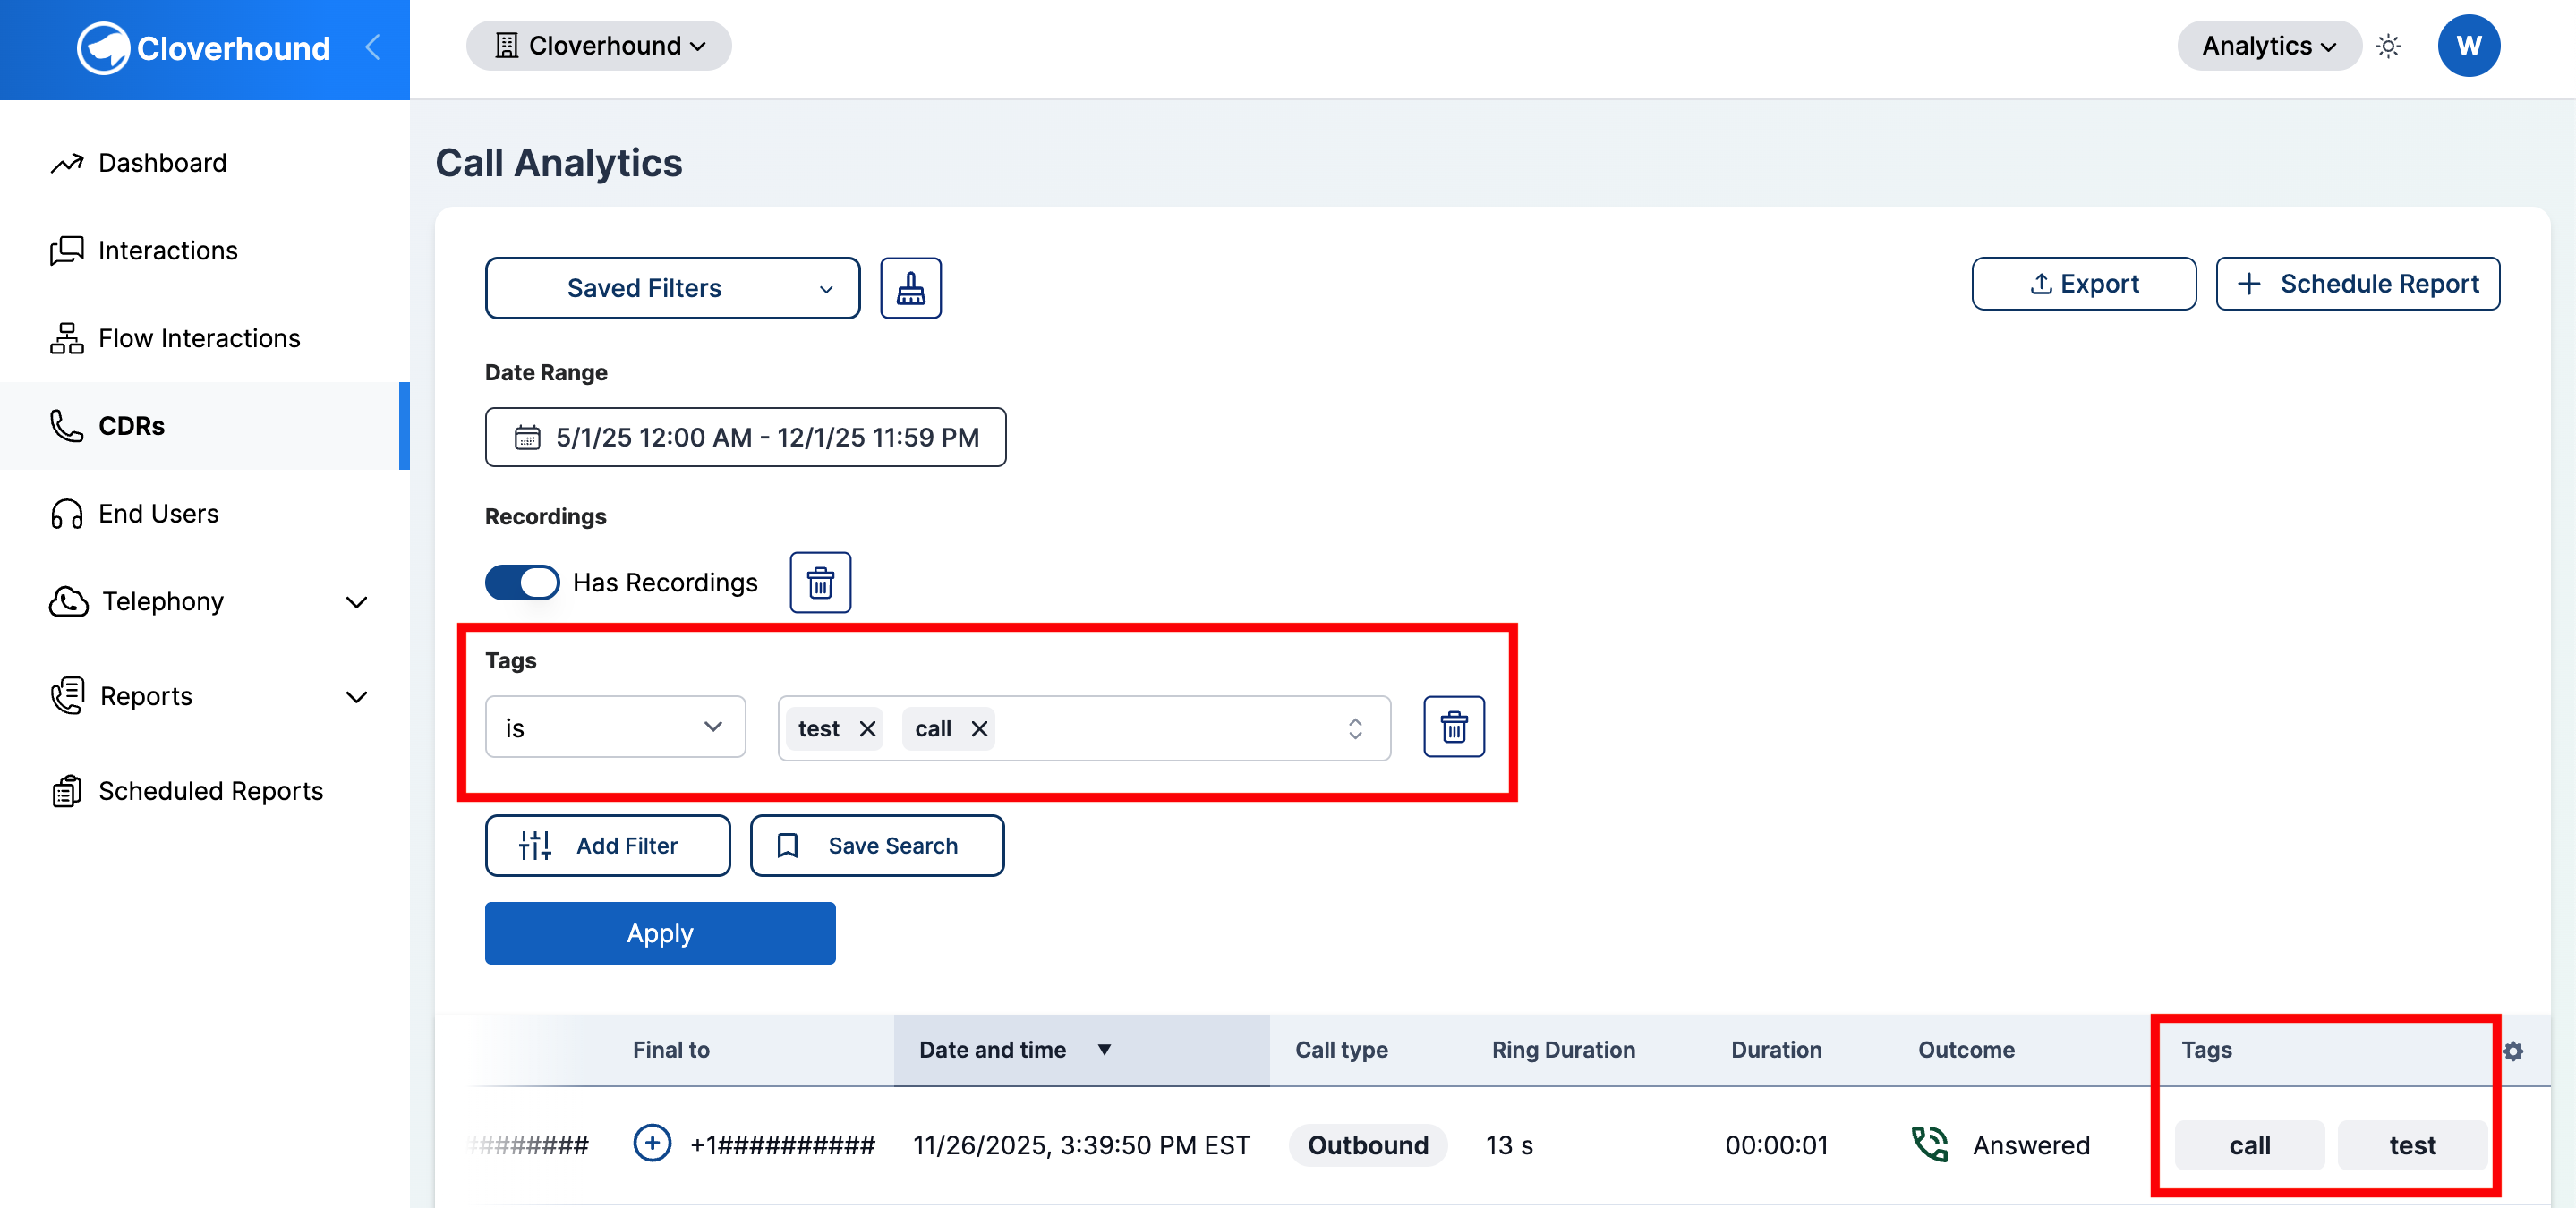
Filtering the Calls Table by Tag
Once tags are assigned, you can narrow the Calls Table to calls that carry specific tags.
-
Open the Calls / CDRs page in the Analytics module.
-
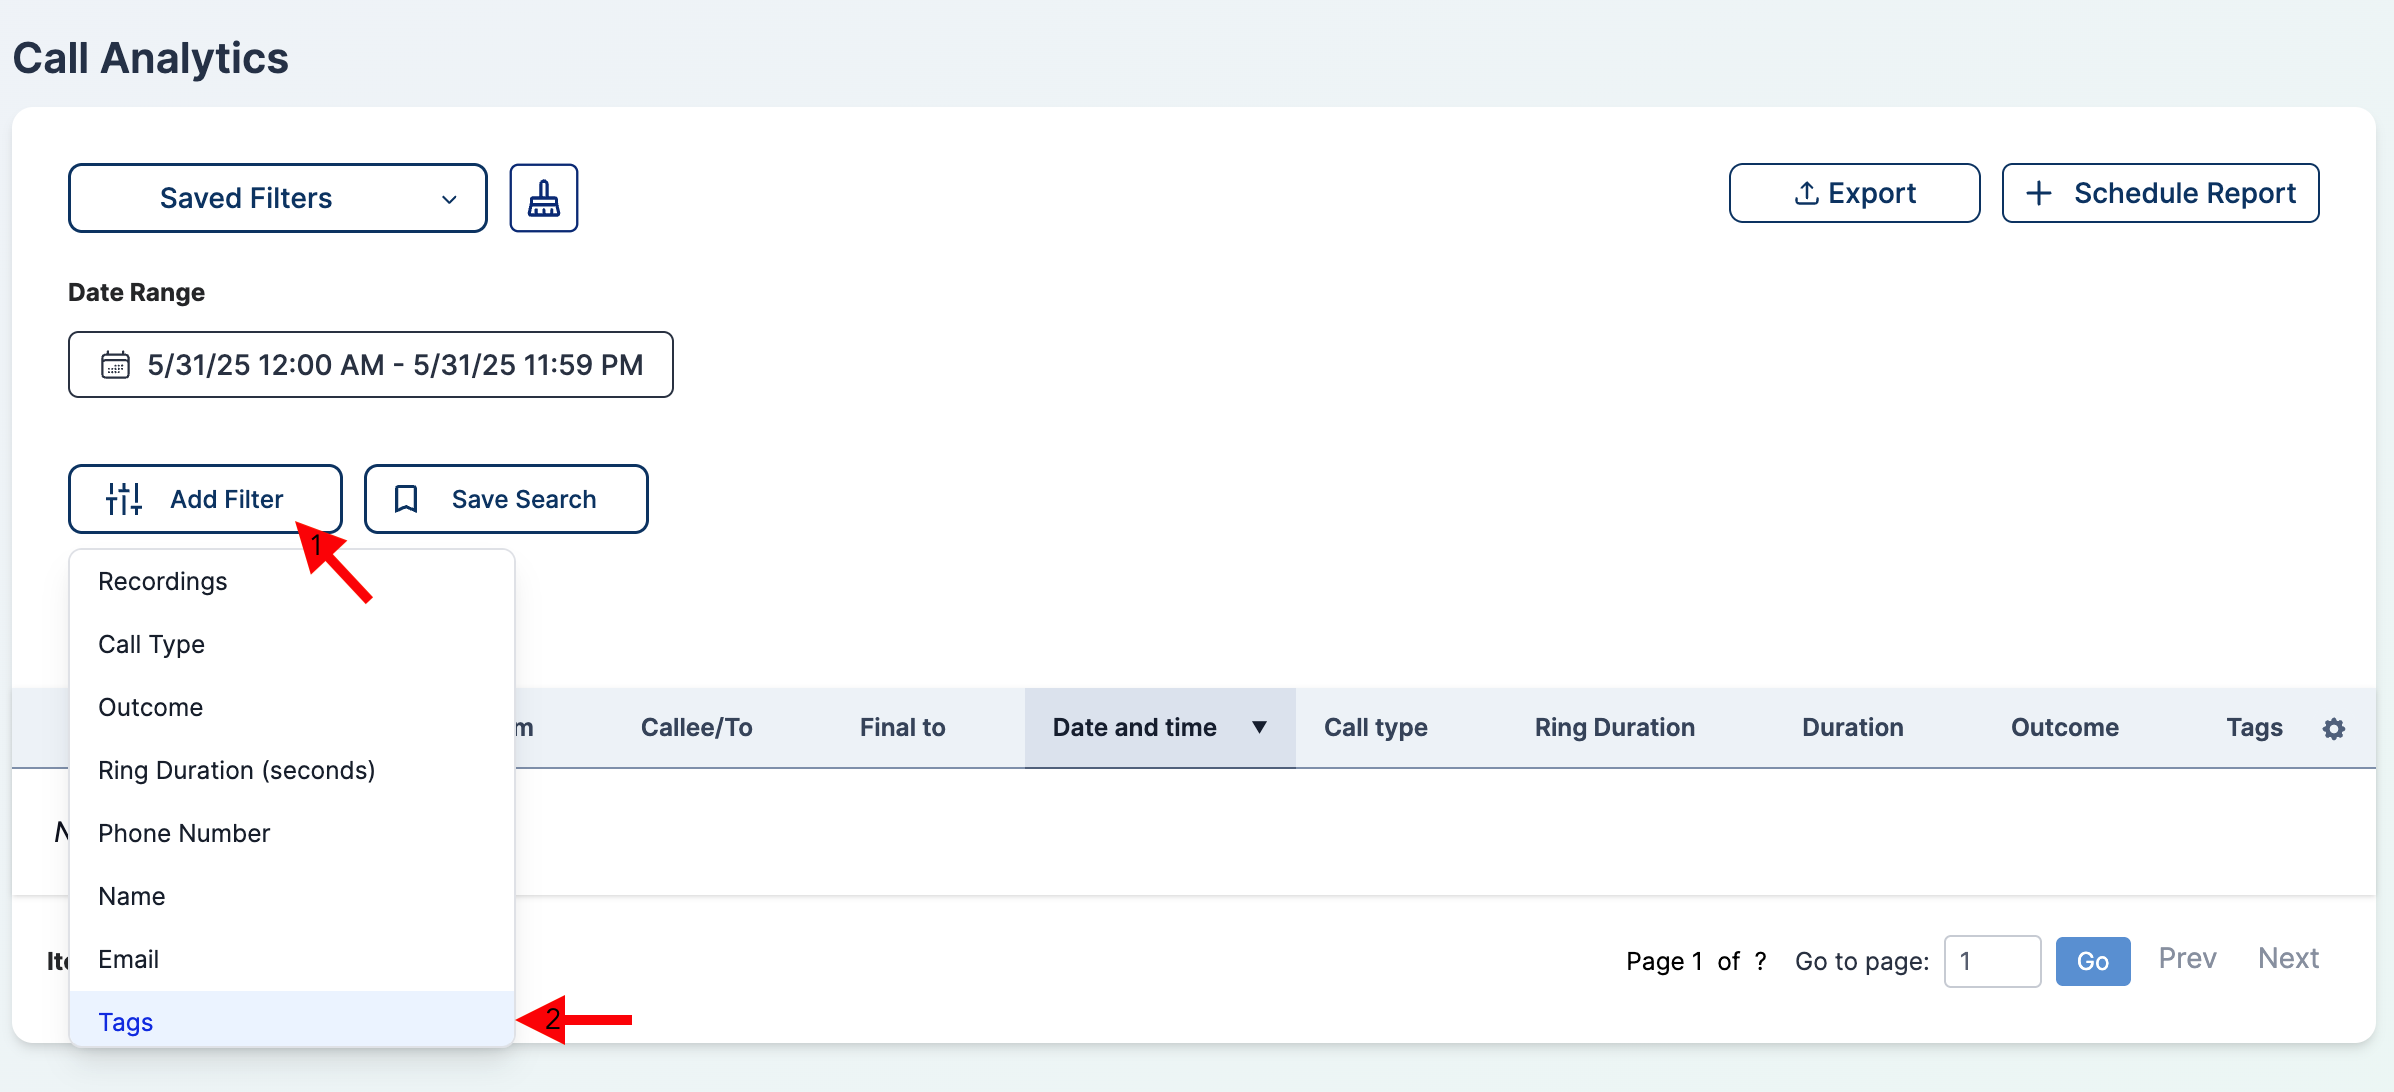
Add a filter and select Tags from the filter dropdown.
-
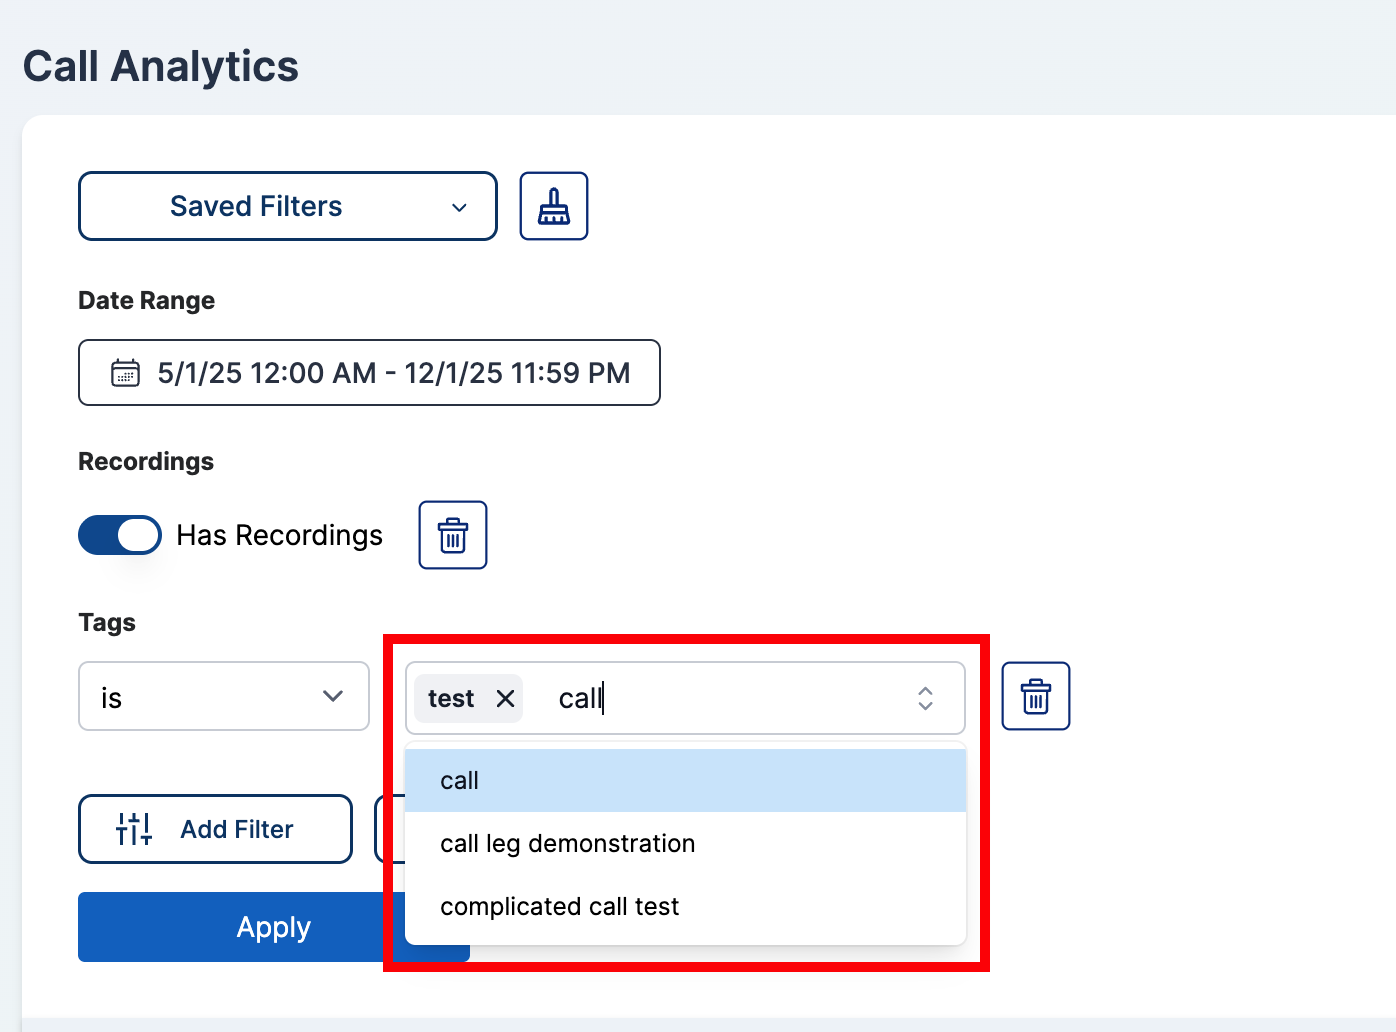
Select one or more tag names from the multi-select combobox.
-
Click Apply.
The Calls Table updates to show only calls that have at least one of the selected tags. Assigned tags are also shown in the Tags column of each row.
For the full filter workflow, see The Calls Table.
With Call Tags in place, you can label calls with the categories that matter to your team and retrieve them later from the Calls Table.