Call Details
The Call Details Interface in Cloverhound Cloud focuses on the additional details of the call for an in-depth understanding of the individual call activity.
The Call Details contains the following components:
- Summary component: it shows you summarized information with ANI, DNIS, and any additional details if available.
- Tags component: that displays the current call tags and allows adding or removing tags.
- Timeline component: it displays a graphical representation of the call's activity.
- Recordings component: it enables you to interact with call recording media files and their transcript texts.
Accessing Call Details
To view the details of a specific call:
-
Navigate to the Calls Page:
- Go to the Calls / CDRs section in the main menu.
-
Select a Specific Call:
- Click on the desired call entry to open its detailed view.
- The interface will display a Timeline with detailed state information.
You can gain valuable insights by using the Call Details Interface in individual calls and monitor call performance effectively.
Call Summary
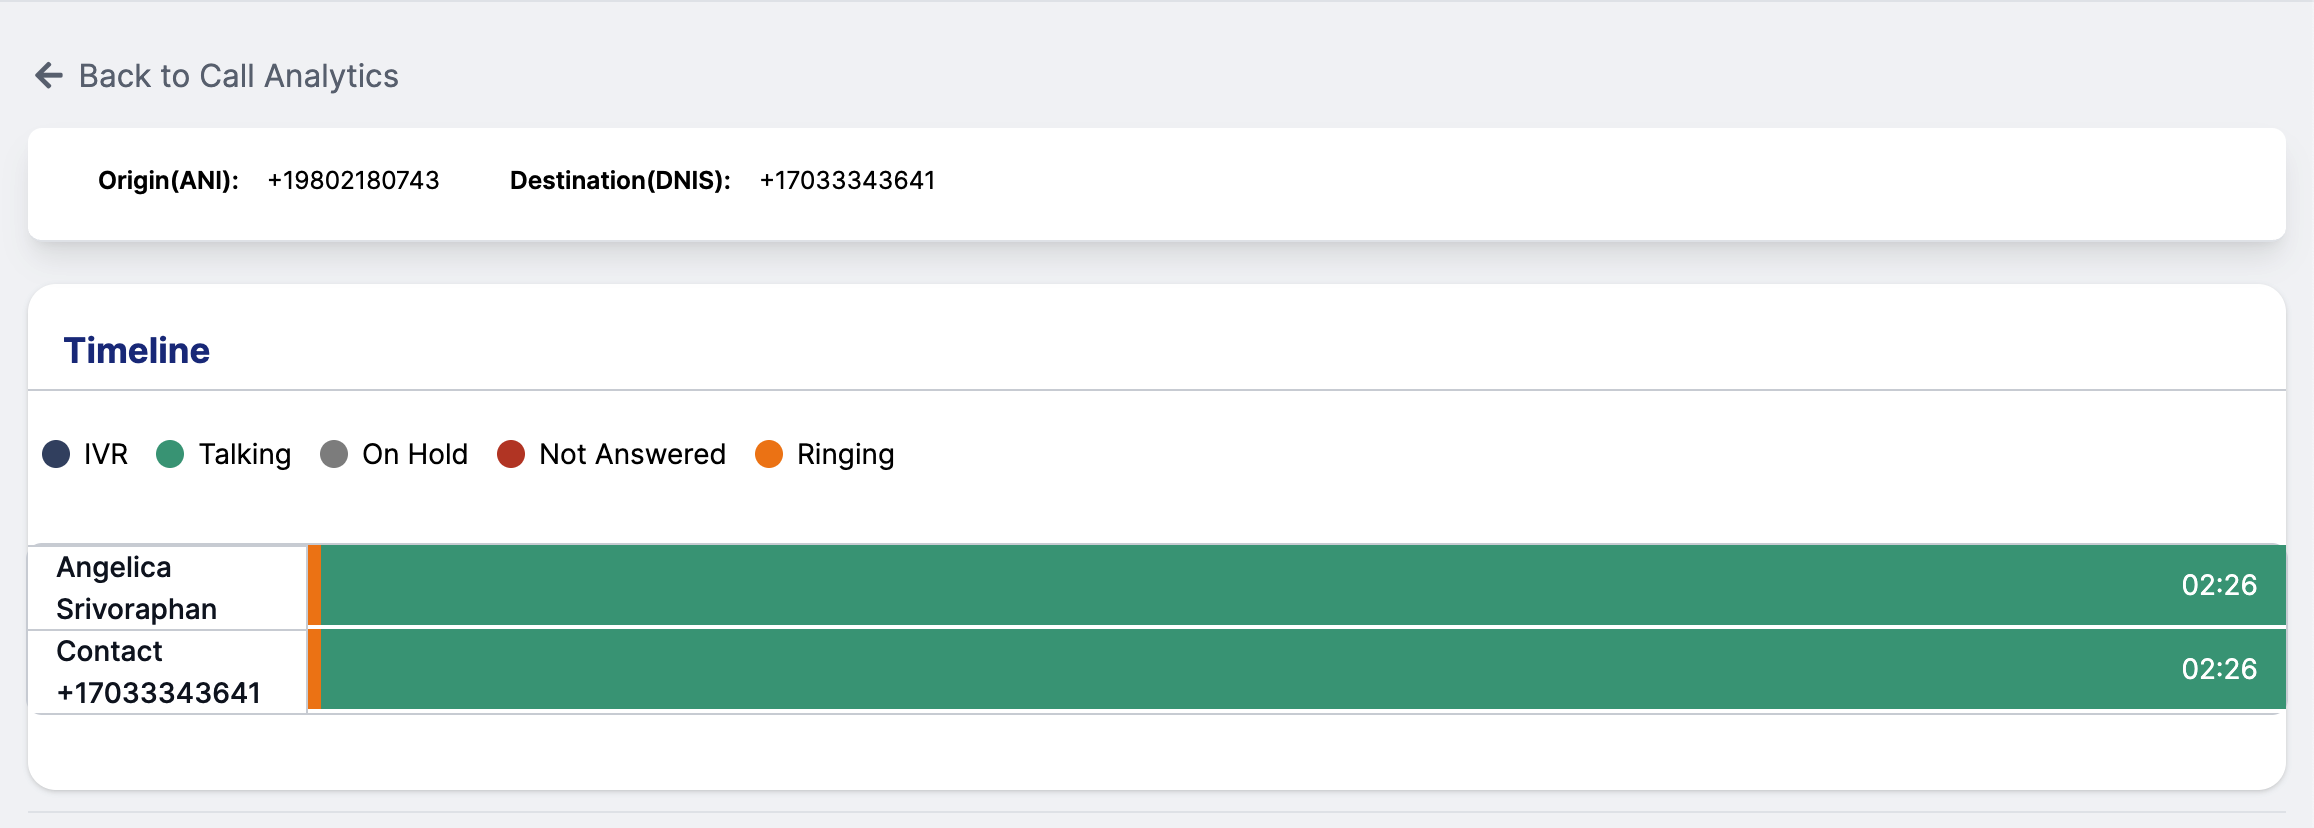
At the top of the Call Details Interface, a summary displays:
- Origin (ANI): The number that initiated the call.
- Destination (DNIS): The number that received the call.
Call Summary Example
The following is an example of the Call Summary:

Key Features
1. Click to Access More Info
Both the ANI and DNIS numbers could have a clickable link depending on the number type:
- To the end user page
- To the workspace page
- To the contact page
Call Tags
The Tags component allows you to manage the call's tags.
Call Tags Example
The following is an example of the Call Tags:

Key Features
1. View Current Tags
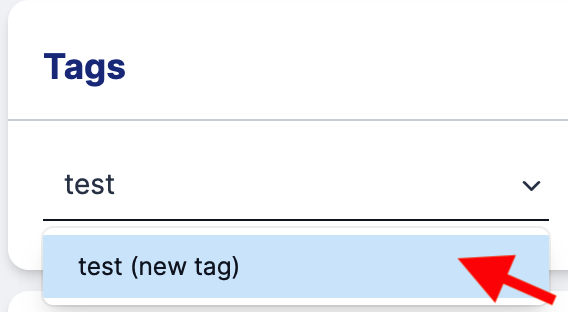
2. Add a tag
- Click the Add a tag... dropdown button.

- You can either select your tag from the previously assigned tags or type the name of your new tag.
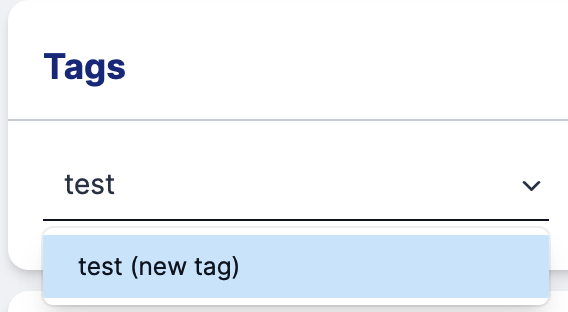
- Click the desired tag.
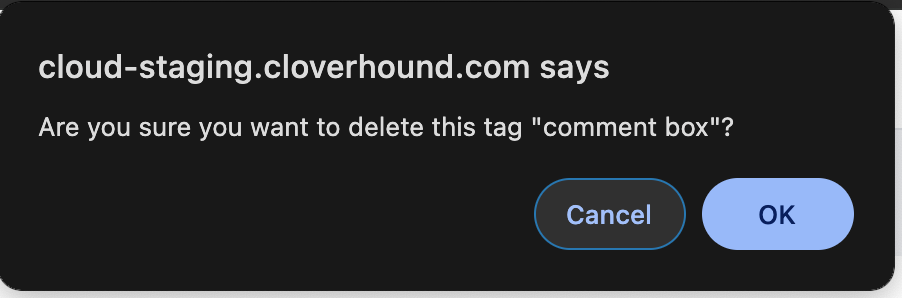
3. Remove a tag
- Click the X button beside the tag you want to remove.

- Confirm the removal of the tag.
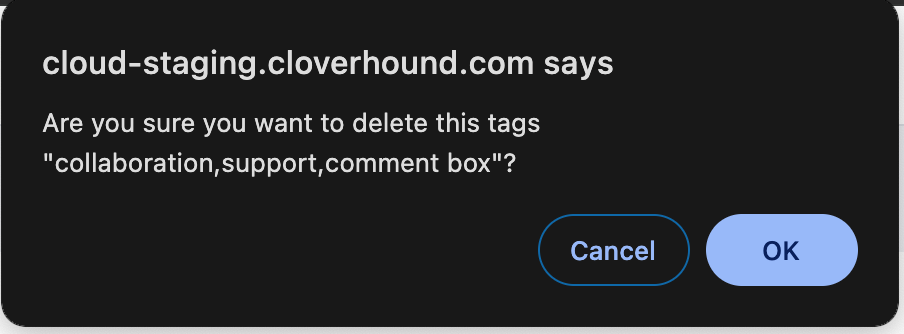
4. Remove all tags
- Click the trash can button.

- Confirm the removal of all the call's tags.
Call Timeline
The Timeline provides a graphical representation of the call's activity. It includes:
- IVR: Calls that interacted with the Interactive Voice Response.
- Talking: When participants were actively talking.
- Ringing: When participants were actively talking.
- On Hold: When a participant was placed on hold.
- Not Answered: If the call was not answered.
The Timeline component is available only if the organization's feature flag horizontal_call_timeline is enabled. The timeline includes its state, duration, and other critical details. Which allows for an in-depth understanding of individual call activity.
Call Timeline Example
The following is an example of the Call Timeline:
-
Angelica Srivoraphan & Contact +17033343641:
- State: Ringing
- Duration: 00:01
- Start: 00:00
- Release: 00:01
-
Angelica Srivoraphan & Contact +17033343641:
- State: Talking
- Duration: 02:26
- Start: 00:01
- Release: 02:27
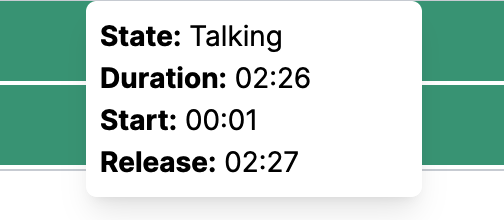
Key Features
1. Hover to View Call Details
Hover over a specific call bar in the timeline to see:
- State (e.g., Talking, On Hold, IVR, Not Answered, and Ringing).
- Duration of the state.
- Start and Release times.
Use Cases
The Call Timeline component is useful for:
- Monitoring the exact timeline of a call.
- Identifying call states (e.g., hold time, active talking duration).
- Understanding when participants entered or exited the call.
Call Recordings
The Recordings components allow you to interact with call recording media files and their transcript texts.
The Recordings component of a specific call is available only if that call has at least one recording file.
Recordings Example
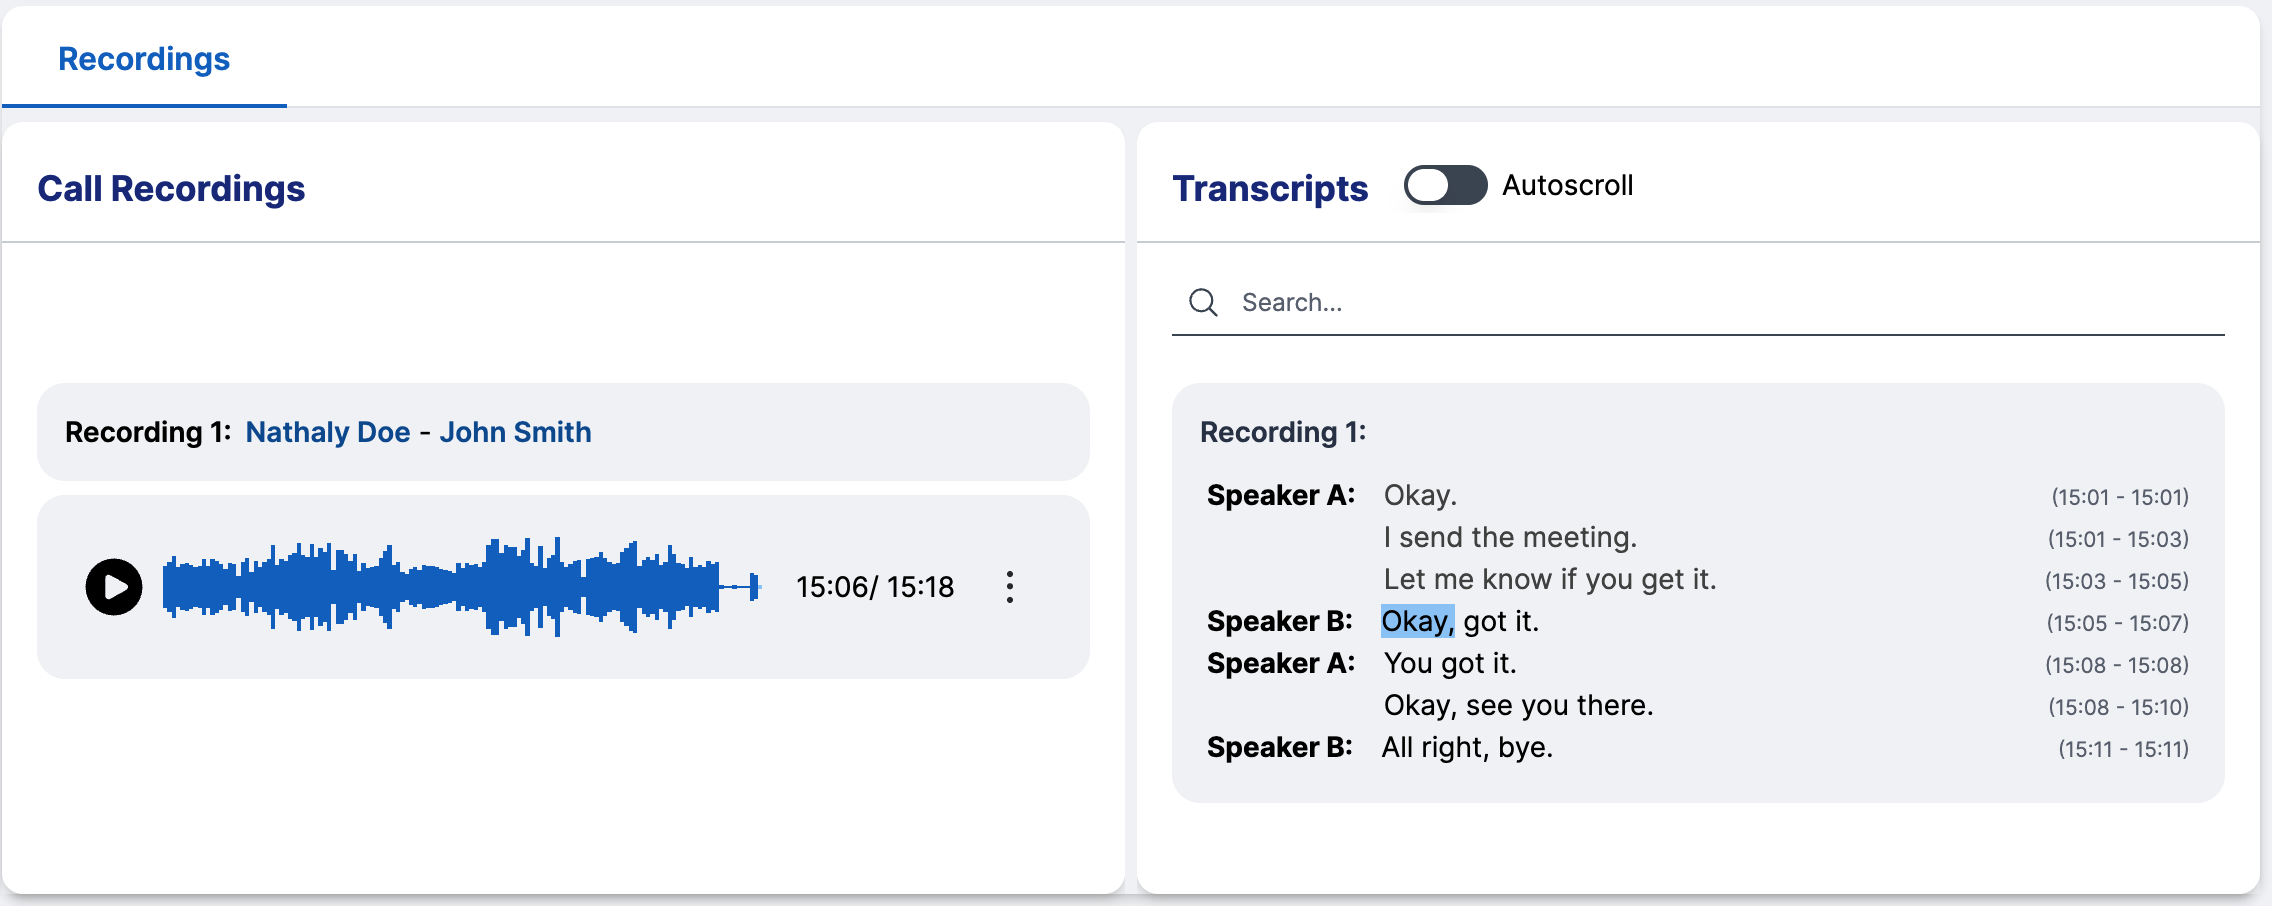
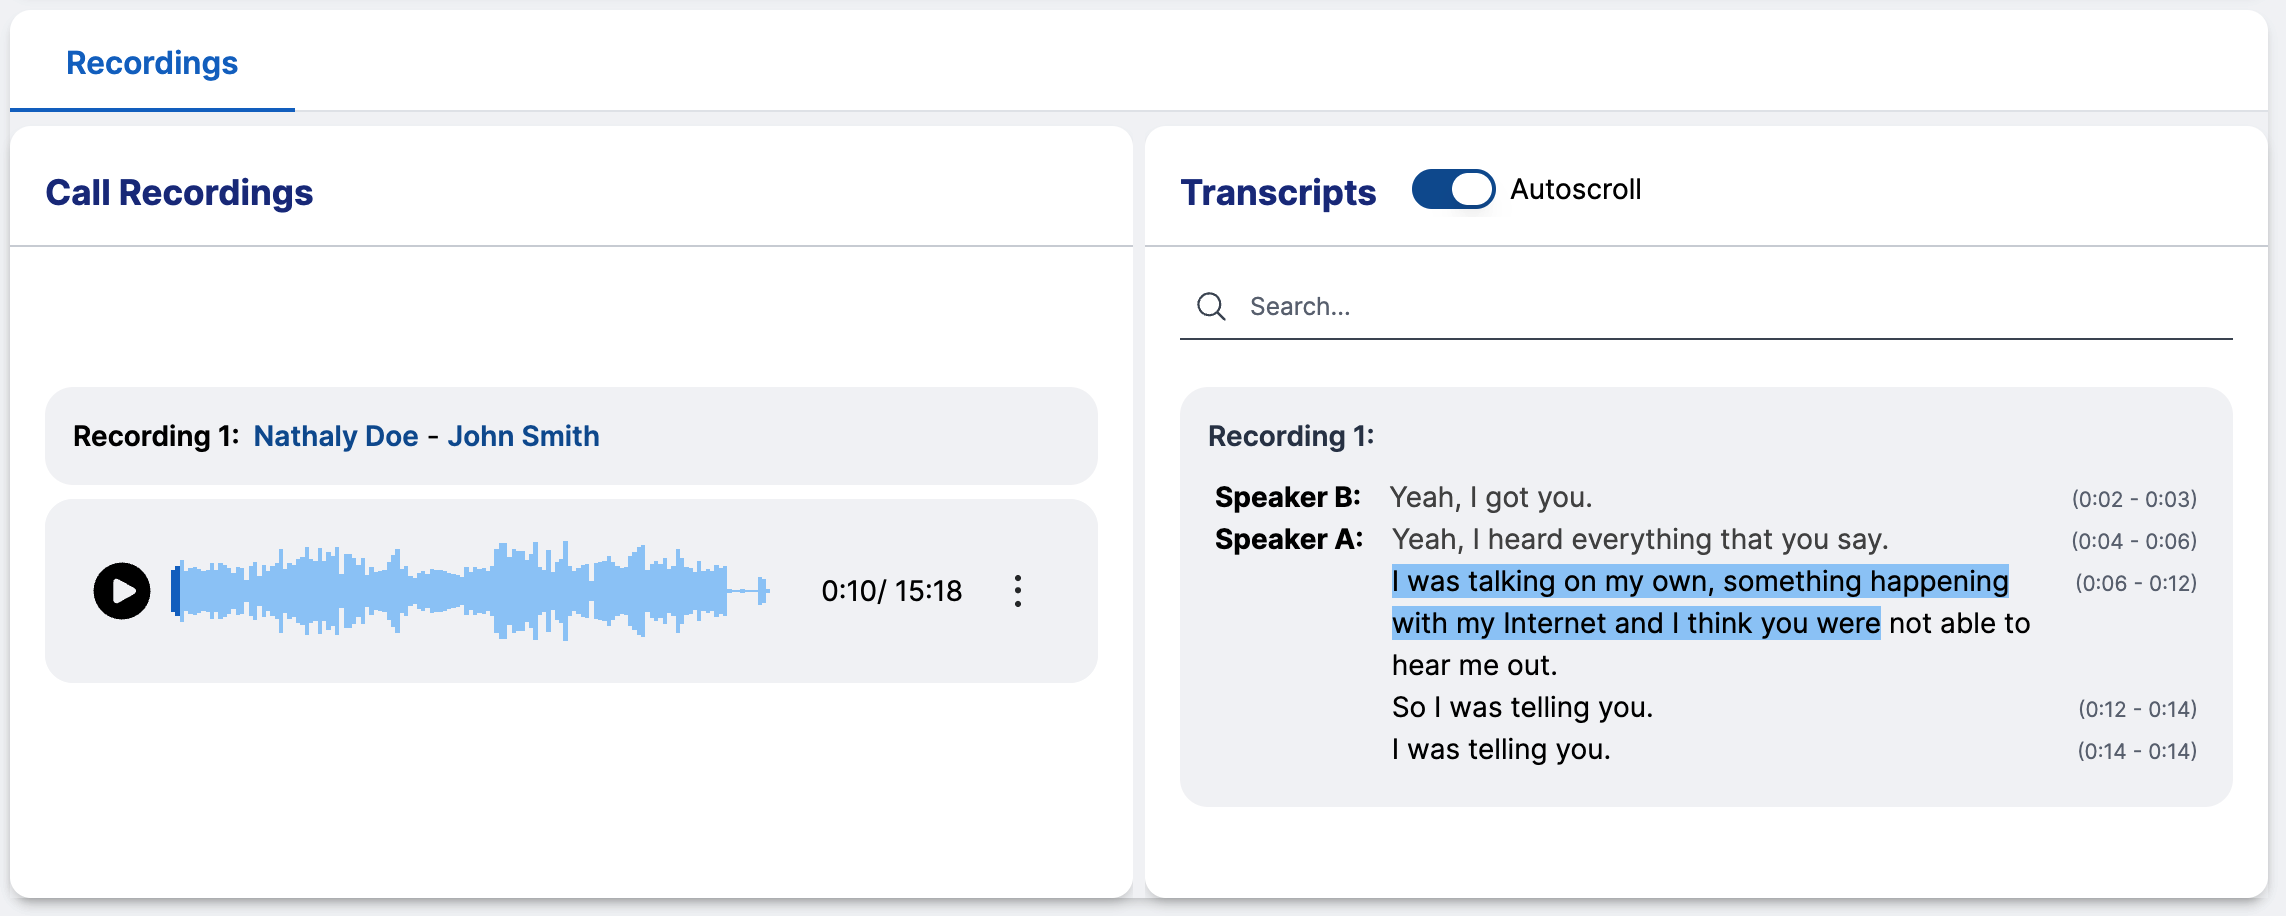
Key Features
- Listen to the recording files and navigate to the desired time.
You can navigate to the desired time by clicking on the audio waveform.
- View and search the transcript texts.

- On synched recording file with transcript text.
- Download file.
To access the following menu, click on the three dots of the recording file.
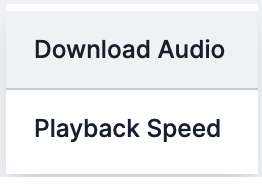
Then click on the Download Audio option.
- Control the playback speed of the recording file.
To access the following menu, click on the three dots of the recording file, then click on the Playback Speed option.
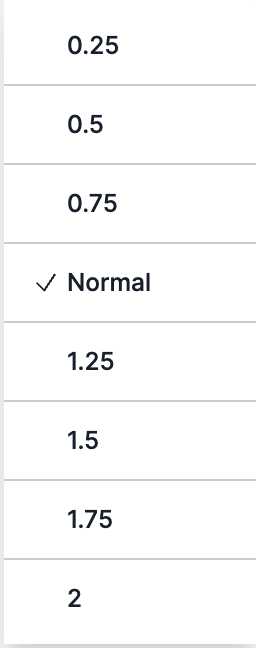
Then click on the desired speed.