Managing Settings
The Settings page is where you configure how your organization connects to Webex, how long call recordings are kept, what the organization is named in Cloverhound Cloud, and which monitoring notifications are sent. It lives in the Admin module and is available to organization administrators.
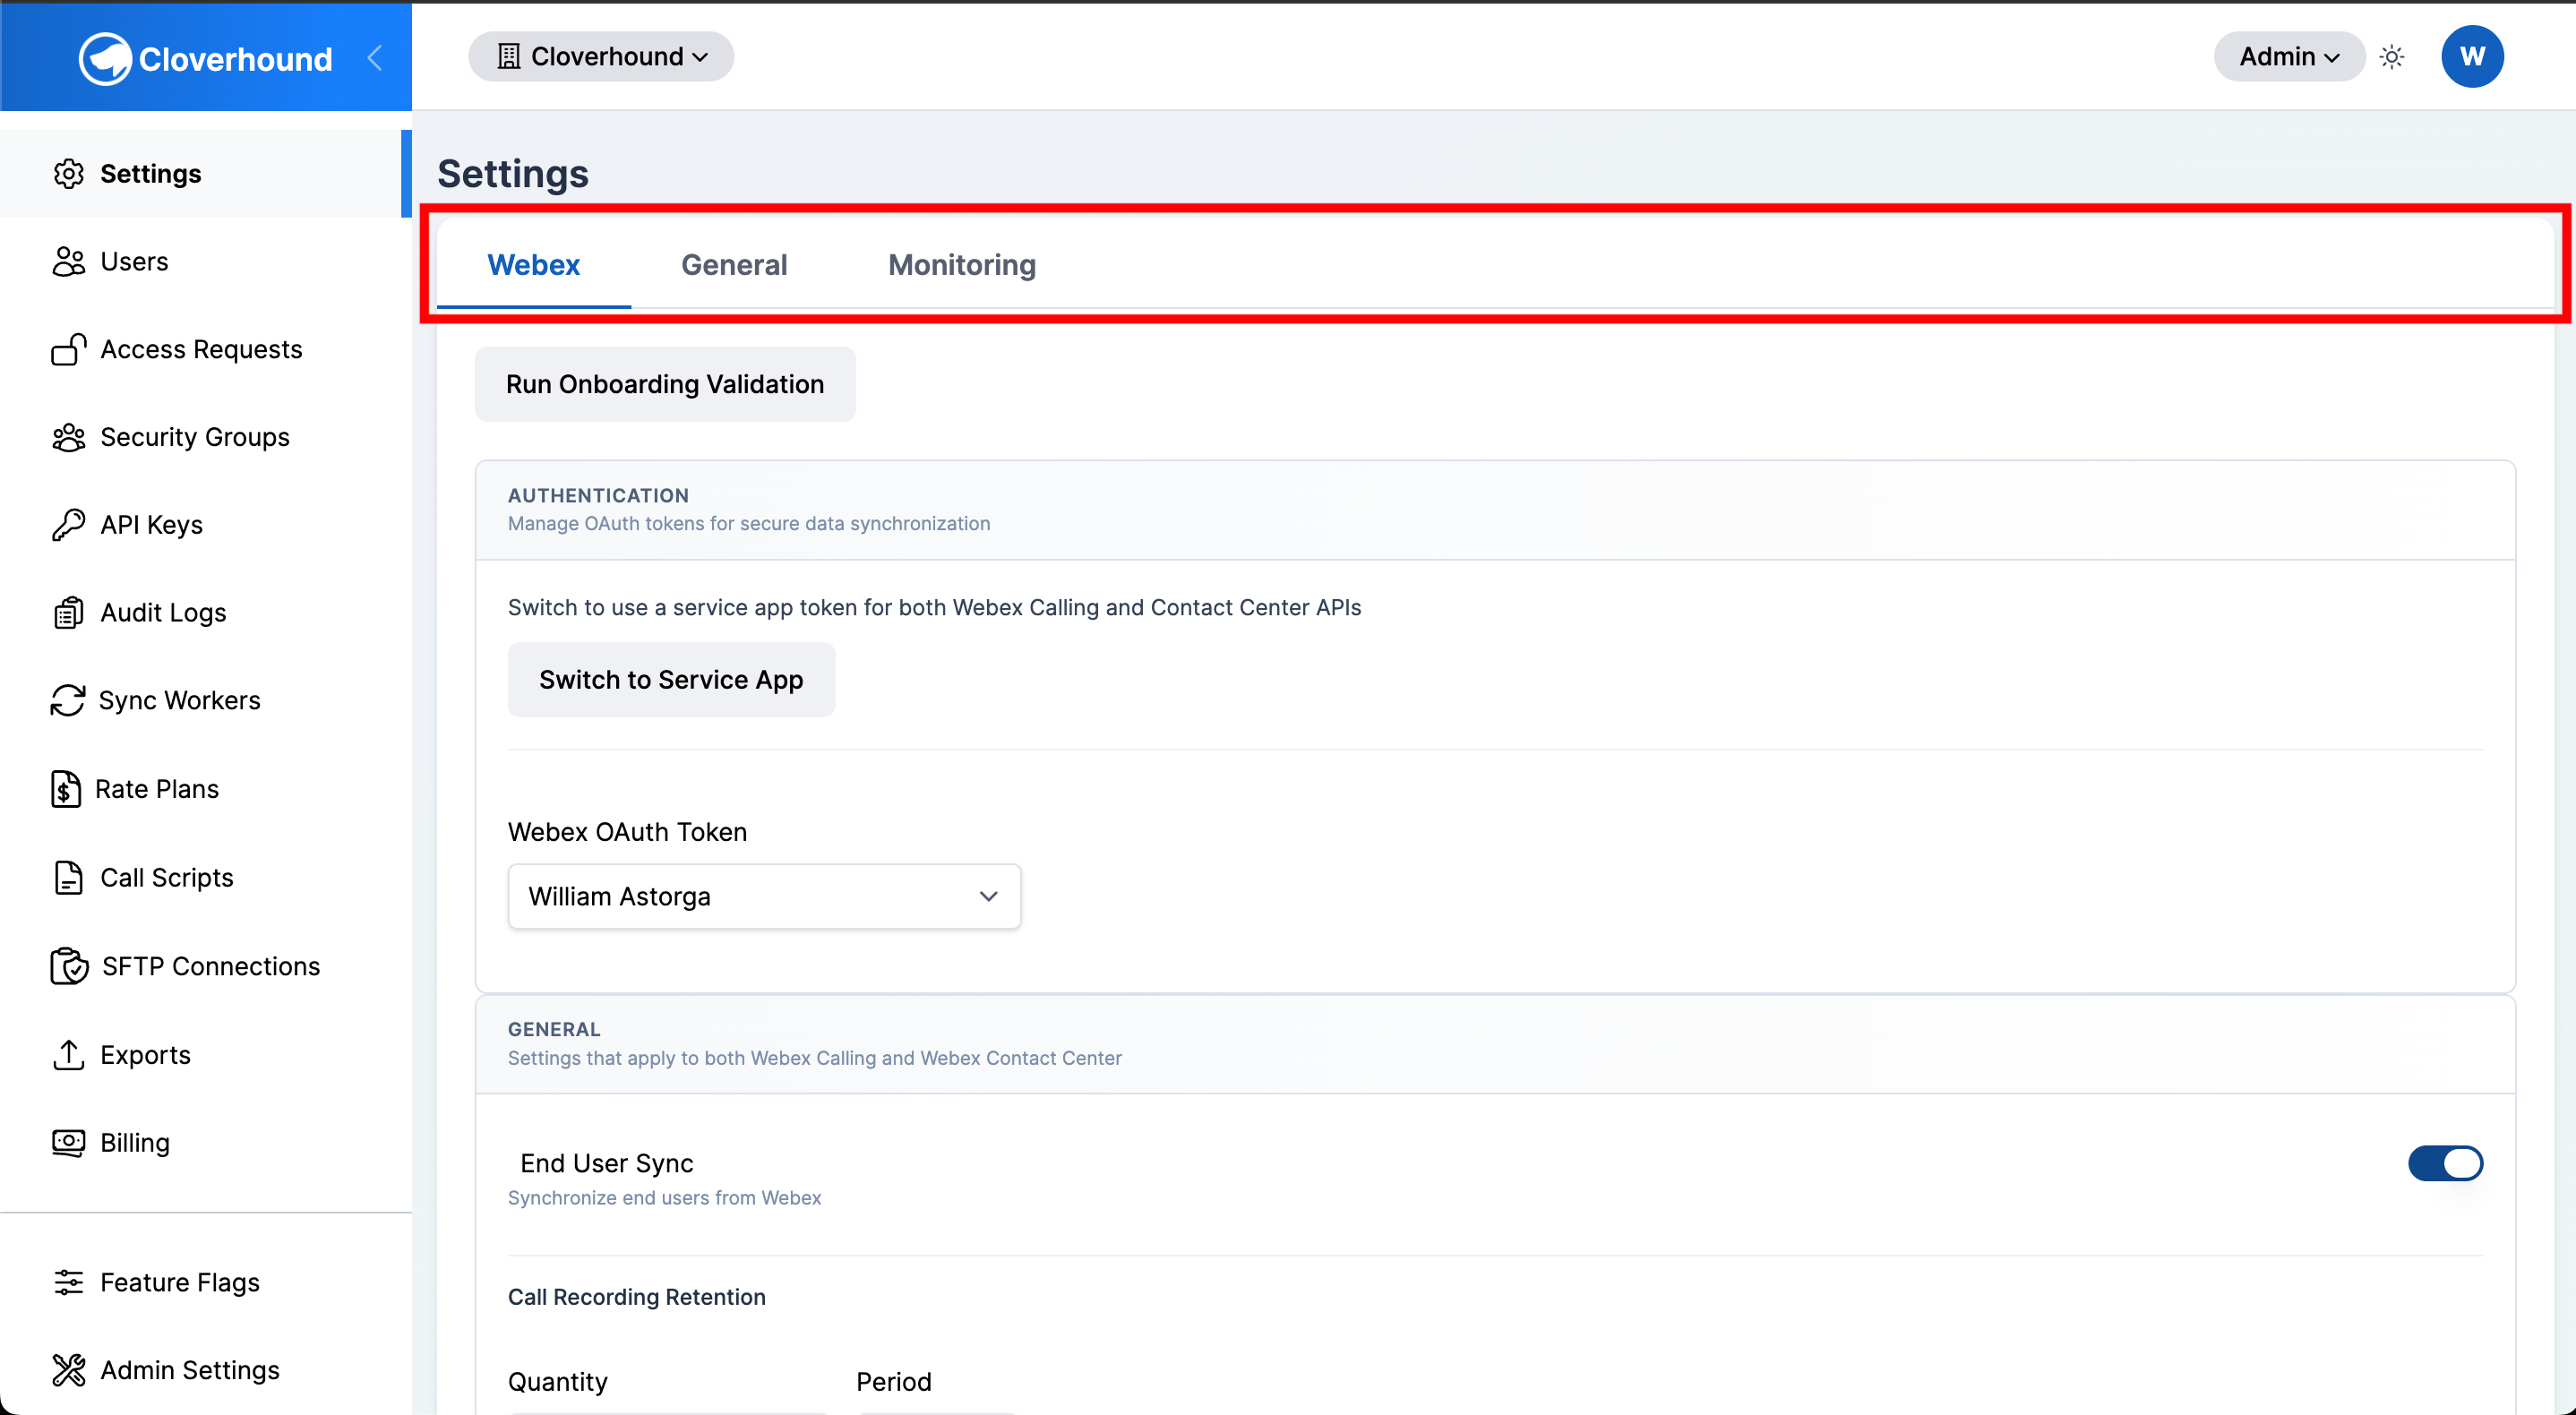
The Settings page is divided into tabs:
- Webex — OAuth token selection, service app authentication, onboarding validation, per-feature sync toggles, and call recording retention.
- General — organization name, displayed application name, and time zone.
- Monitoring — notification toggle and recipient email (only shown when the Monitoring module is enabled).
Accessing Settings
-
Navigate to the Admin module.
-
Open the Settings page.
-
Select the tab you want to configure.
Webex Tab
The Webex tab controls every integration between Cloverhound Cloud and your Webex environment. The toggles you see depend on which Cloverhound Cloud modules are enabled for your organization, so not every option described below will be visible in every organization.
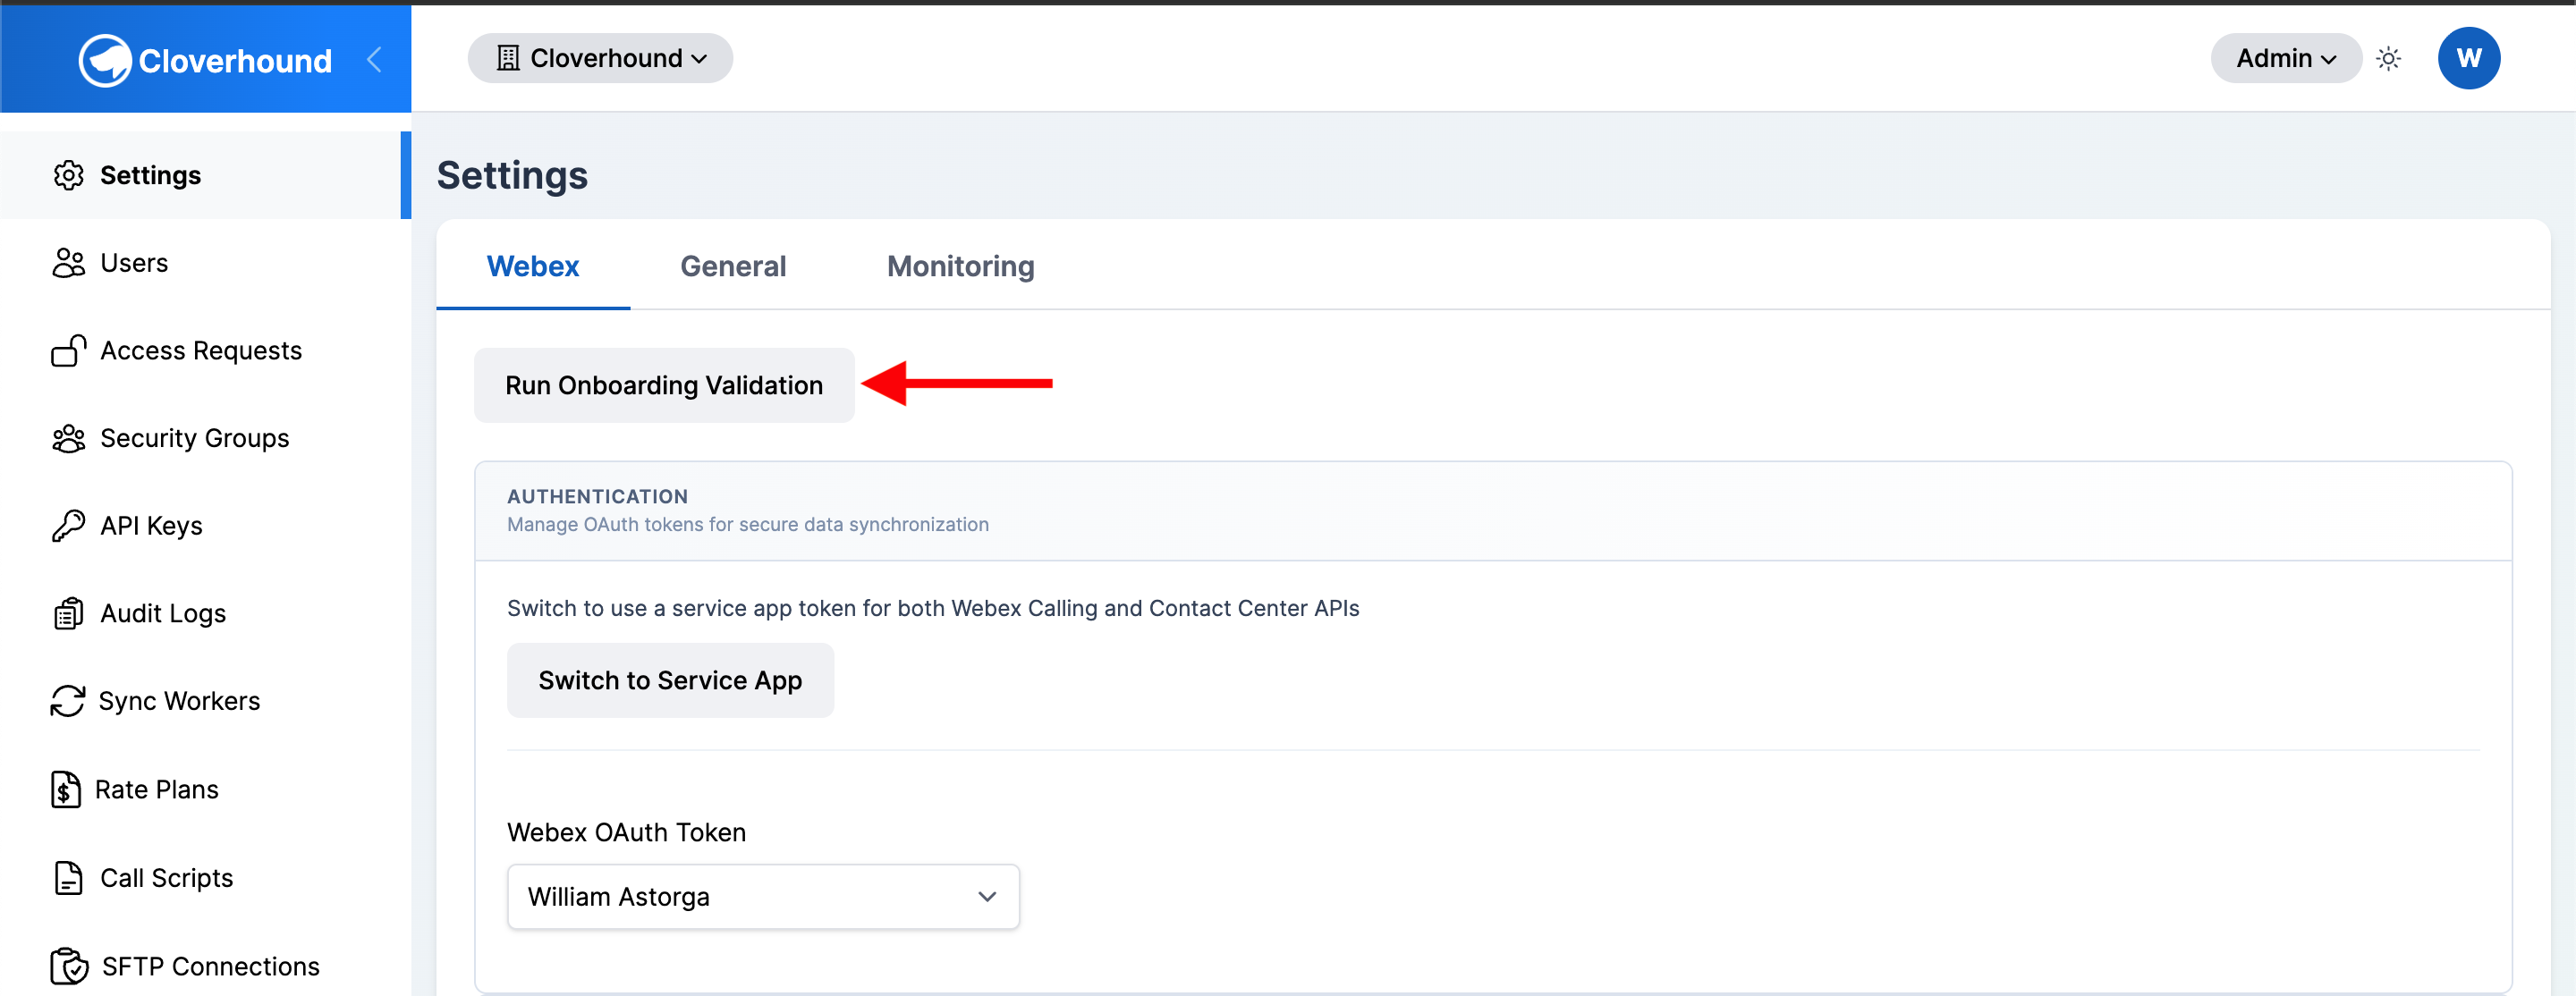
Running Onboarding Validation
Onboarding validation runs a series of checks against the Webex APIs to confirm that the selected OAuth token has the correct permissions for each feature you plan to use. It also enables the corresponding sync toggle for every check that passes.
-
Click the Run Onboarding Validation button at the top of the Webex tab.
-
Review the checklist. Each row shows the feature being validated and the result.
-
Resolve any failures before closing the modal. The error message tells you which permission or role is missing in Webex.
Onboarding validation runs automatically the first time you sign up for Cloverhound Cloud. Re-run it any time you change OAuth tokens, add a new Webex license, or switch to a service app.
Authentication
The Authentication section controls which OAuth token Cloverhound Cloud uses when it calls Webex APIs on behalf of your organization.
-
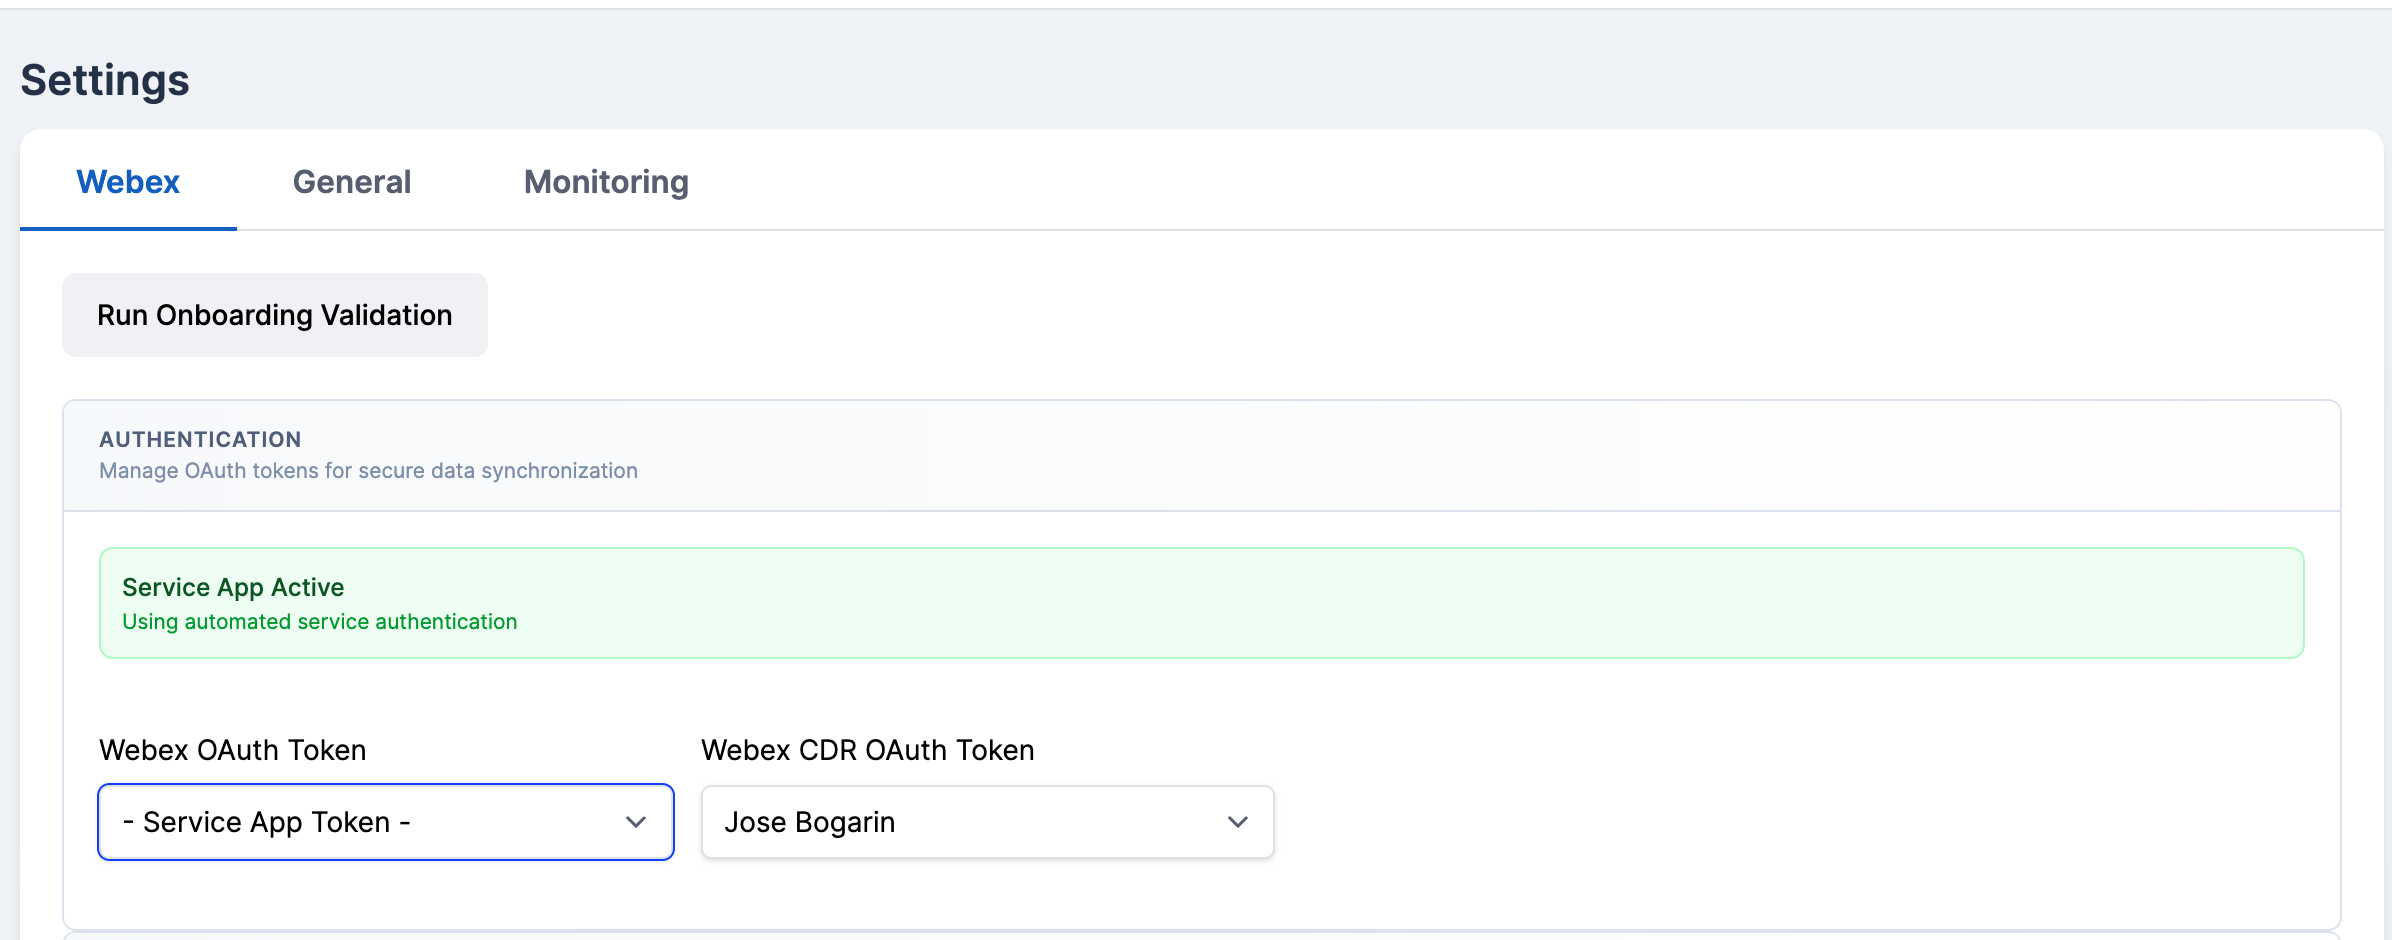
Webex OAuth Token — the token used for Webex Calling and Webex Contact Center API requests. The dropdown lists every authorized user token plus the service app token (when available), shown as - Service App Token -.
-
Webex CDR OAuth Token — only appears when the Webex OAuth Token is set to the service app. Select an individual user token that has Webex Calling detailed call history API access; the Webex CDR API does not yet support service app tokens.
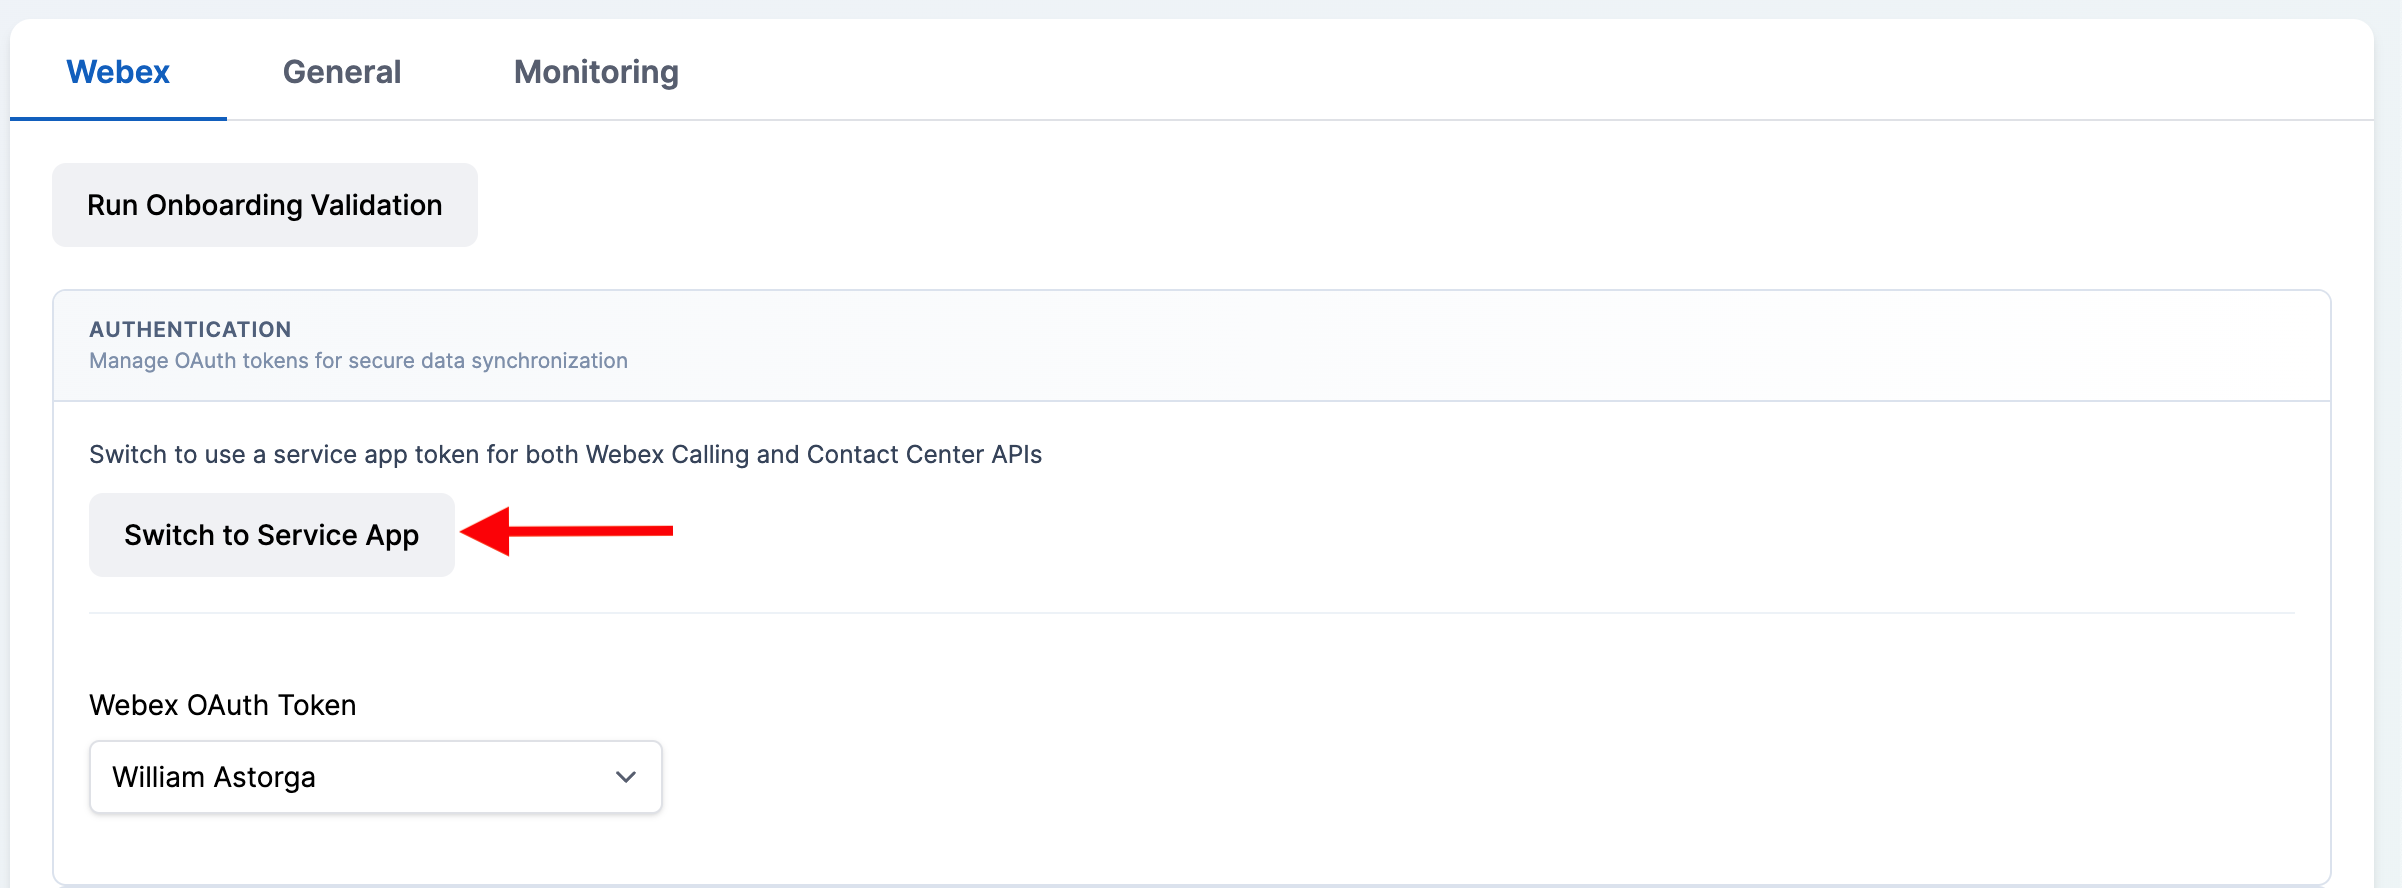
Switching to a Service App Token
Service apps provide an organization-level token that does not depend on any individual user account. If the service app feature is enabled for your organization and you are not already using one, a Switch to Service App button appears in the Authentication section.
-
Click the Switch to Service App button.
-
Wait for Cloverhound Cloud to create or update the service app token. On success, the page reloads and a green Service App Active banner appears above the token dropdown.
-
Handle errors. If the switch fails, a warning banner shows the error. When the error indicates the service app has not yet been authorized in Webex Control Hub, the banner links to the Service App Authorization Guide. Complete the authorization there and try again.
The service app must be authorized in your Webex Control Hub before the switch succeeds. See the Service App Authorization Guide for the full authorization process.
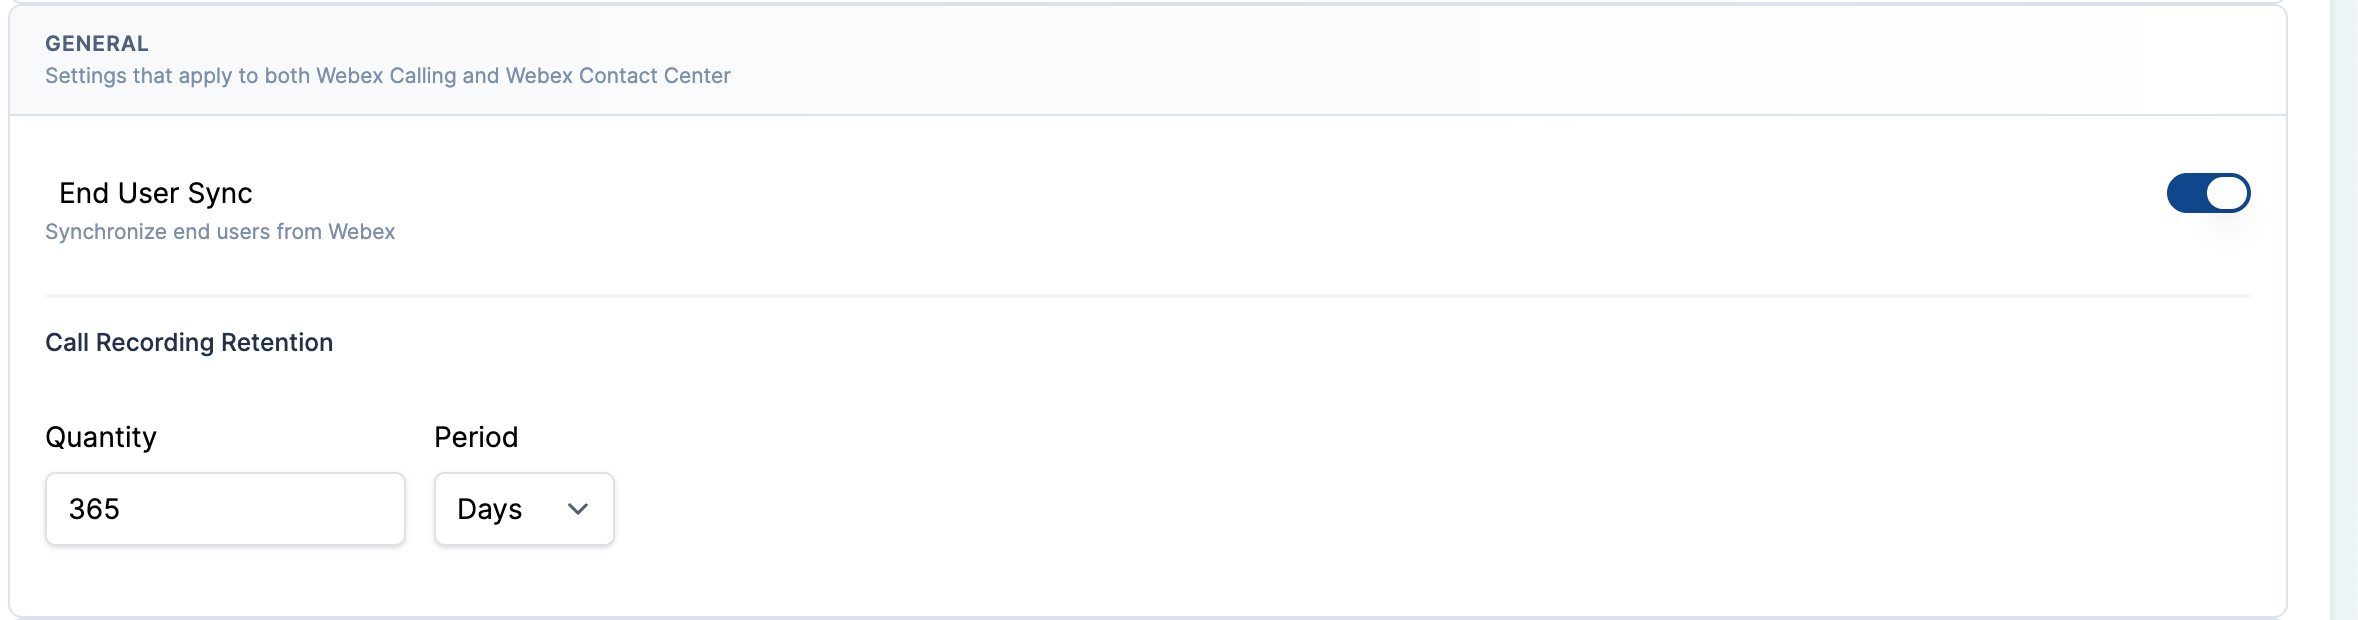
General Sync Settings
These toggles apply to both Webex Calling and Webex Contact Center data.
- End User Sync — pulls Webex end user information into Cloverhound Cloud. Visible when Campaigns or Analytics is enabled.
Call Recording Retention
Controls how long call recordings downloaded by Cloverhound Cloud are kept before they are deleted.
-
Enter a value in the Quantity field.
-
Select a Period: days, months, or years.
-
Click Save at the bottom of the tab to apply the change.
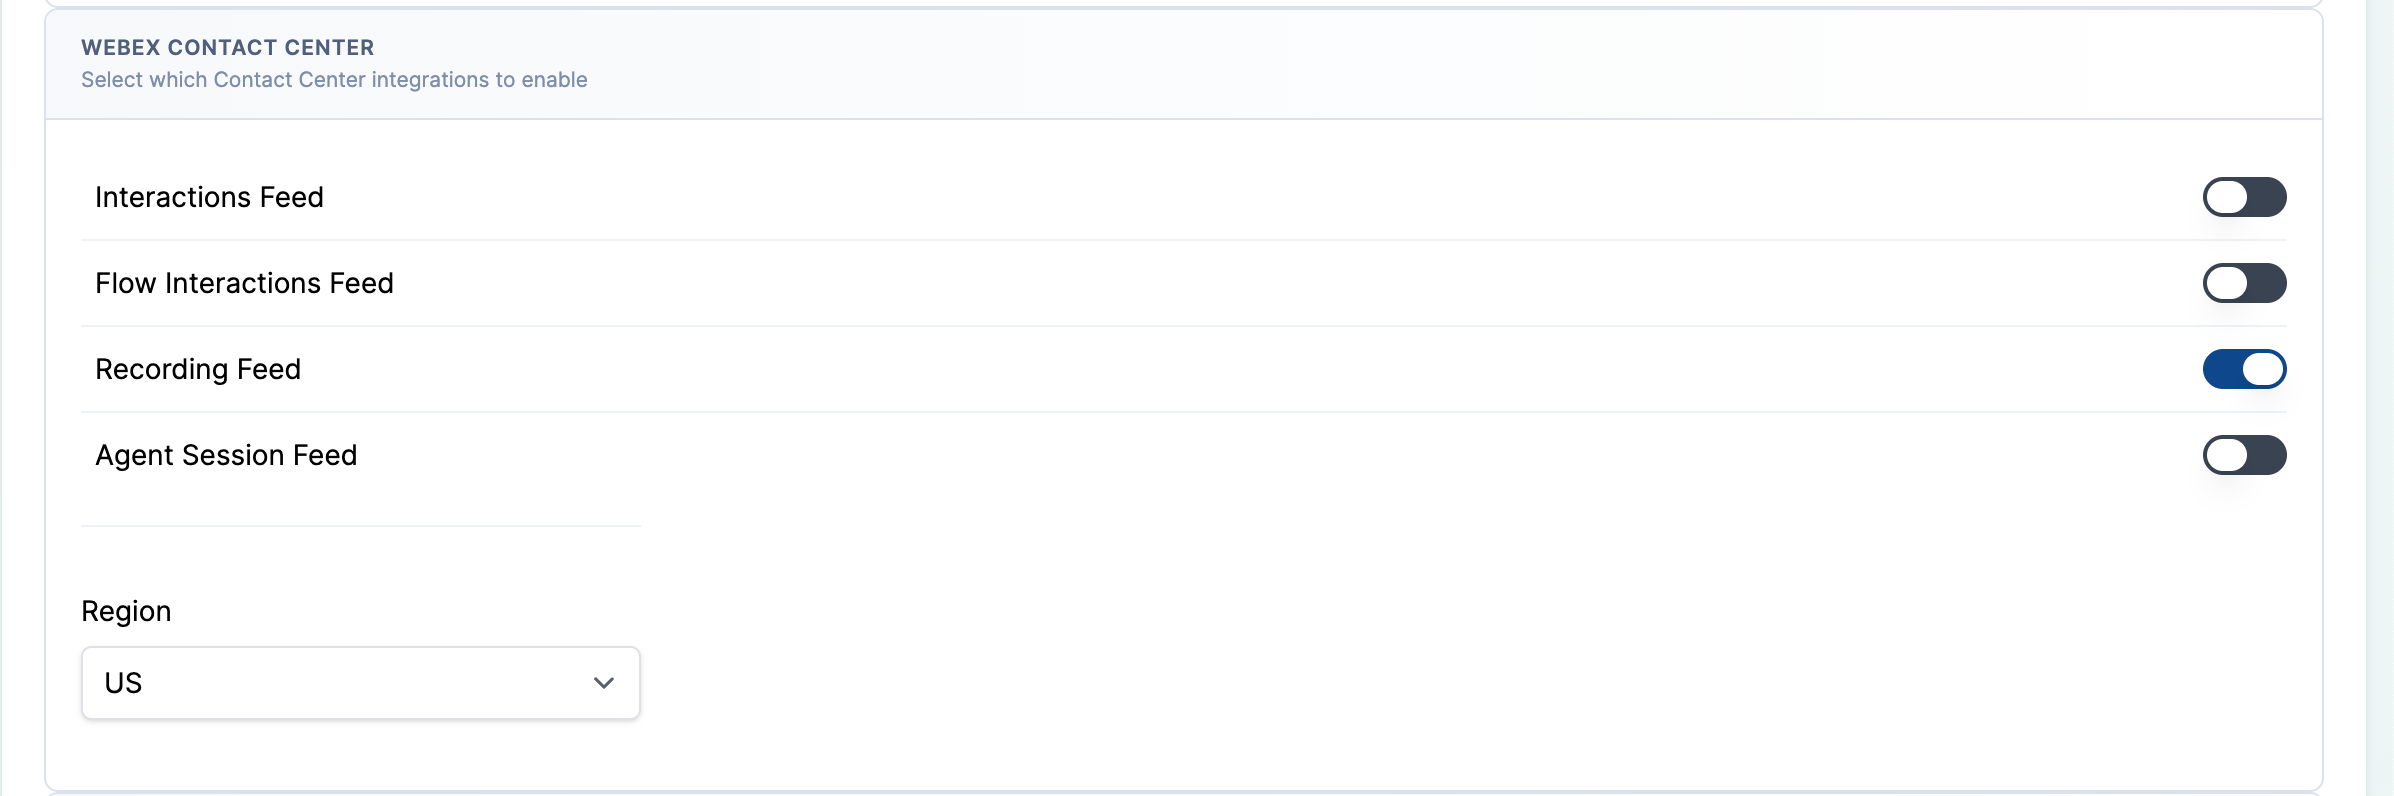
Webex Contact Center Settings
These toggles control which Webex Contact Center data is synchronized. Each one is only visible when the module that needs it is enabled for your organization.
-
Interactions Feed — collects Contact Center interaction records.
-
Flow Interactions Feed — syncs flow interaction data used by campaign management.
-
Recording Feed — downloads Contact Center call recordings.
-
Agent Sync — syncs agent information.
-
Show Supervisors in Agent Selection — includes supervisors in agent pickers used by Campaigns.
-
Team Sync — syncs team structure.
-
Wrap Up Code Sync — syncs Contact Center wrap-up codes.
-
Agent Session Feed — syncs agent session events. Read-only until a Webex Contact Center OAuth token is set.
-
Region — select the region that hosts your Contact Center platform: US, ANZ, UK, EU, Japan, Canada, or Singapore.
Webex Calling Settings
These toggles control which Webex Calling data is synchronized. They are only visible when the Analytics module is enabled.
-
CDR Feed — collects Webex Calling call detail records.
-
Call Cost Calculation — enables per-call cost calculation.
-
Recording Feed — downloads Webex Calling recordings.
-
Workspace Sync — syncs workspaces.
-
Location Sync — syncs locations.
-
Trunk Sync — syncs trunk configuration.
-
Hunt Group Sync — syncs hunt group configuration.
-
Virtual Line Sync — syncs virtual lines.
-
Auto Attendant Sync — syncs auto attendants.
-
Call Queue Sync — syncs call queues.
-
Filter CDRs by Location — a multi-select that limits CDR collection to specific locations. Leave empty to collect from all locations.
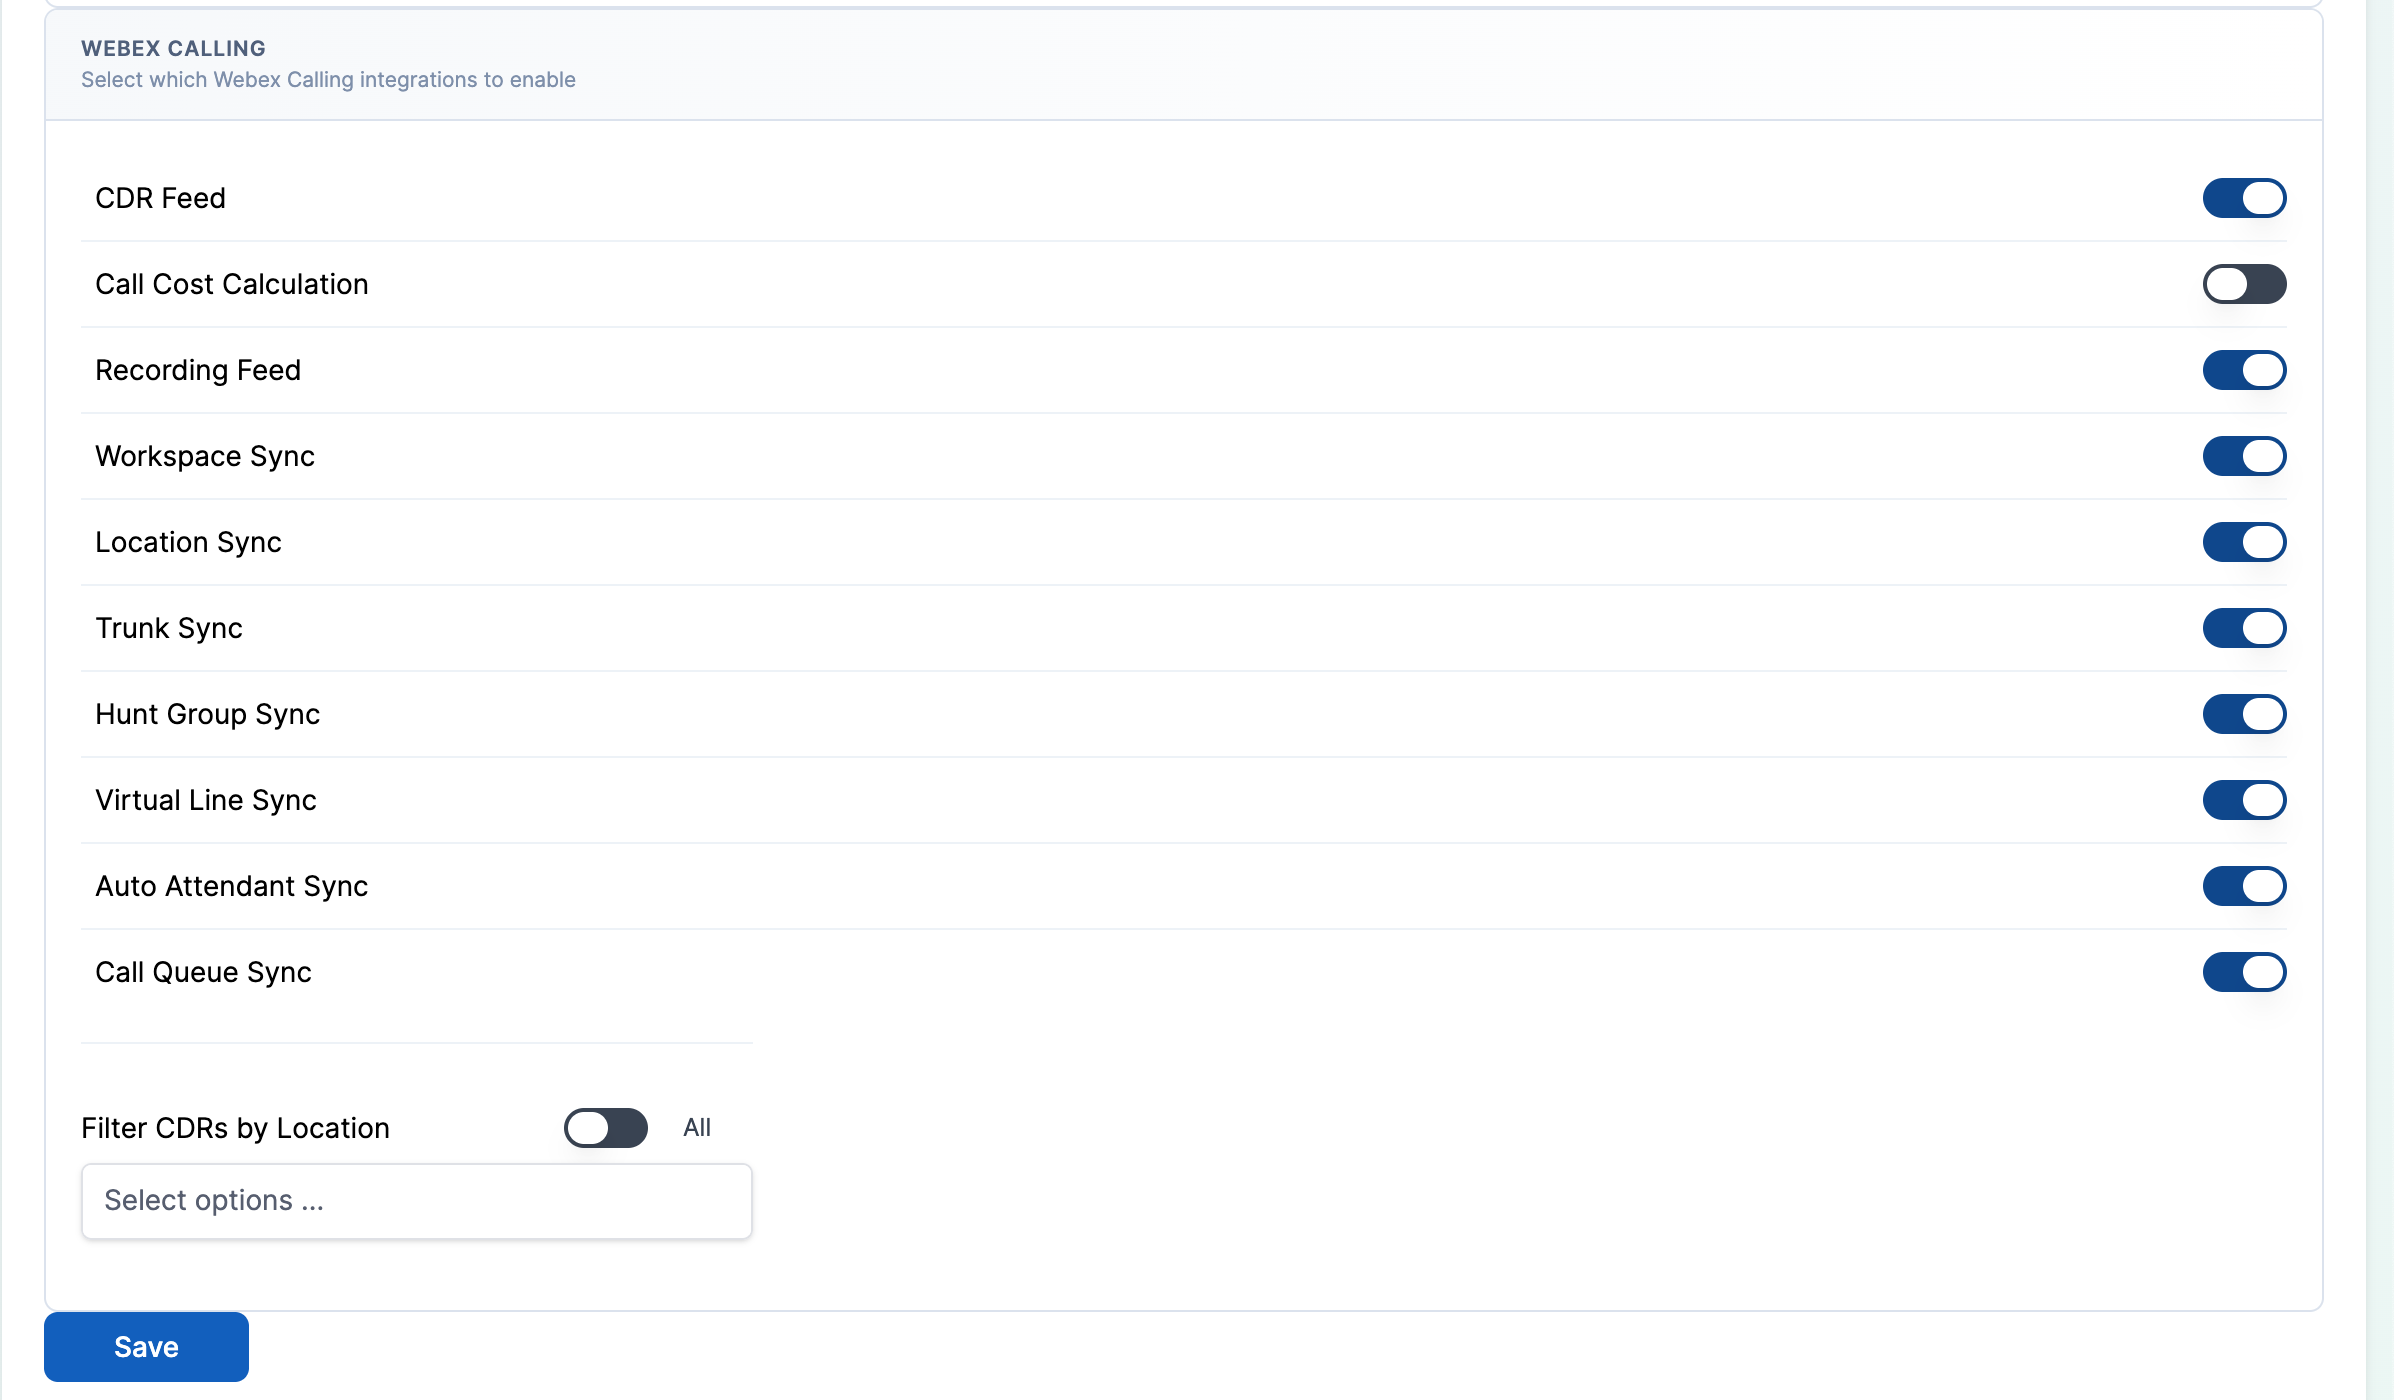
Saving Webex Settings
-
Click the Save button at the bottom of the Webex tab.
-
Look for the Settings updated. confirmation at the top of the page. If the save fails, an error banner lists the fields that could not be updated.
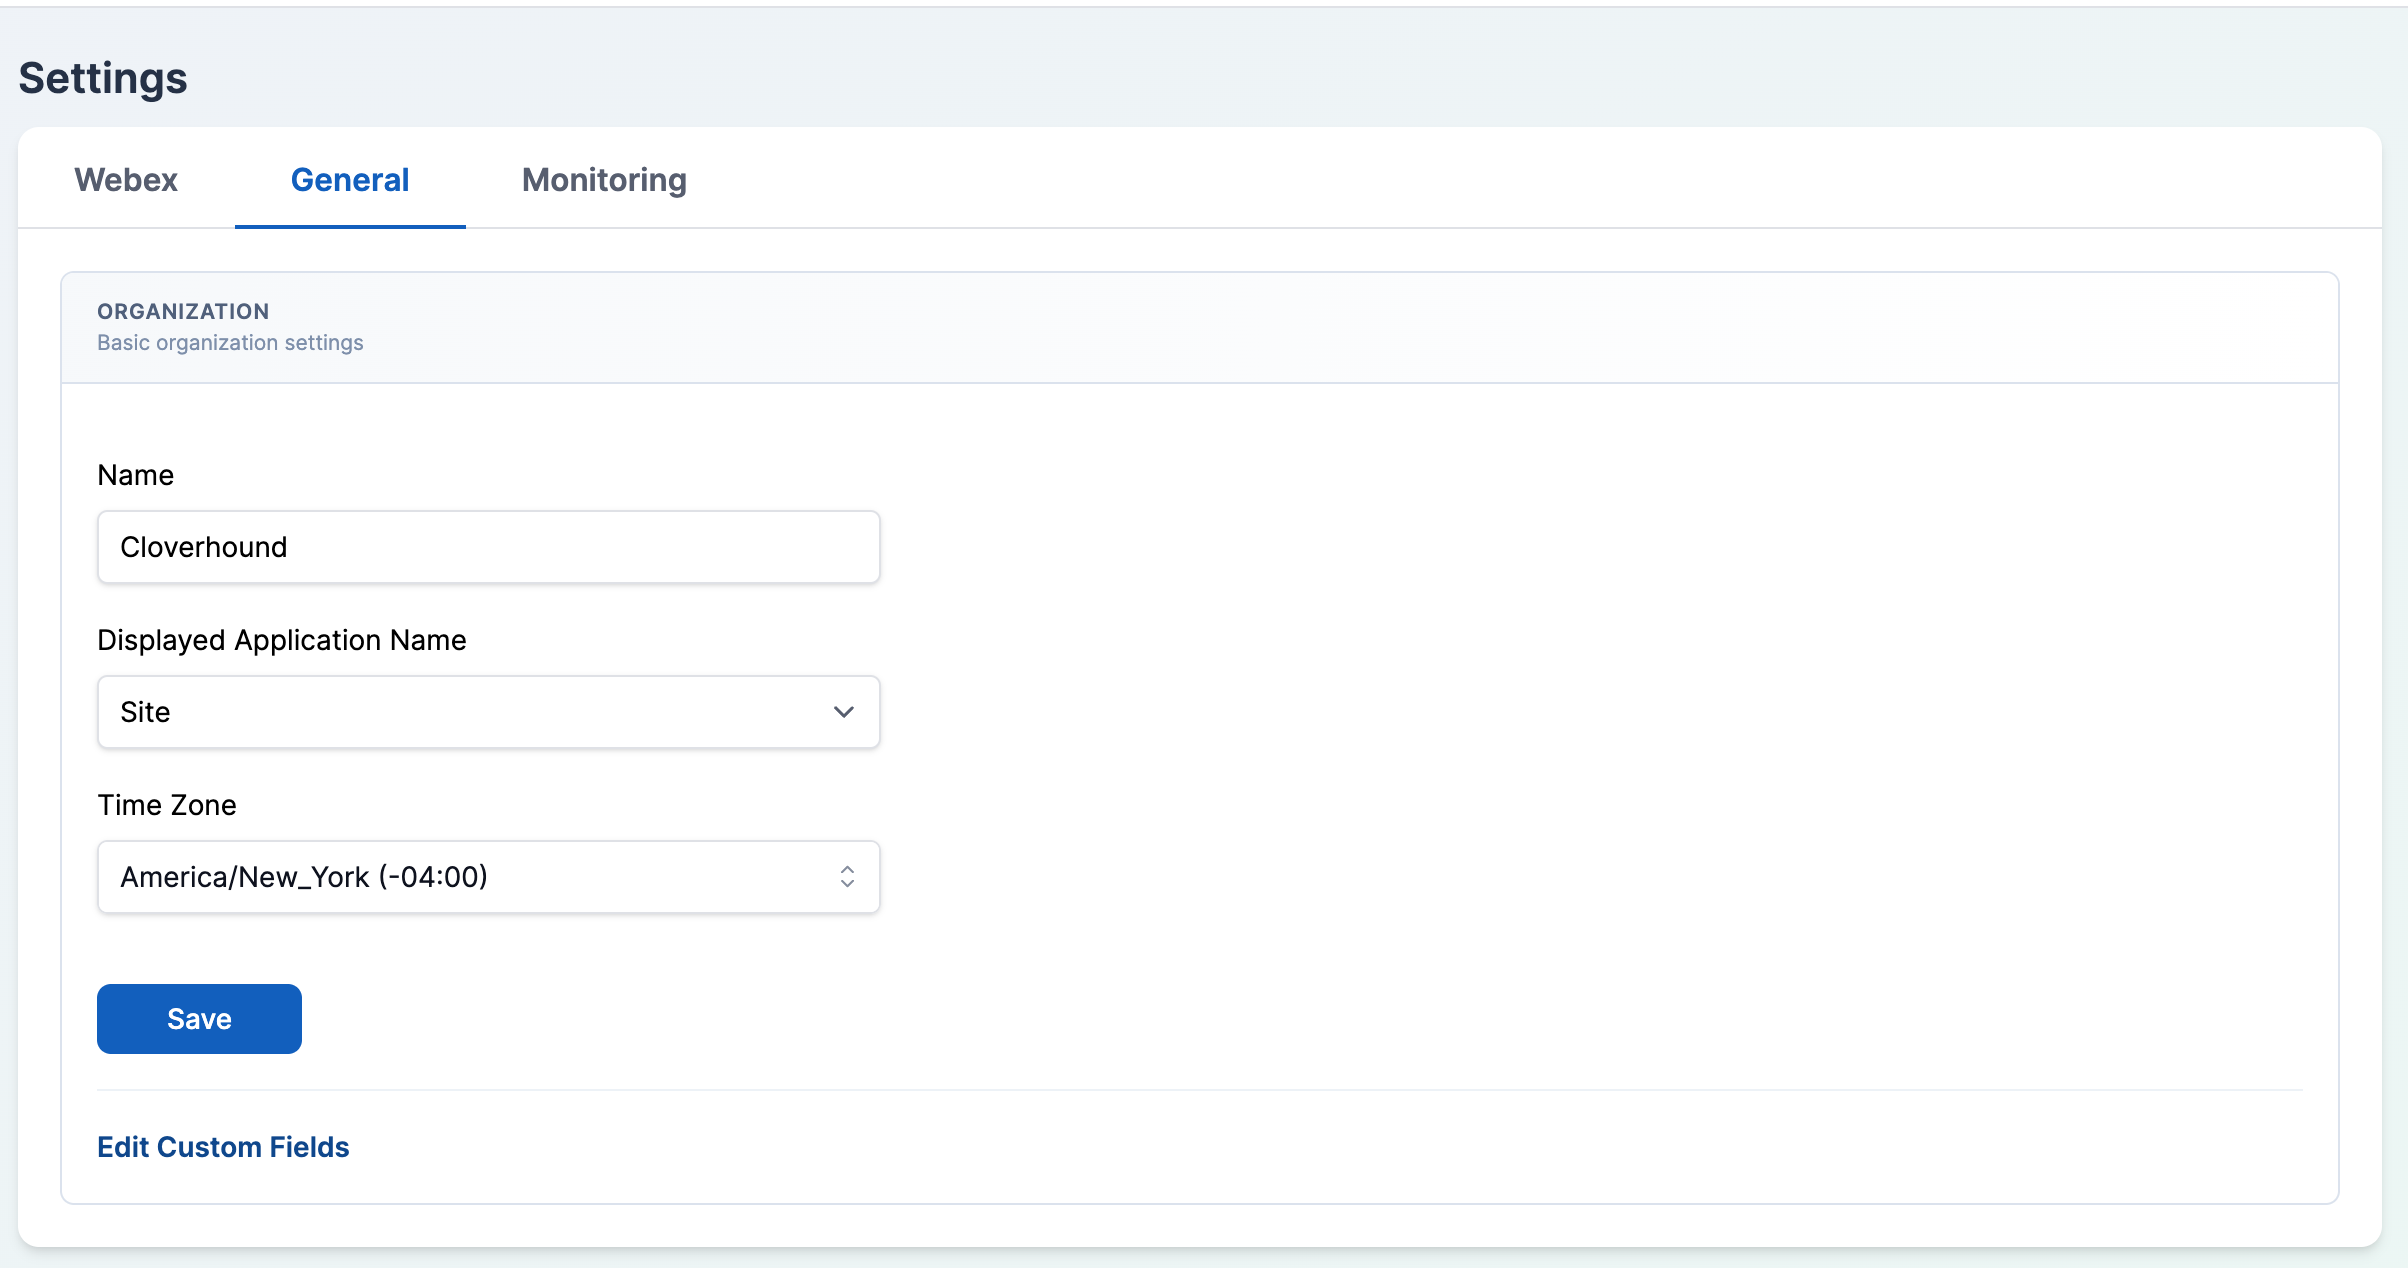
General Tab
The General tab sets organization-wide identifiers used throughout Cloverhound Cloud.
-
Open the General tab.
-
Update the fields:
- Name — your organization's name.
- Displayed Application Name — the label used in place of the default product name in parts of the UI, including entities in the Operations module.
- Time Zone — the organization time zone used by campaign and operations schedules.
-
Click Save.
-
Optional. Click the Edit Custom Fields link to manage organization-level custom fields. See Managing Custom Fields for a full walkthrough.
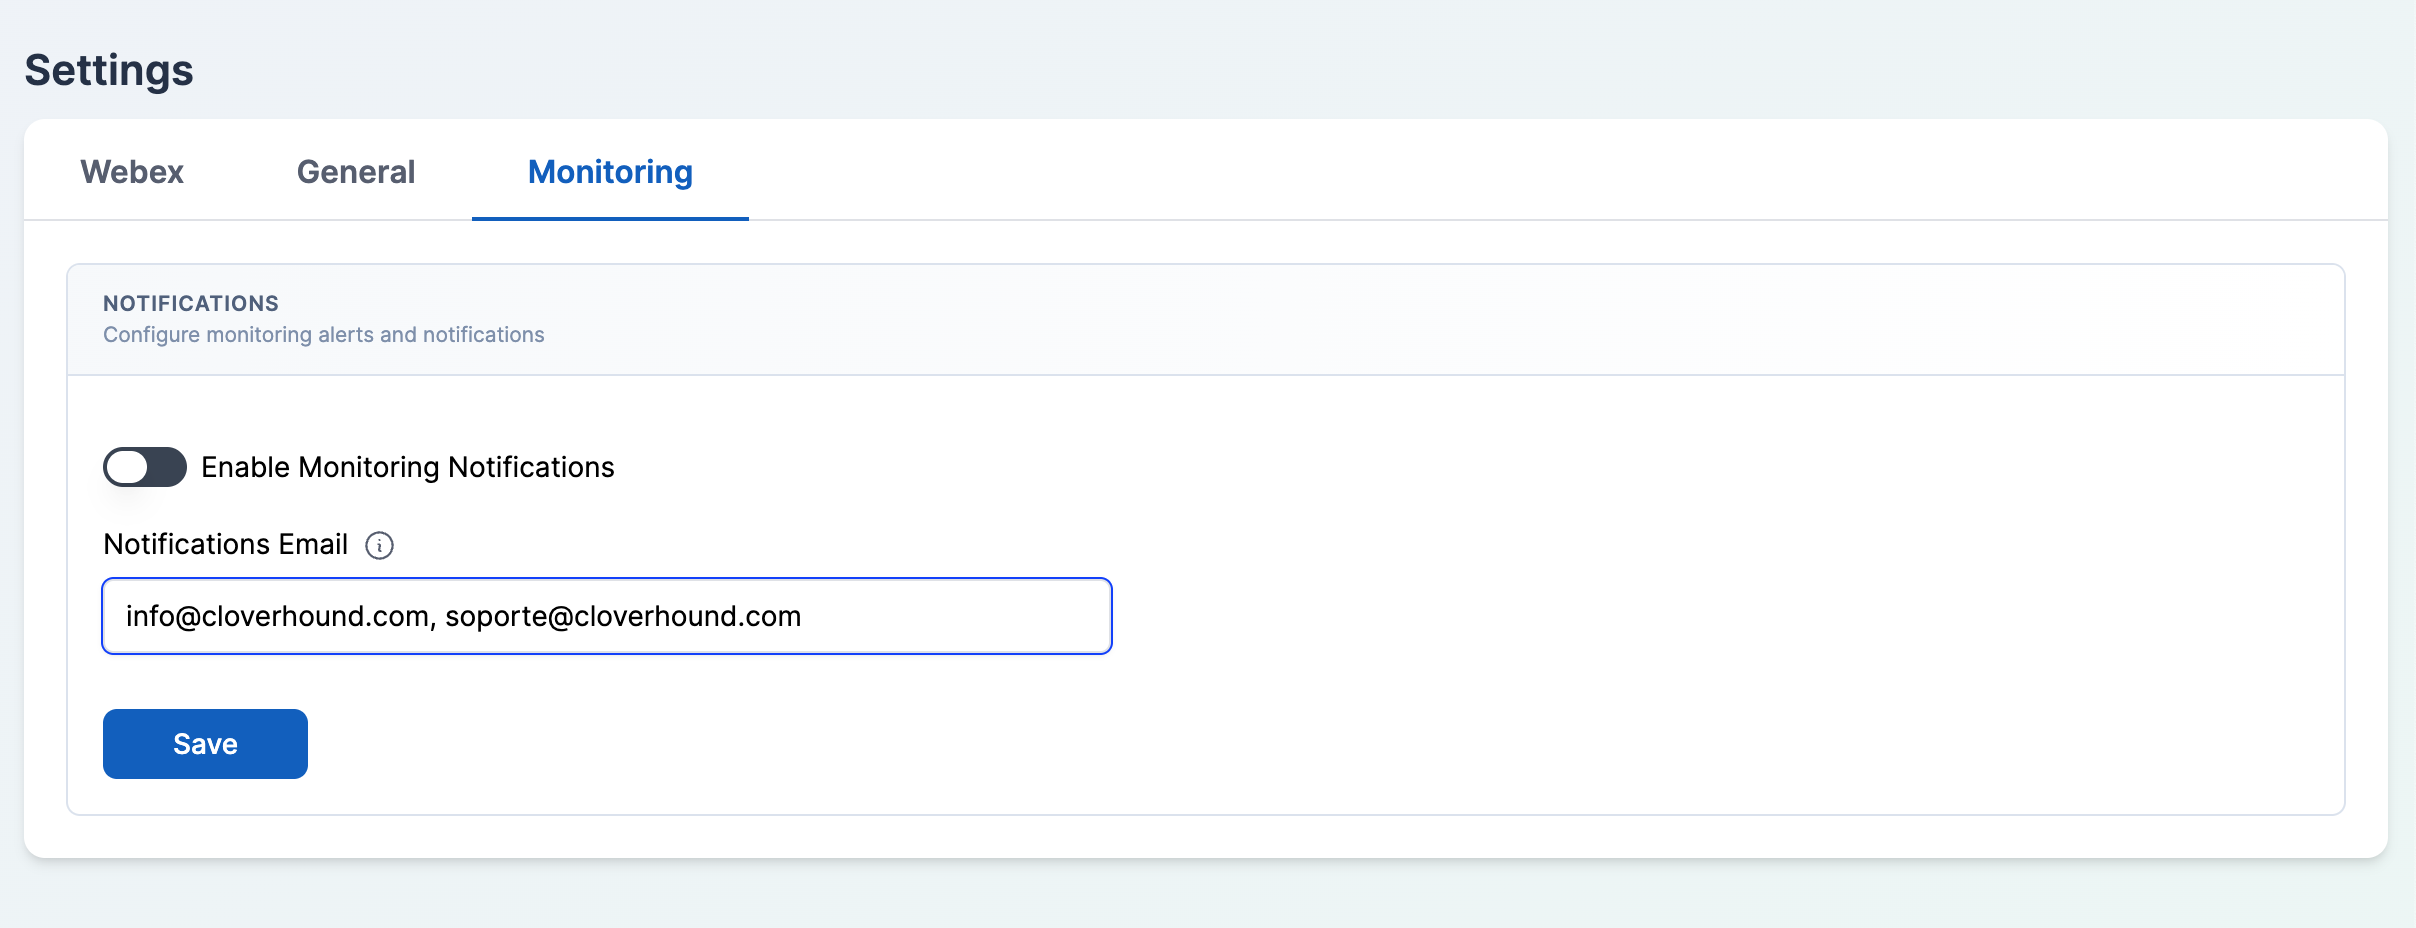
Monitoring Tab
The Monitoring tab appears only when the Monitoring module is enabled. It controls whether Cloverhound Cloud sends alerts for monitoring events and where those alerts go.
-
Open the Monitoring tab.
-
Toggle Enable Monitoring Notifications on to receive alerts.
-
Enter one or more addresses in the Notifications Email field. Separate multiple addresses with commas.
-
Click Save.
You can now configure your Webex integration, organization identity, and monitoring notifications from a single Settings page.