Intro to Security Groups
Security groups bundle resources and supervisors together so that a supervisor only sees the data for the resources in their group. If your organization has supervisors who should only see a subset of end users, virtual lines, queues, or campaigns, you use security groups to scope that access.
Security groups live under the Admin module at Security Groups. Only organization administrators can create, edit, or delete them. See User Management for how the Supervisor permission level interacts with security groups.
How Security Groups Work
Each security group has a name, a description, and a set of assigned resources and supervisors. A user whose permission level is Supervisor can be attached to one or more security groups. When that supervisor signs in, Analytics and Campaigns filter themselves to only the resources assigned to their groups.
There are two kinds of supervisors:
- Global supervisor — a supervisor that is not tied to any security group. They see every resource in the organization.
- Group supervisor — a supervisor attached to one or more security groups. They only see the resources assigned to those groups.
The resource types that can be assigned to a security group are:
- End users
- Virtual lines
- Auto attendants
- Call queues
- Hunt groups
- Workspaces
- Dialer campaigns
- Holiday lists
- Schedules
A resource can belong to at most one security group at a time. Adding a resource that is already in another group moves it to the new group.
Accessing Security Groups
-
Navigate to the Admin module.
-
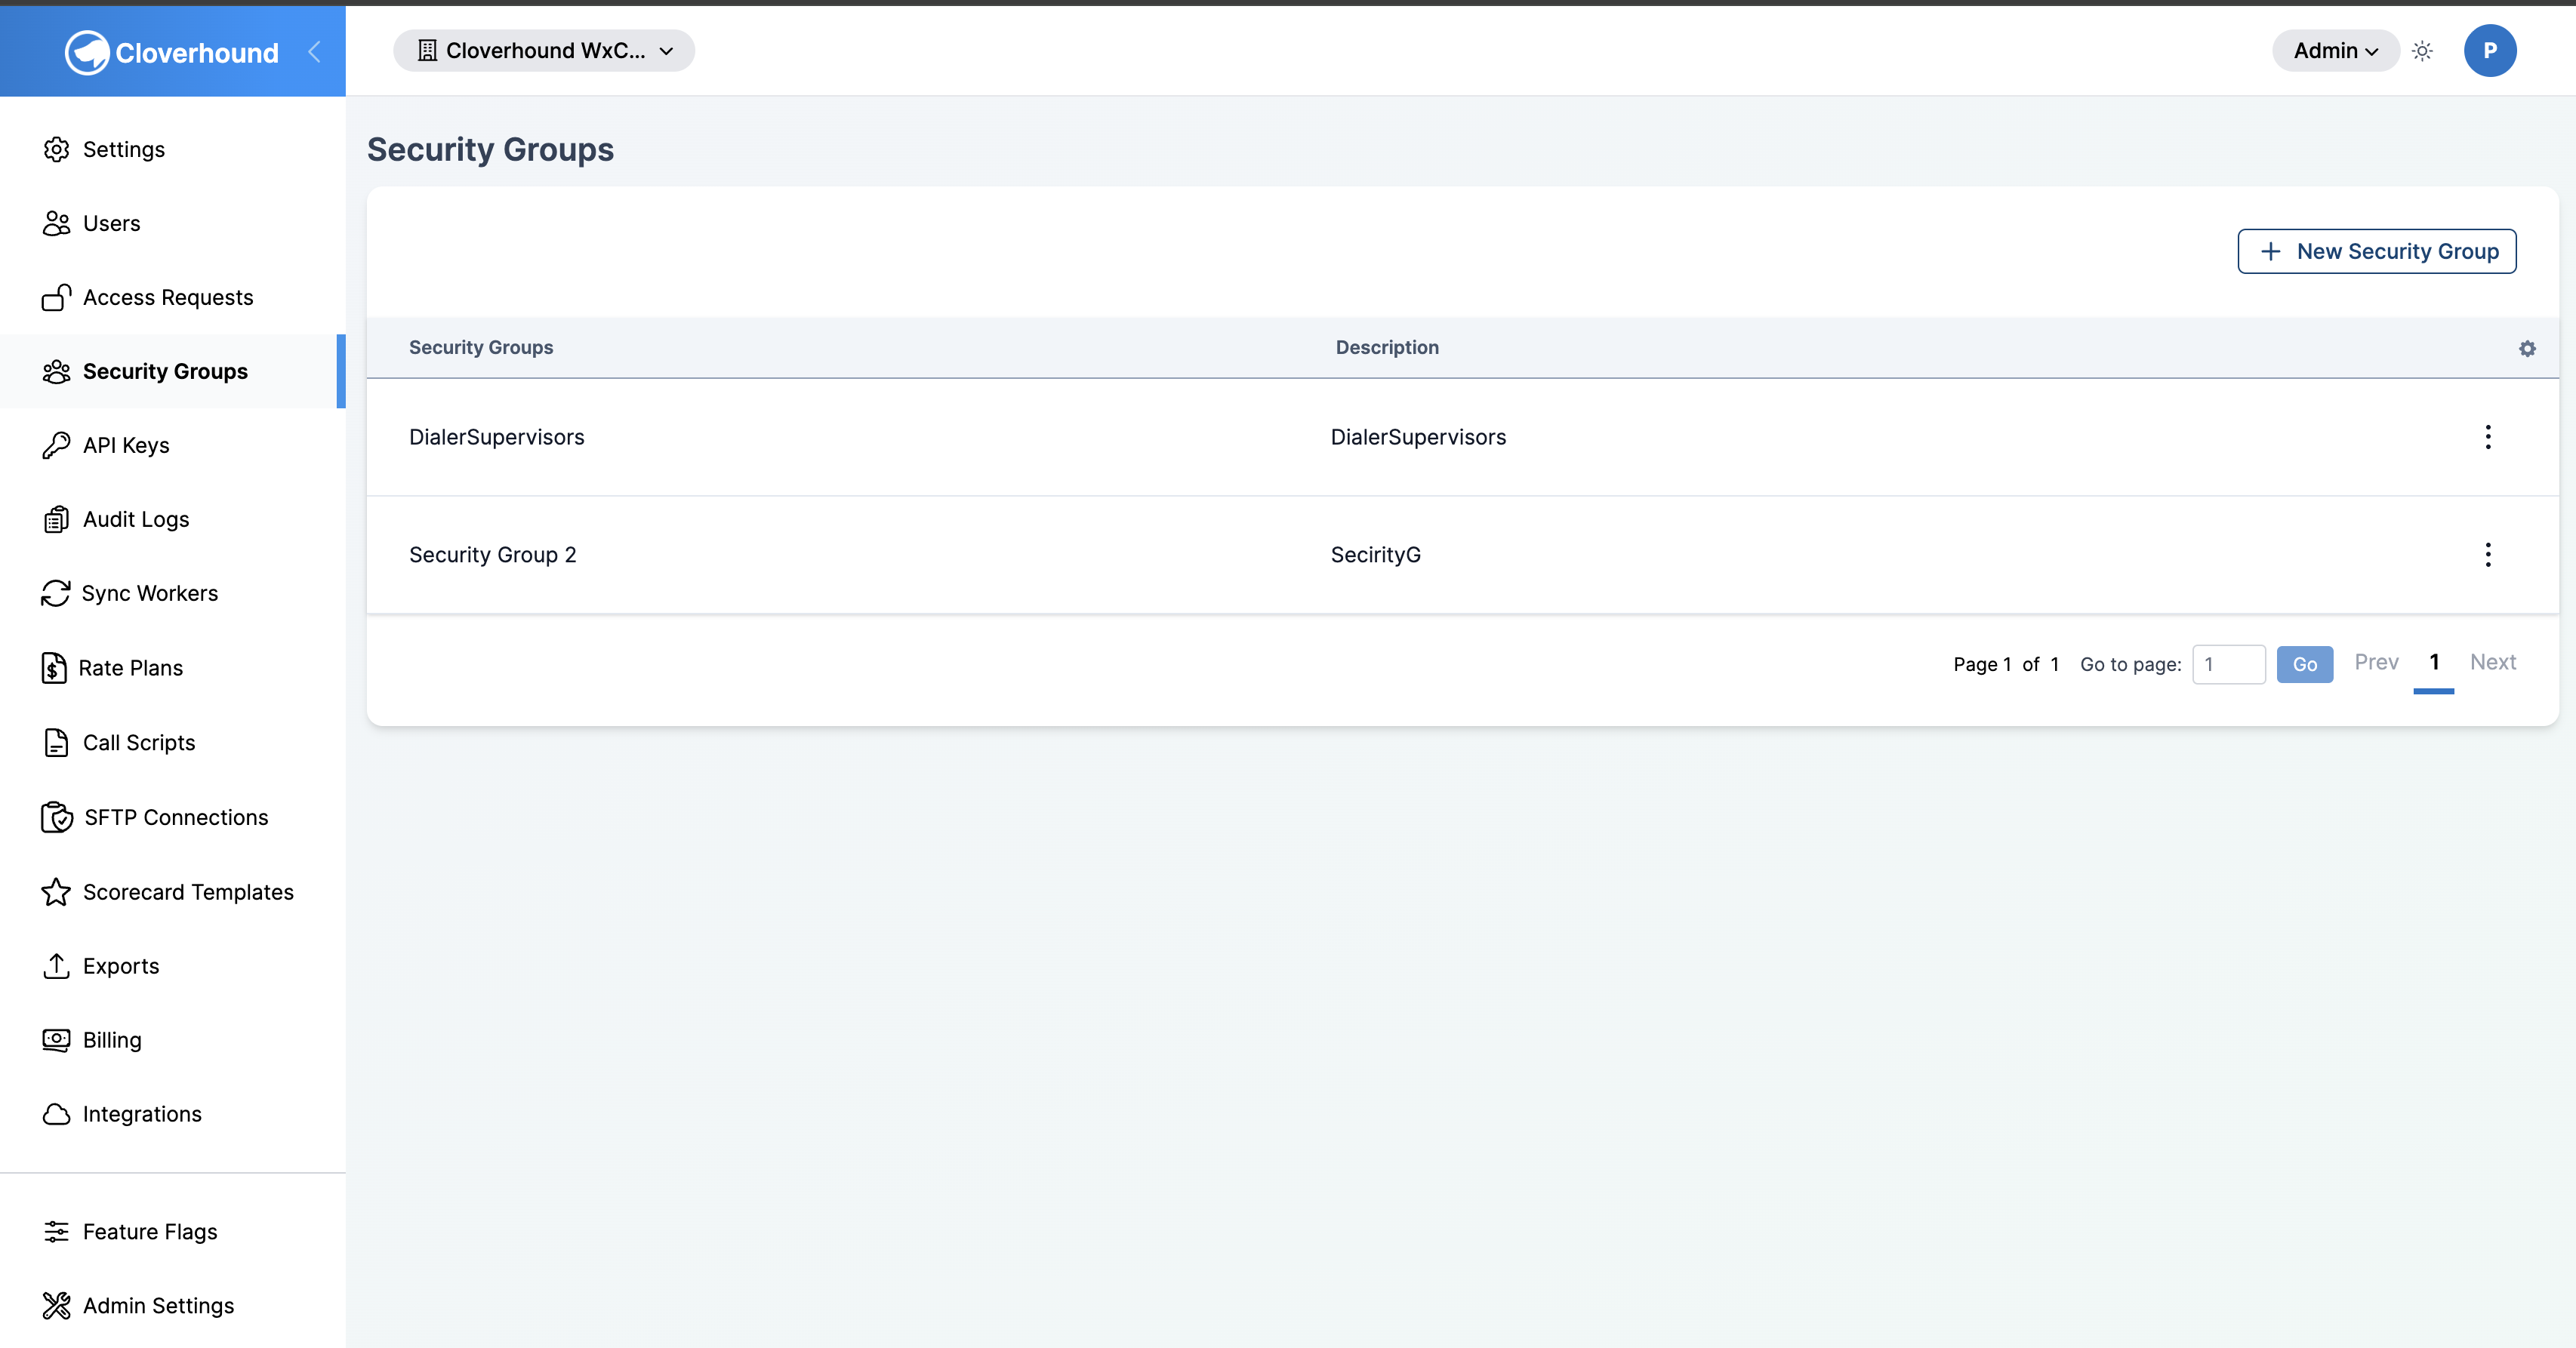
Open the Security Groups page. You see a table of every security group in your organization, with name, description, and an actions menu.
Creating a Security Group
-
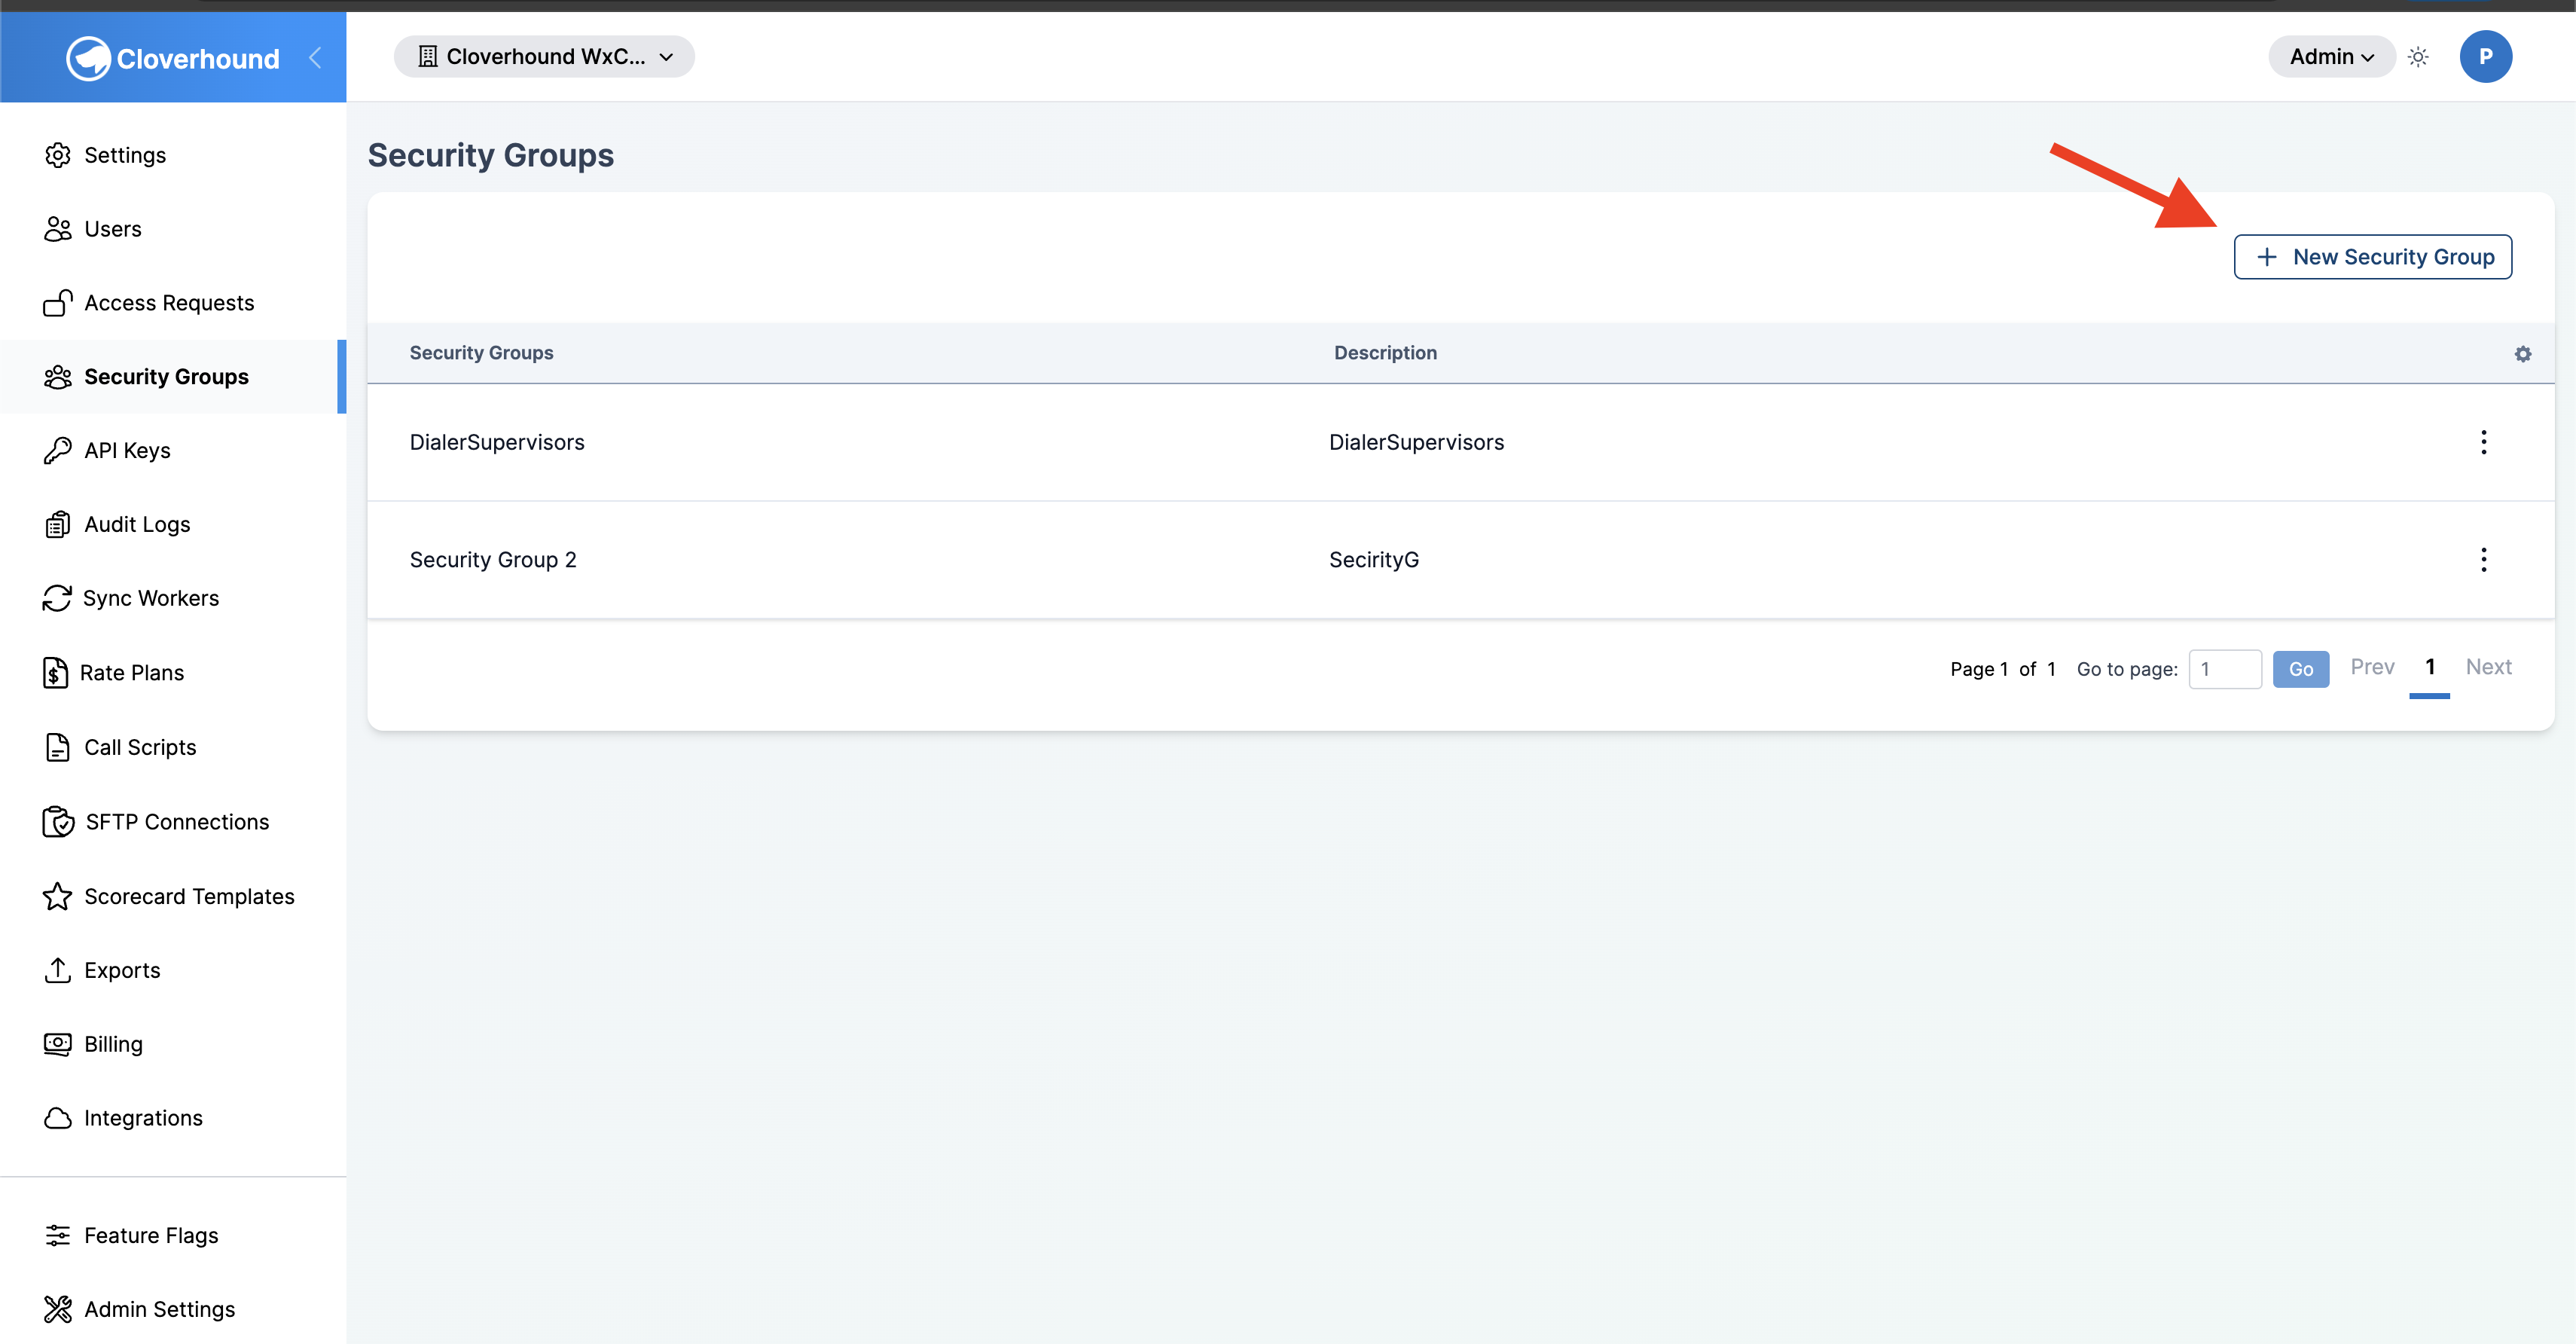
Click the New Security Group button at the top right of the Security Groups page.
-
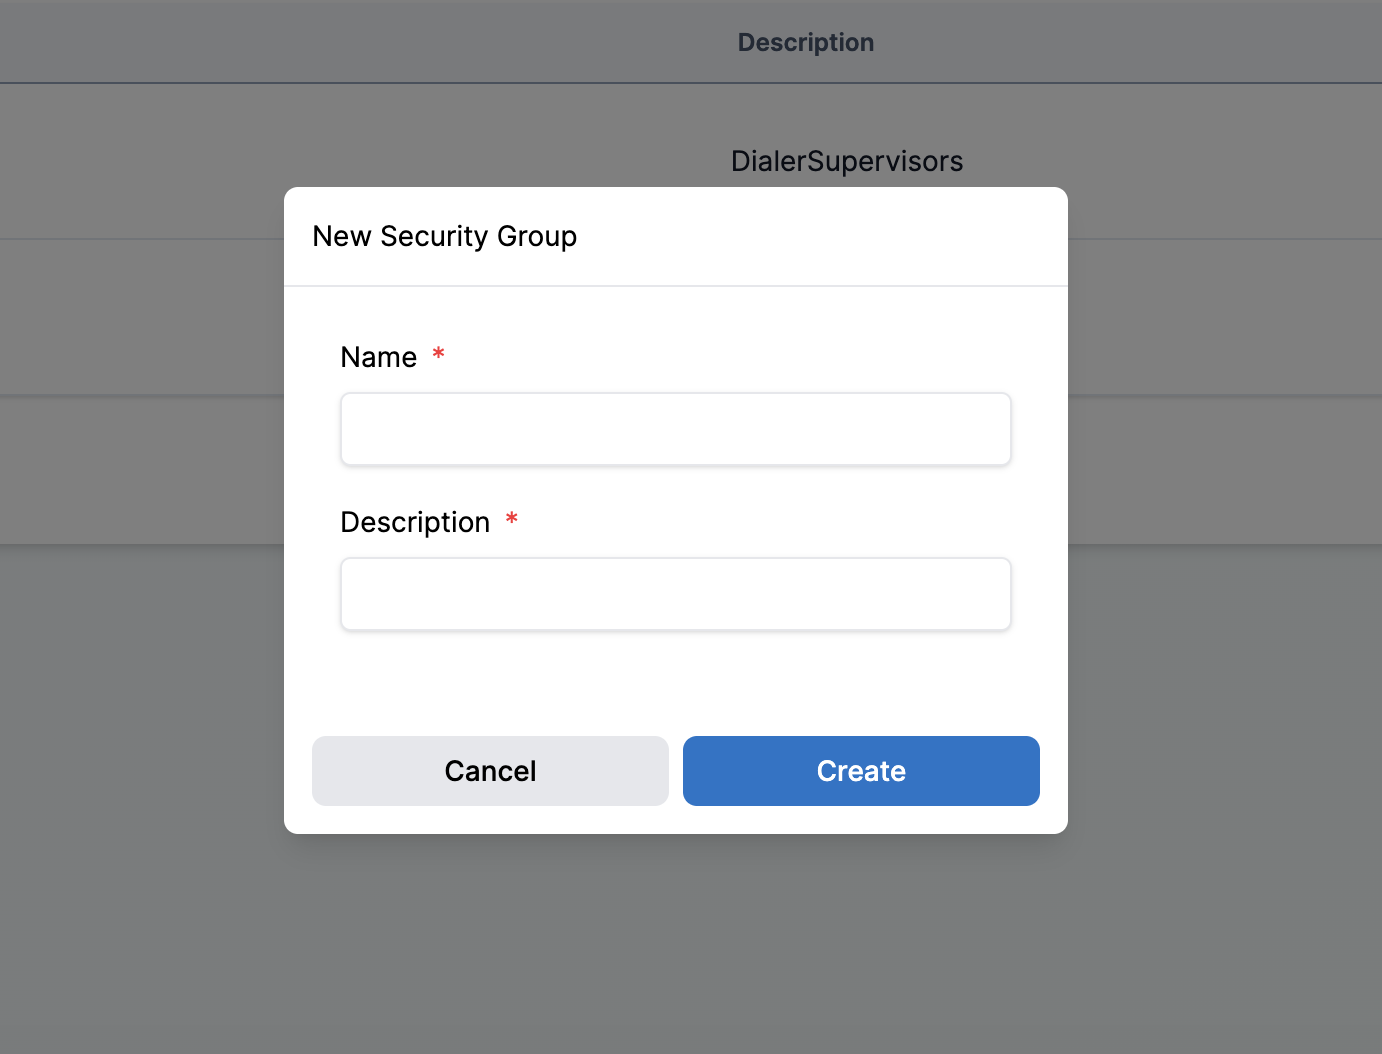
Fill out the form:
- Name — required. Between 2 and 35 characters. Must be unique within the group hierarchy.
- Description — required. Between 3 and 300 characters.
-
Click Save. The new group appears in the table.
Assigning Members and Resources
Members and resources are managed from the group's Assignments page.
-
Click the kebab menu on the right of a group's row and choose Assignments.

-
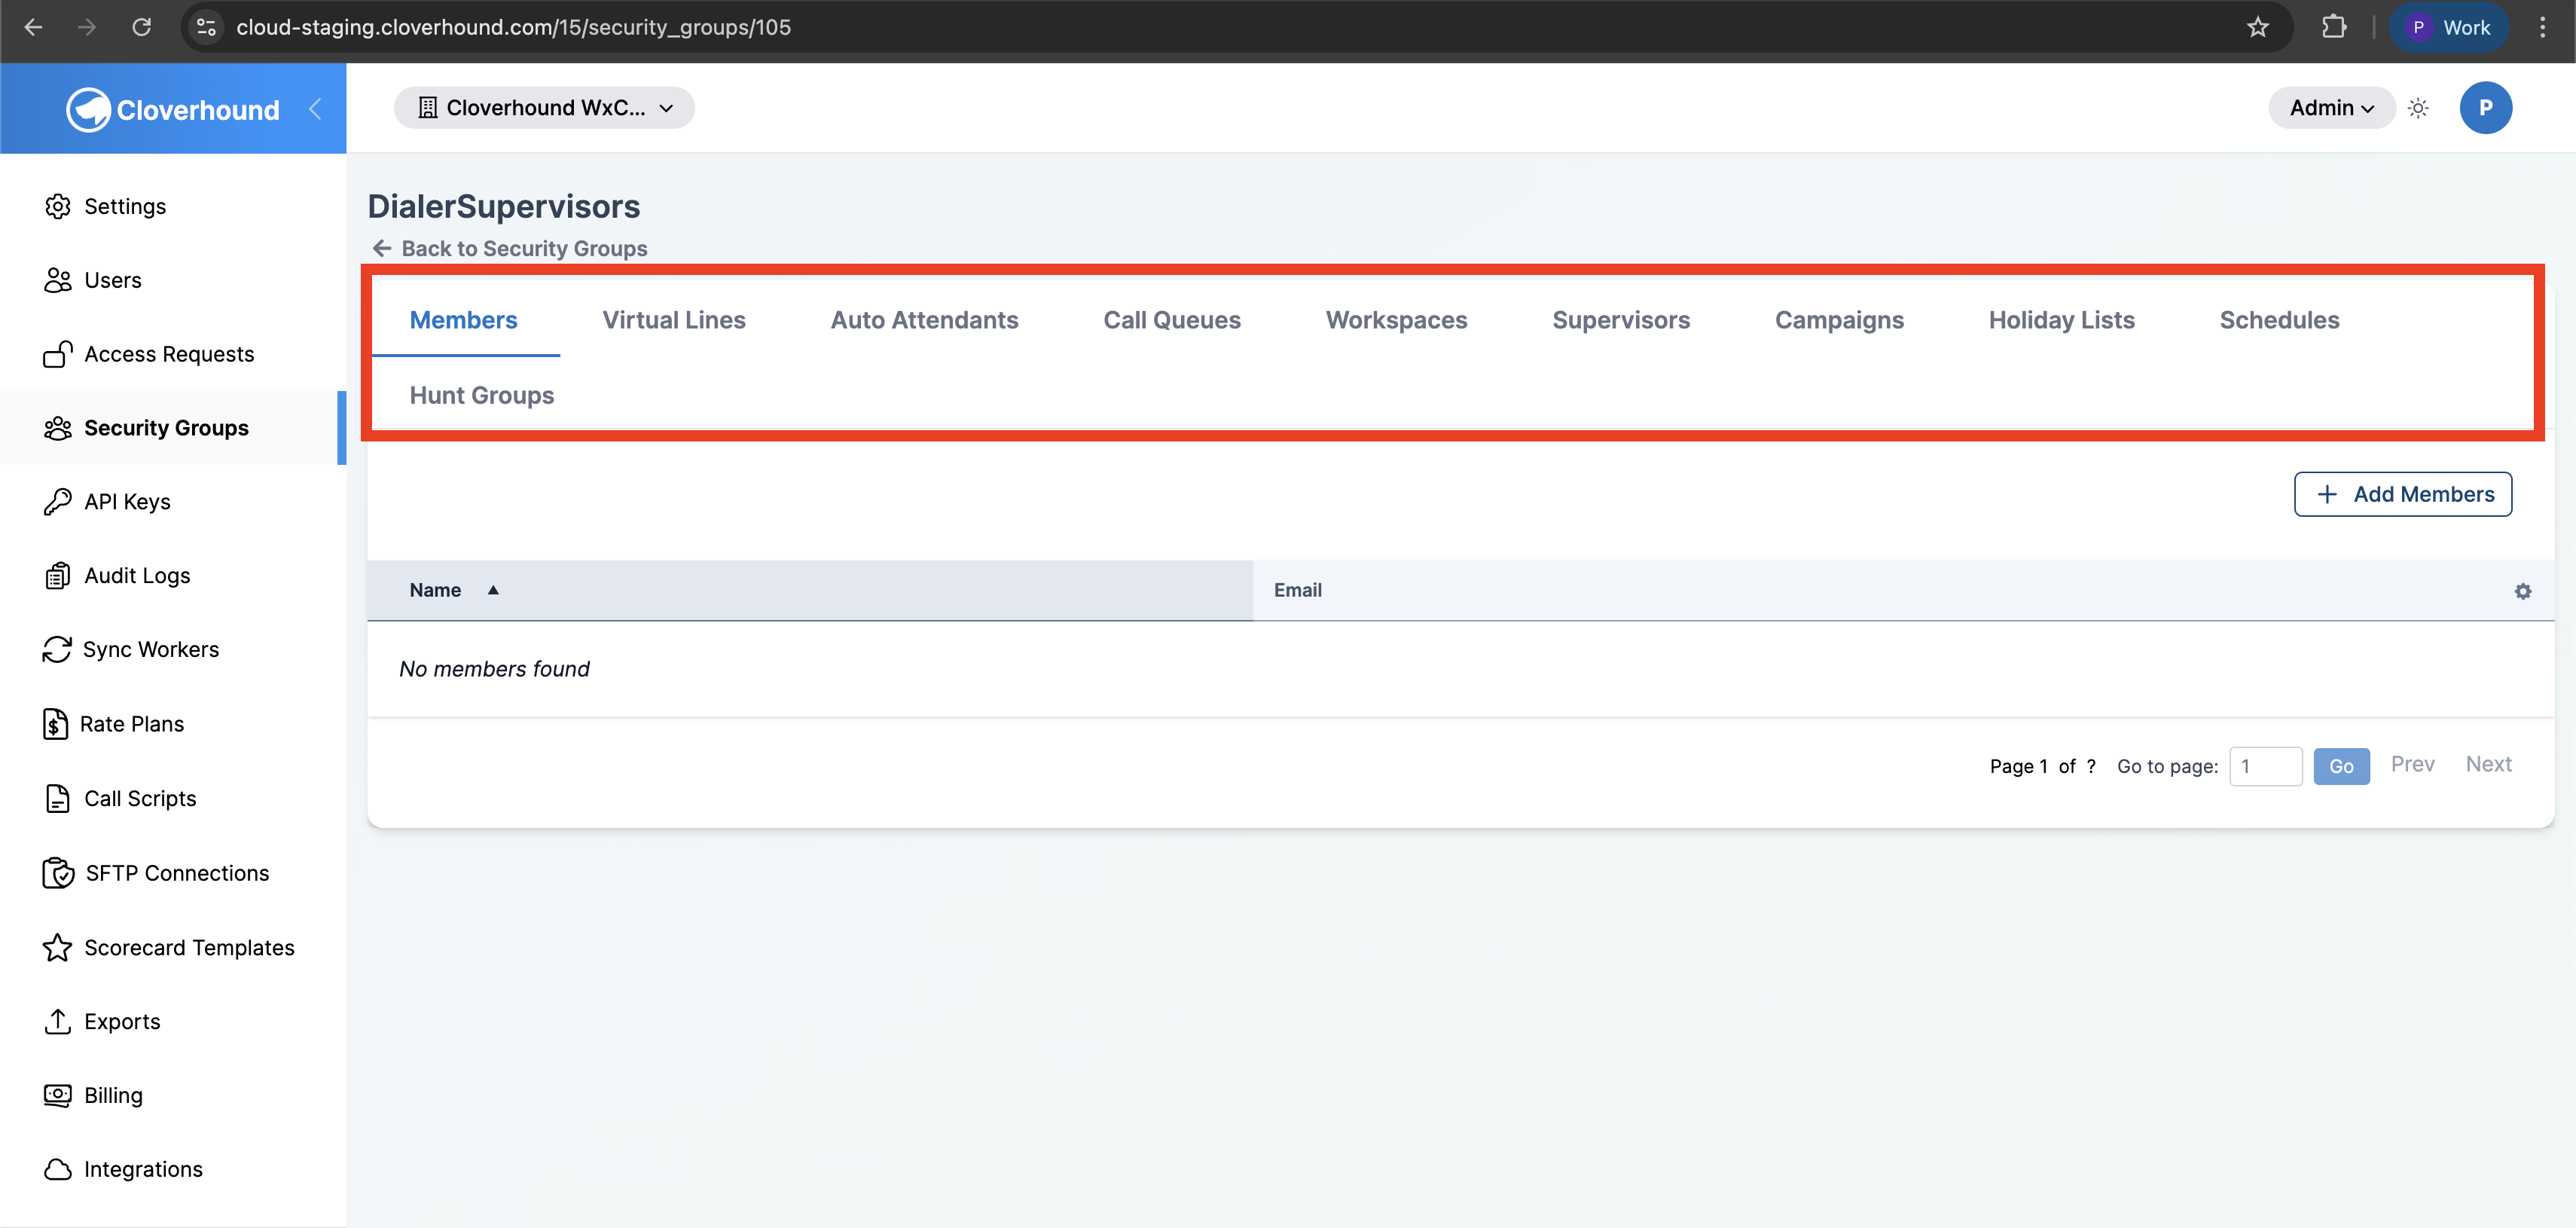
The Assignments page has one tab per resource type: Members (end users), Virtual Lines, Auto Attendants, Call Queues, Workspaces, Supervisors, Campaigns, Holiday Lists, Schedules, and Hunt Groups.
-
Open the tab for the resource type you want to add.
-
Click the Add button at the top right (the label matches the tab, for example Add Members or Add Call Queues).
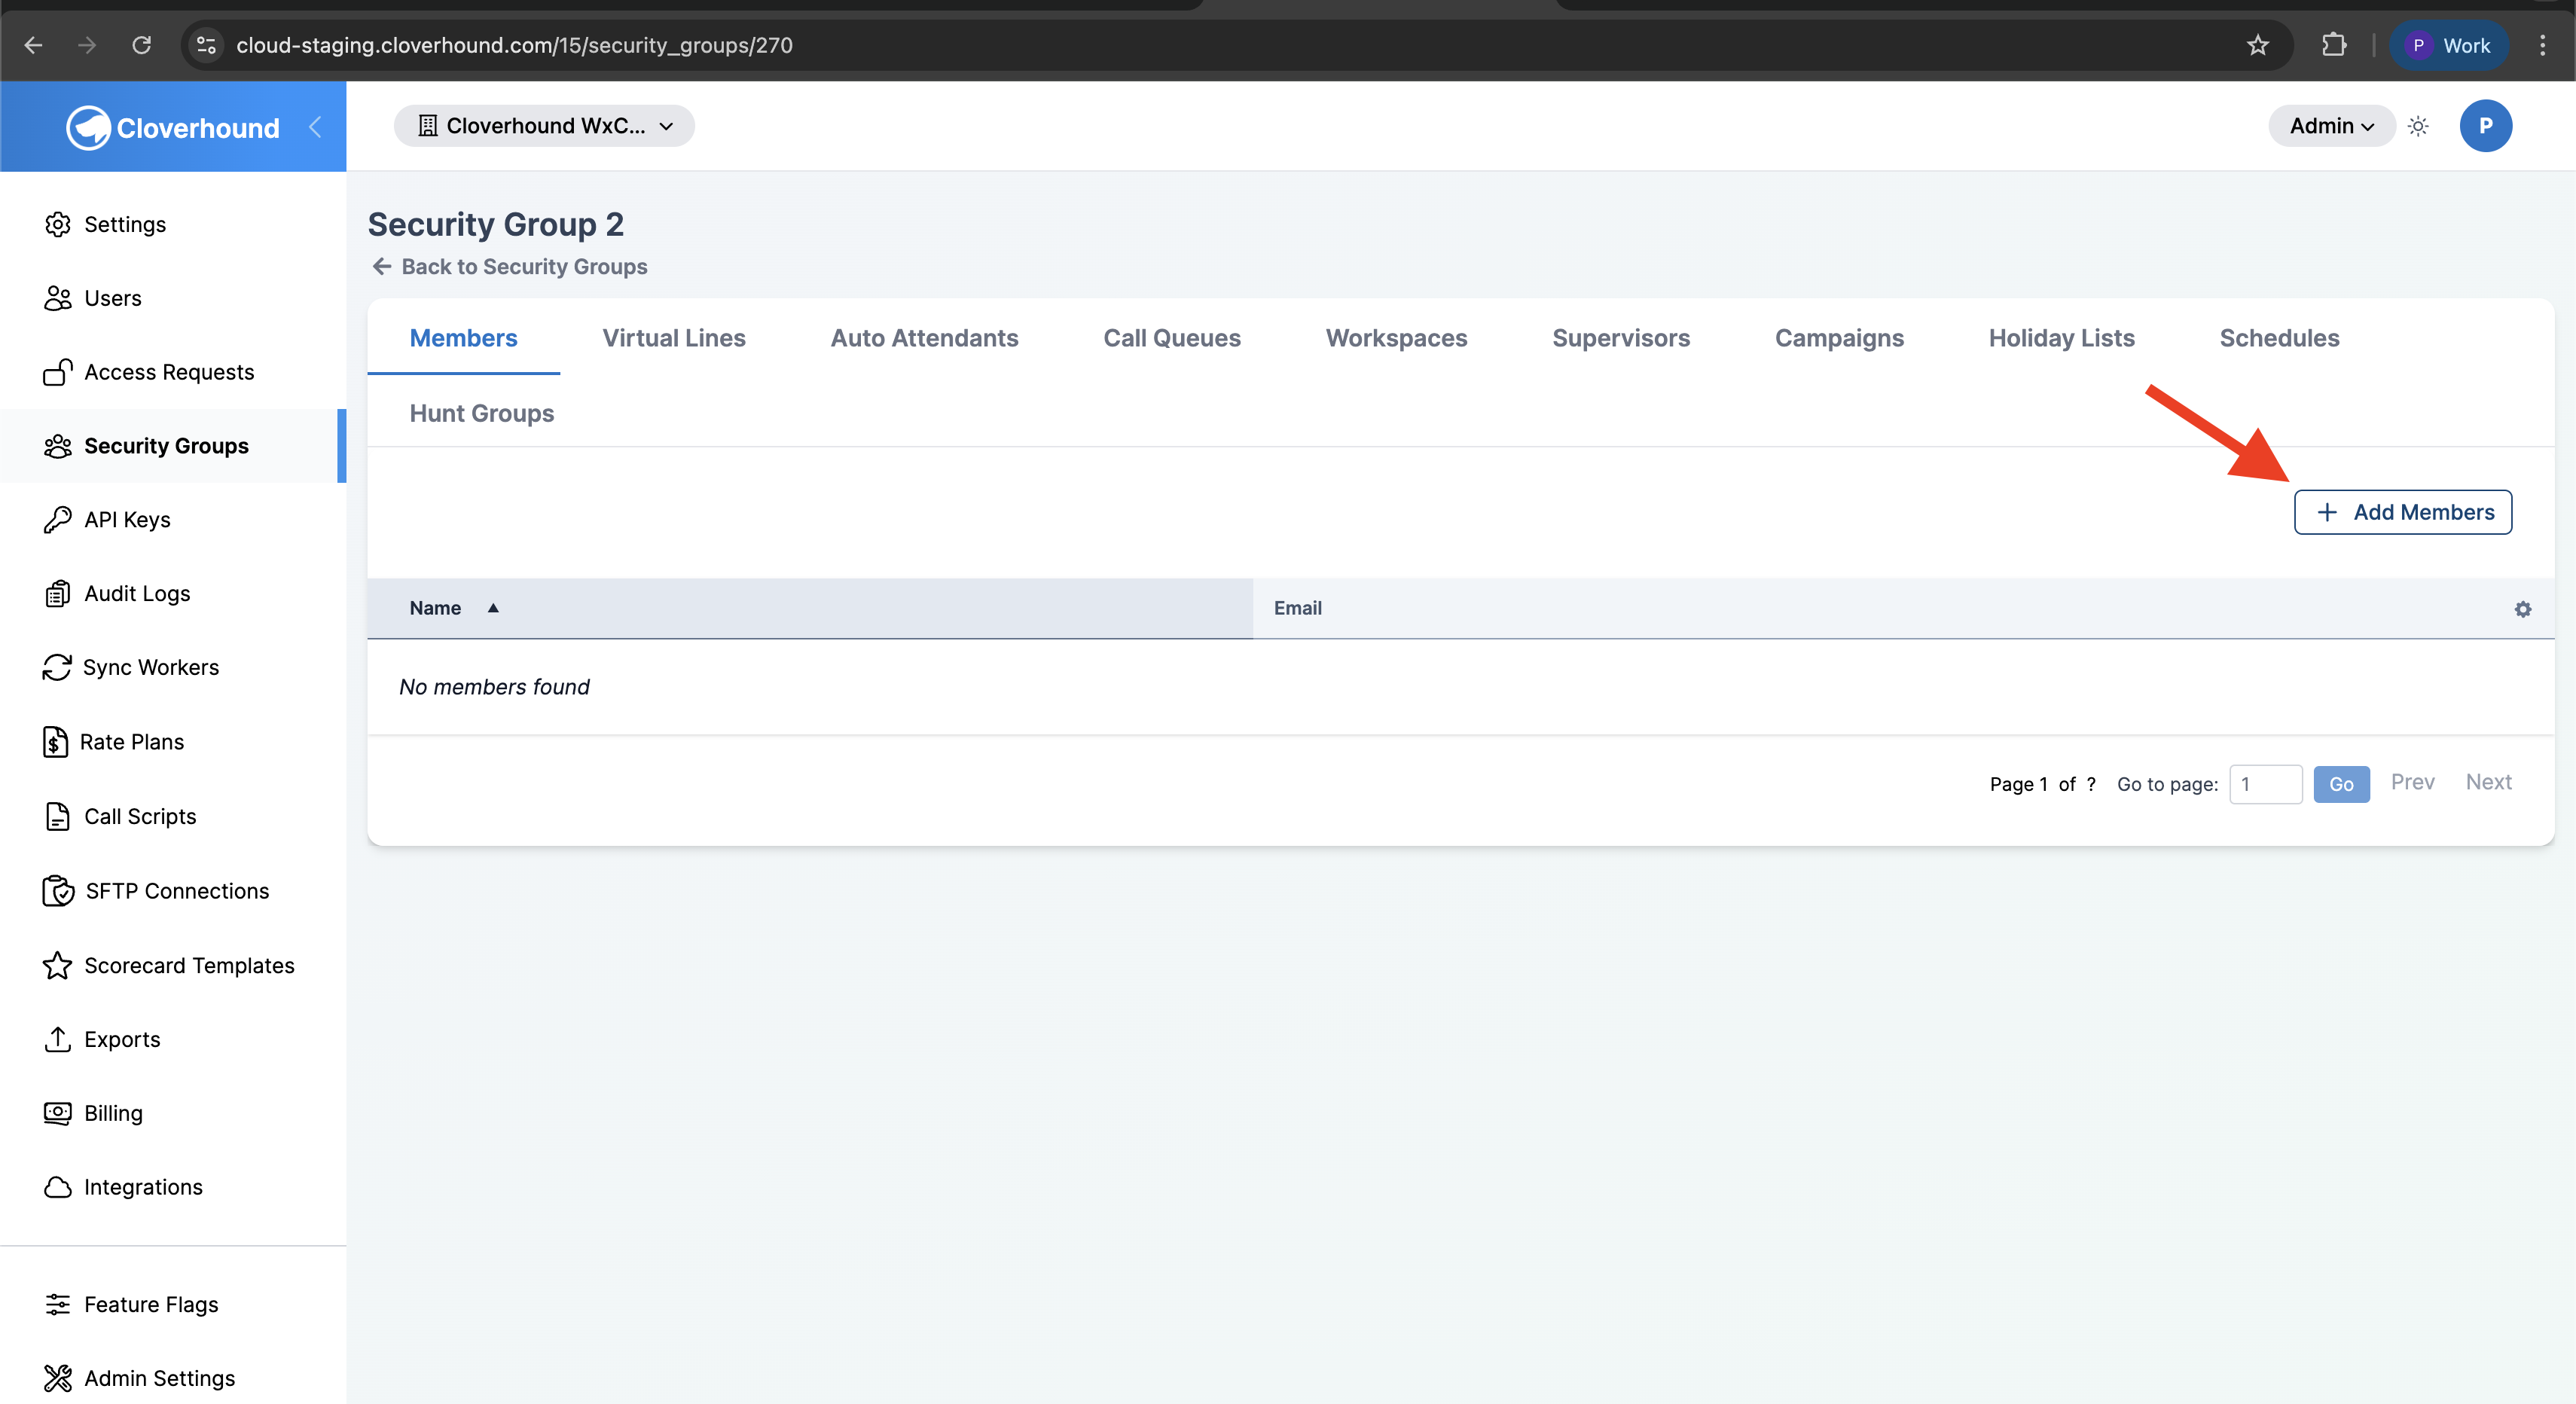
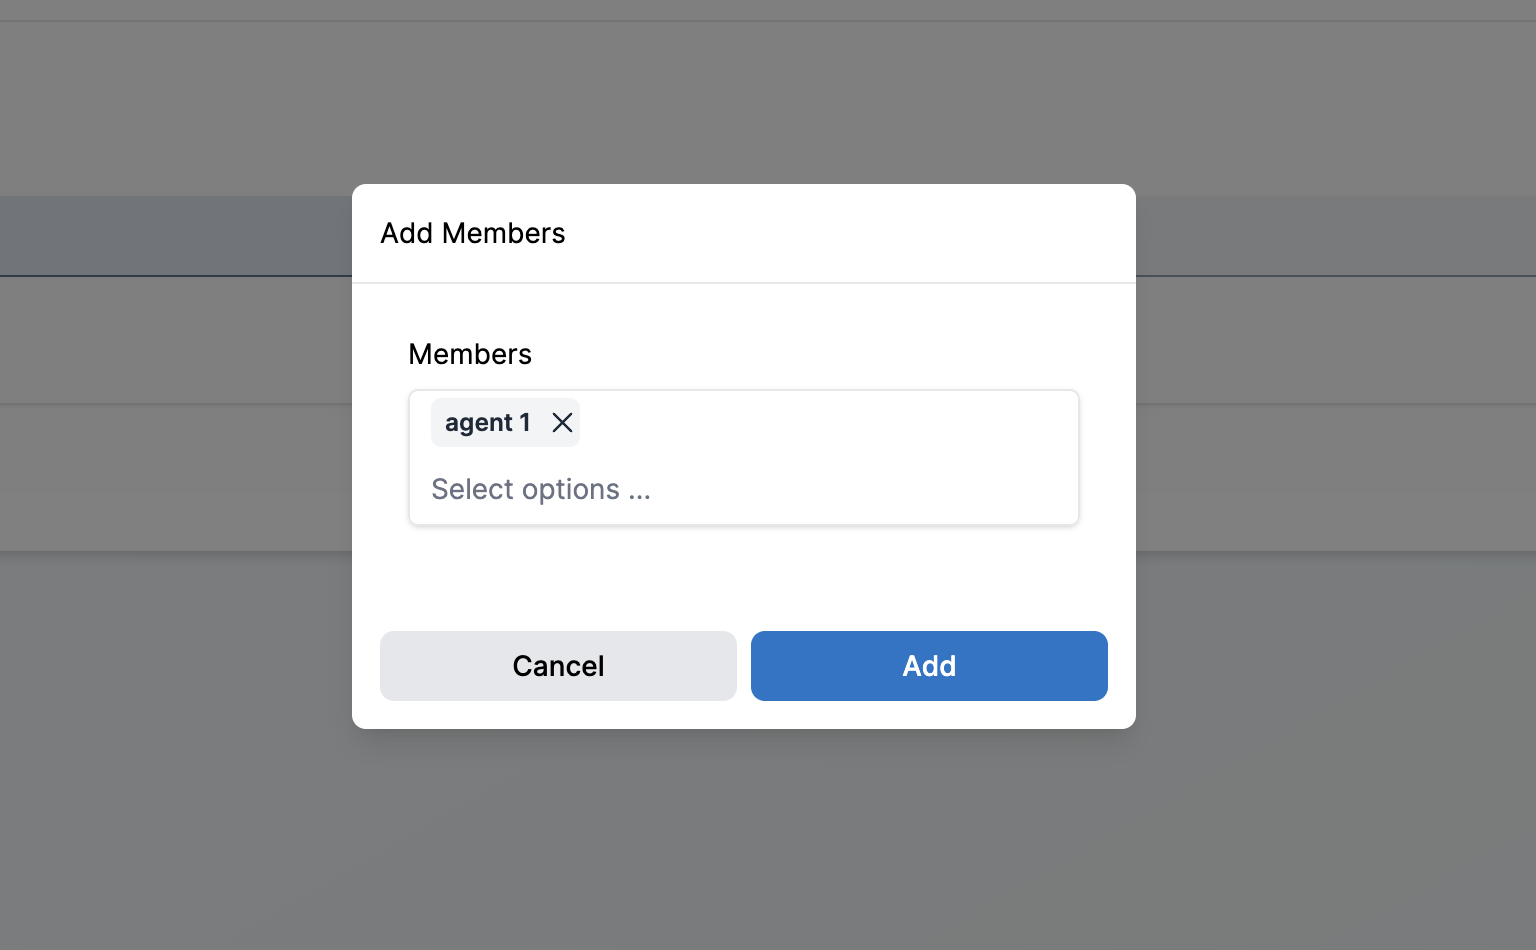
-
Select one or more resources from the multi-select dropdown, then click Add.
Assigning Supervisors
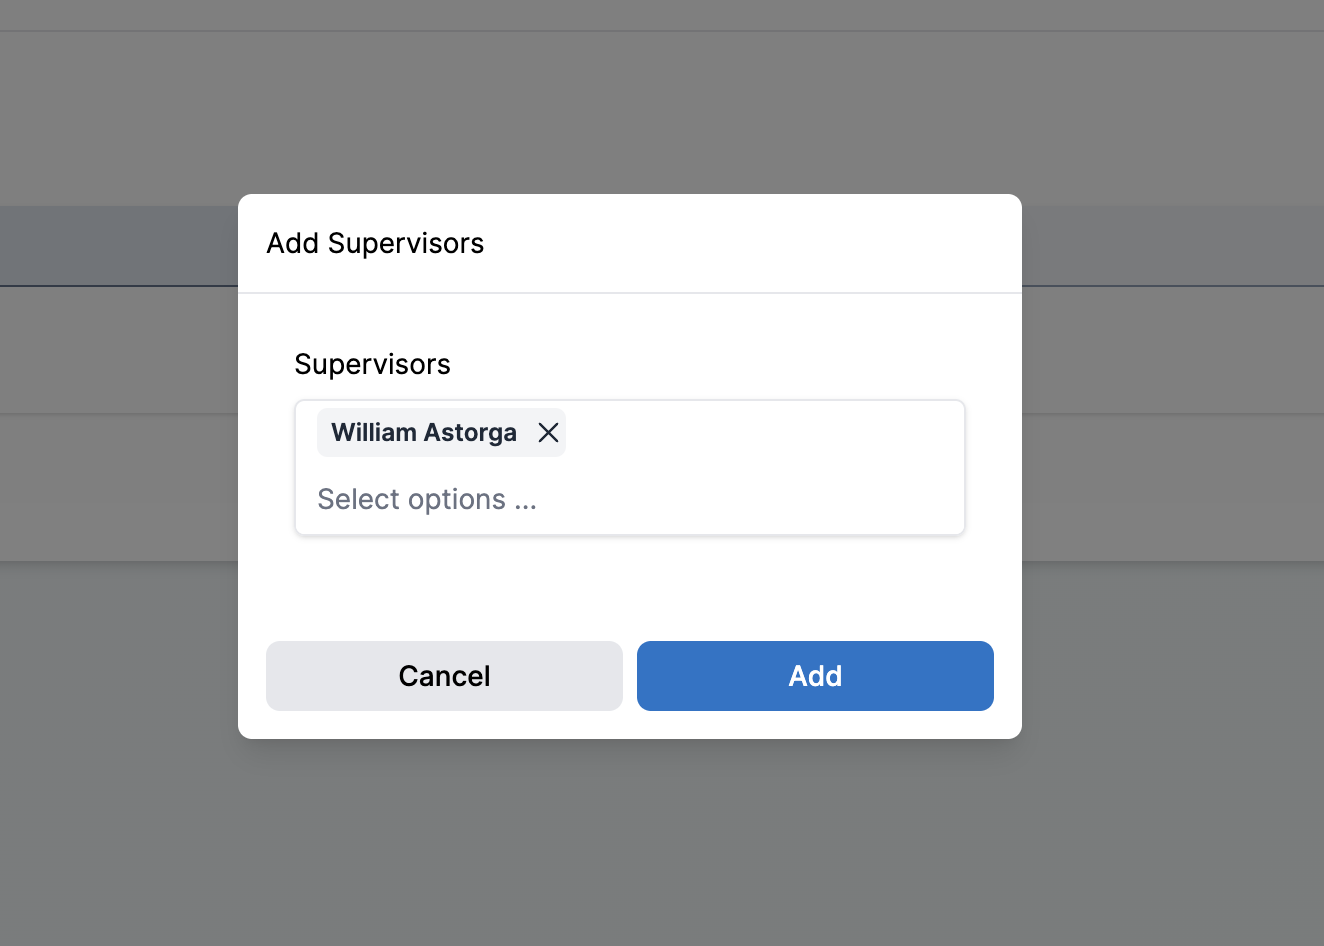
The Supervisors tab works the same way, with one extra rule. Only users who are already group-scoped supervisors can be added. Organization administrators and global supervisors are skipped because their access is already broader than any group.
-
Open the Supervisors tab.
-
Click Add Supervisors.
-
Pick one or more users from the dropdown and click Add.
To make a user a supervisor in the first place, set their permission level to Supervisor on the Users page. See User Management.
Removing Members or Resources
-
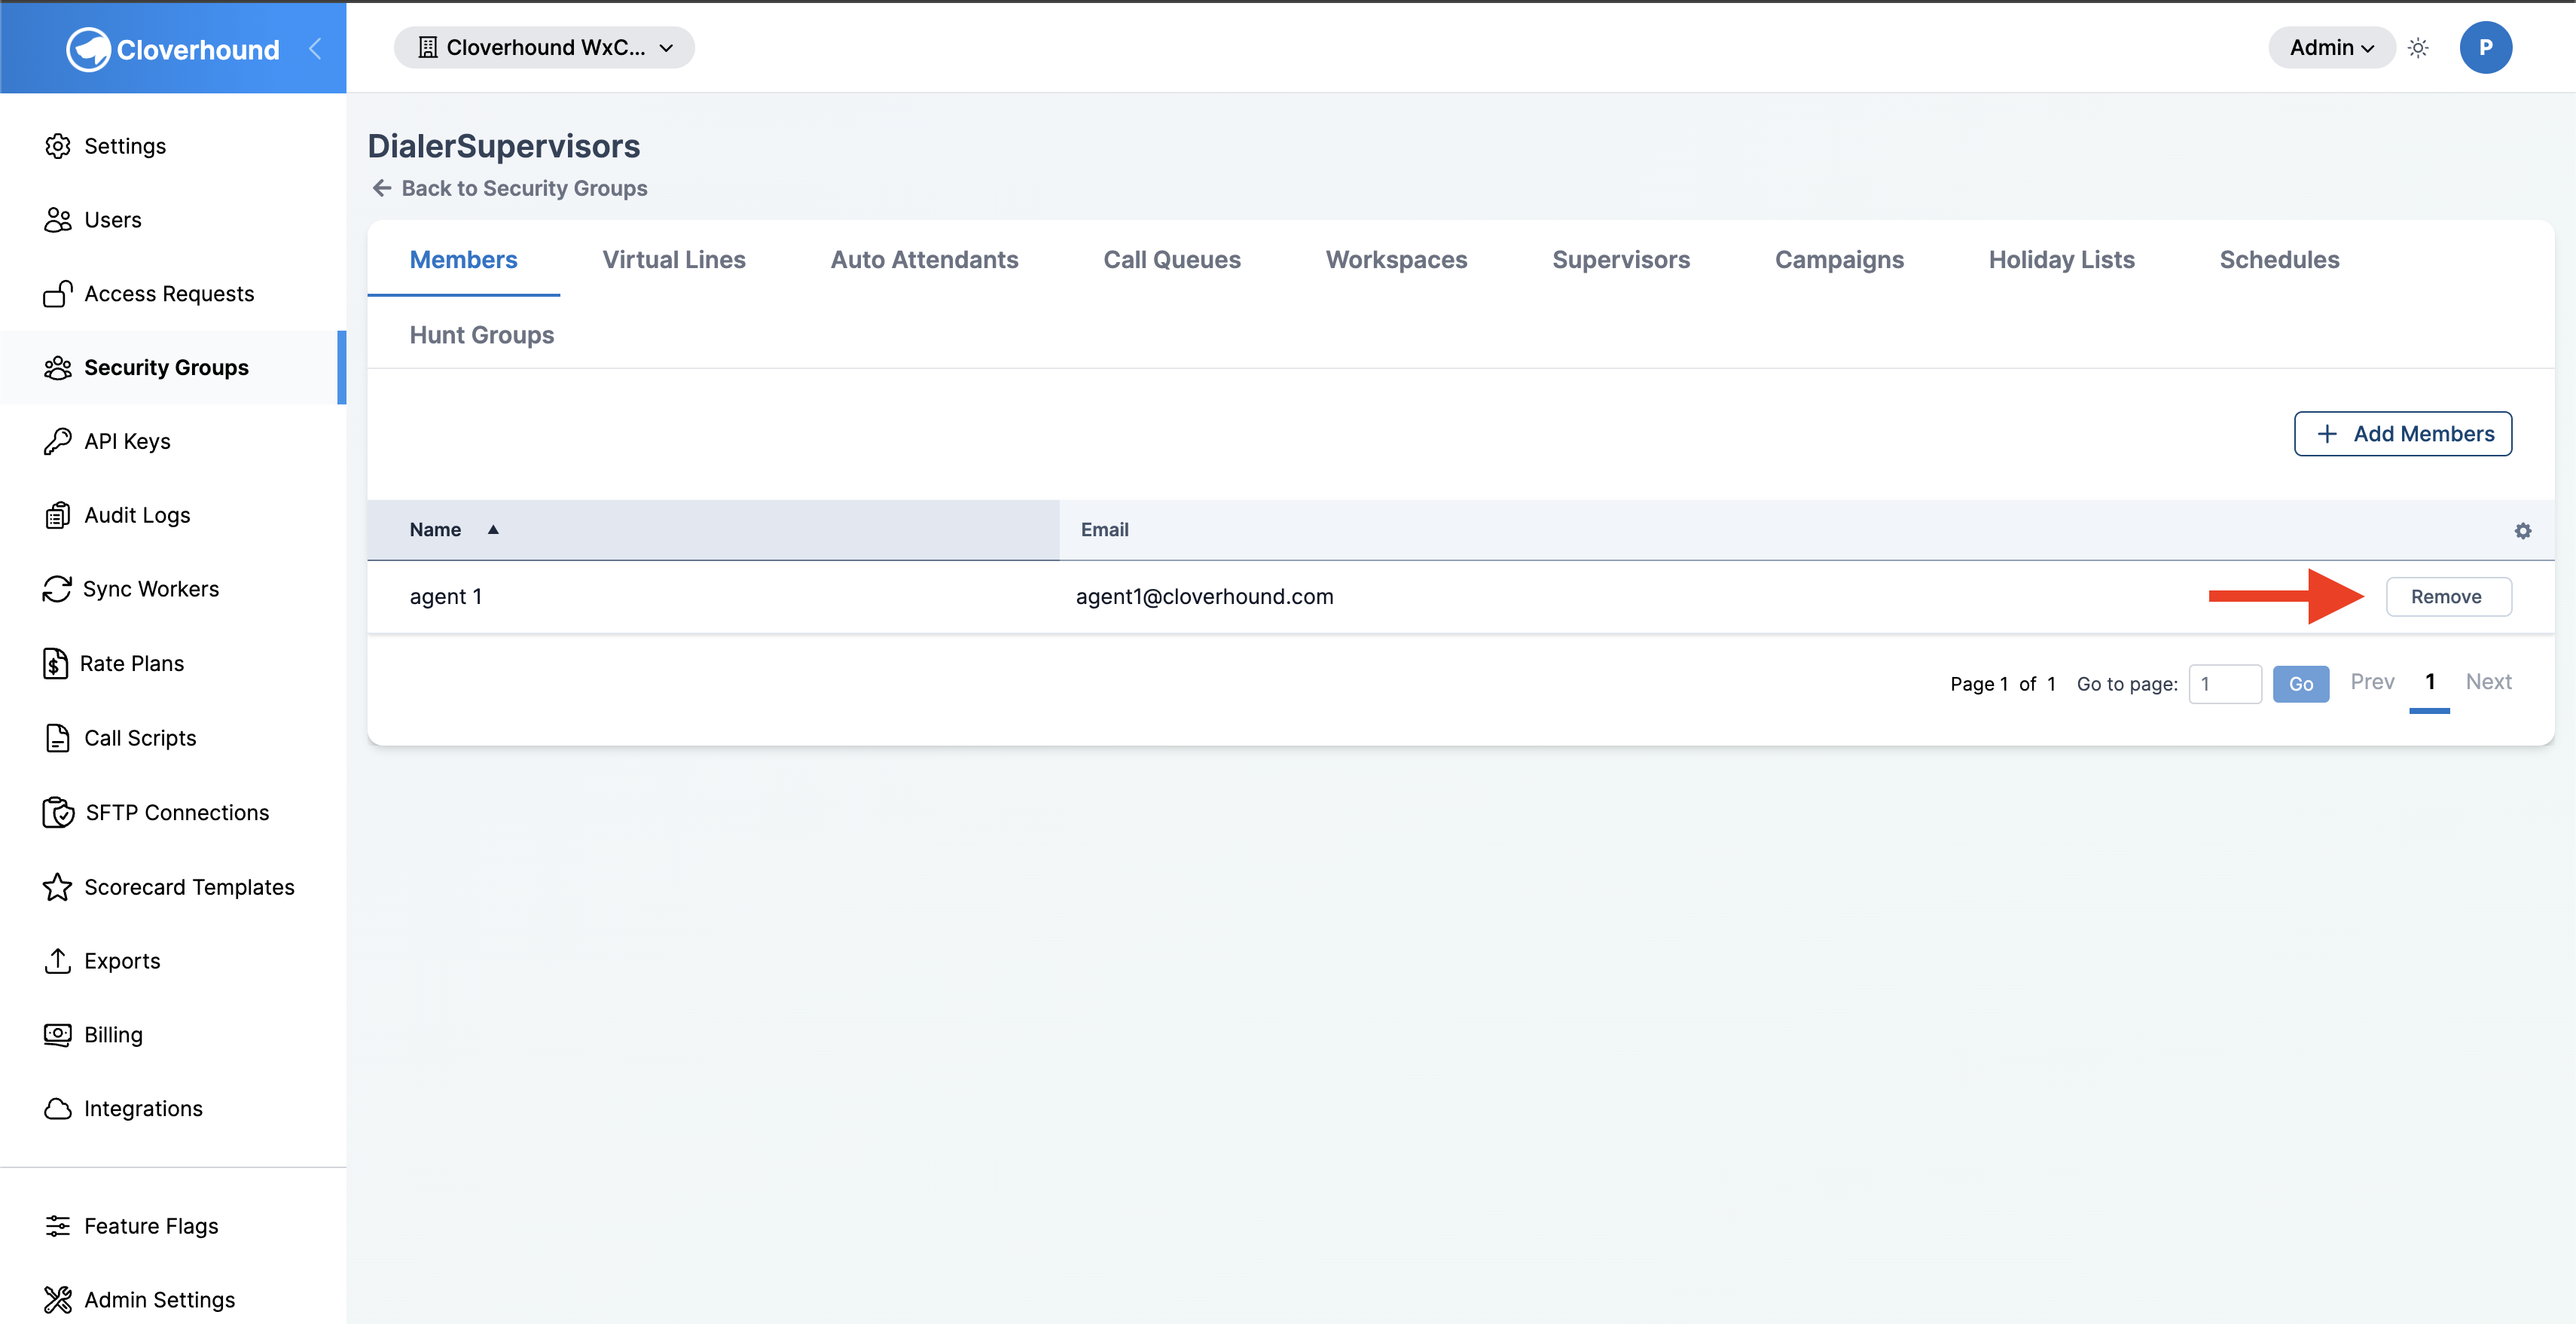
Open the tab for the resource type you want to remove.
-
Click the Remove button on the resource's row.
-
Confirm the prompt.
Removing a resource detaches it from the security group. The underlying resource (the end user, campaign, etc.) is not deleted; it just no longer belongs to any security group. Removing a supervisor revokes only the role granted by this group. If that user is a supervisor in another group, that other role is kept.
Editing a Group
-
Click the kebab menu on the group's row and choose Edit.
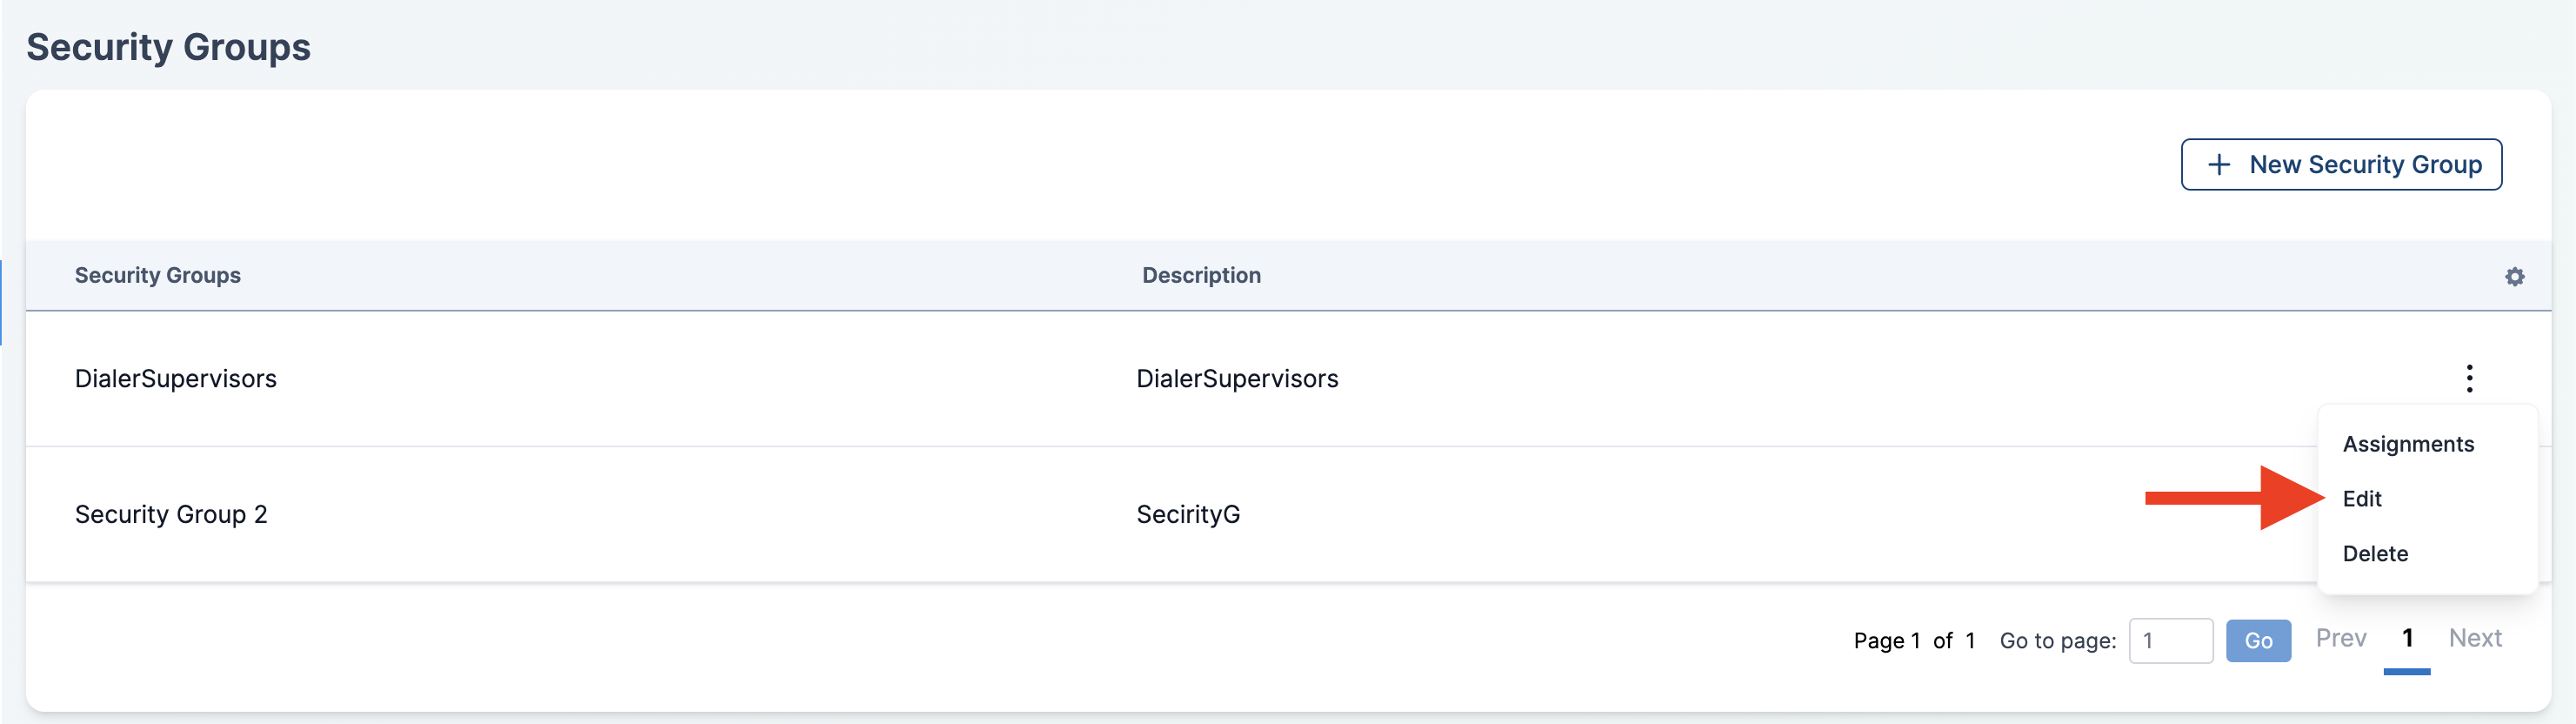
-
Update the name or description and click Save.
Deleting a Group
-
Click the kebab menu on the group's row and choose Delete.
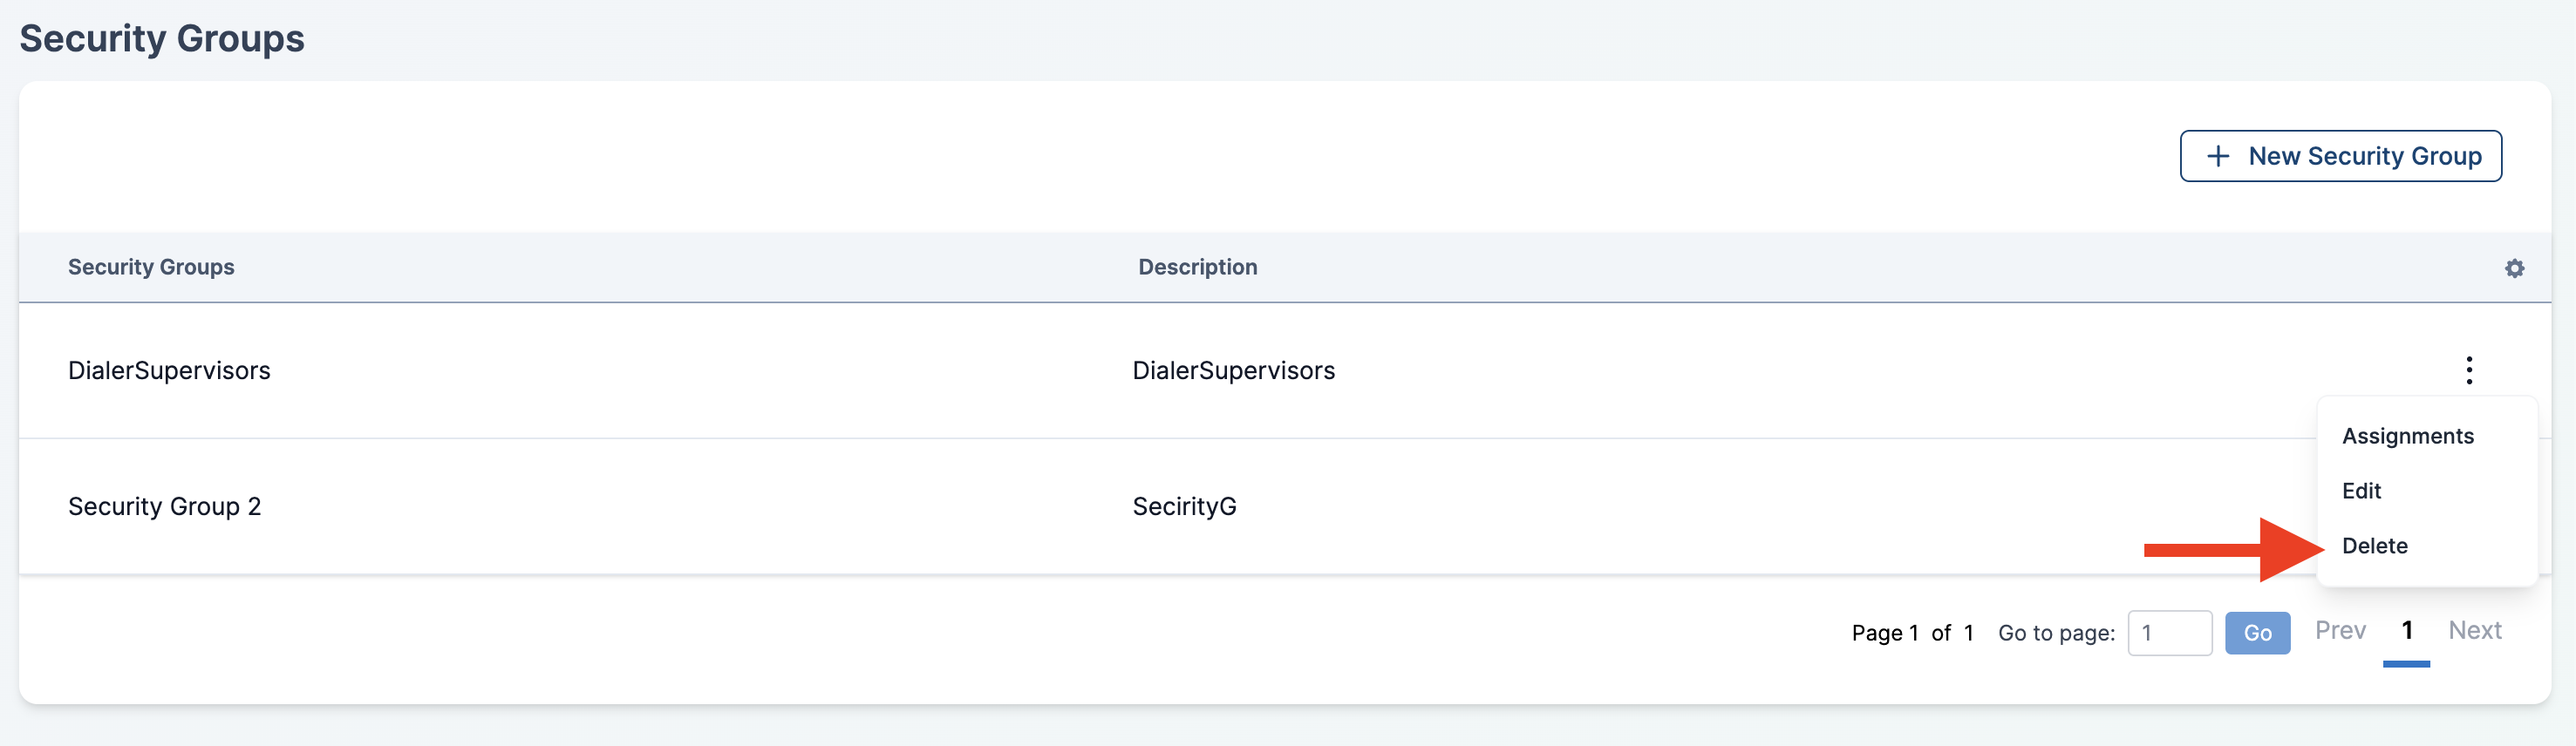
-
Confirm the prompt.
Deleting a security group removes the supervisor role granted by that group for every user attached to it. Assigned resources (end users, virtual lines, queues, workspaces, campaigns, holiday lists, schedules, hunt groups) are not deleted. They are detached from the group and become unassigned.
If the group has sub-groups, the sub-groups are deleted as well.
What Supervisors See
Once a supervisor is attached to a security group, the effect shows up in the rest of the product:
- Analytics — the Calls table and the Dashboard only show calls whose caller, destination, or final destination is one of the group's assigned end users, virtual lines, auto attendants, call queues, hunt groups, or workspaces.
- Campaigns — only dialer campaigns assigned to the group appear in the campaigns list. The supervisor can manage records, results, rules, segments, and imports for those campaigns only.
- Schedules and Holiday Lists — only the schedules and holiday lists assigned to the group are visible and editable.
- Security Groups page — group supervisors can view the groups they belong to, but cannot create, edit, or delete them.
A supervisor attached to multiple groups sees the union of all their groups' resources. A global supervisor (no security group) always sees everything in the organization.
Recap
Security groups let you hand a supervisor a slice of the organization instead of the whole thing. Create a group, add the end users, virtual lines, auto attendants, call queues, hunt groups, workspaces, dialer campaigns, holiday lists, and schedules you want them to manage, then add the supervisors who should get that scope.